
Cheese Chips
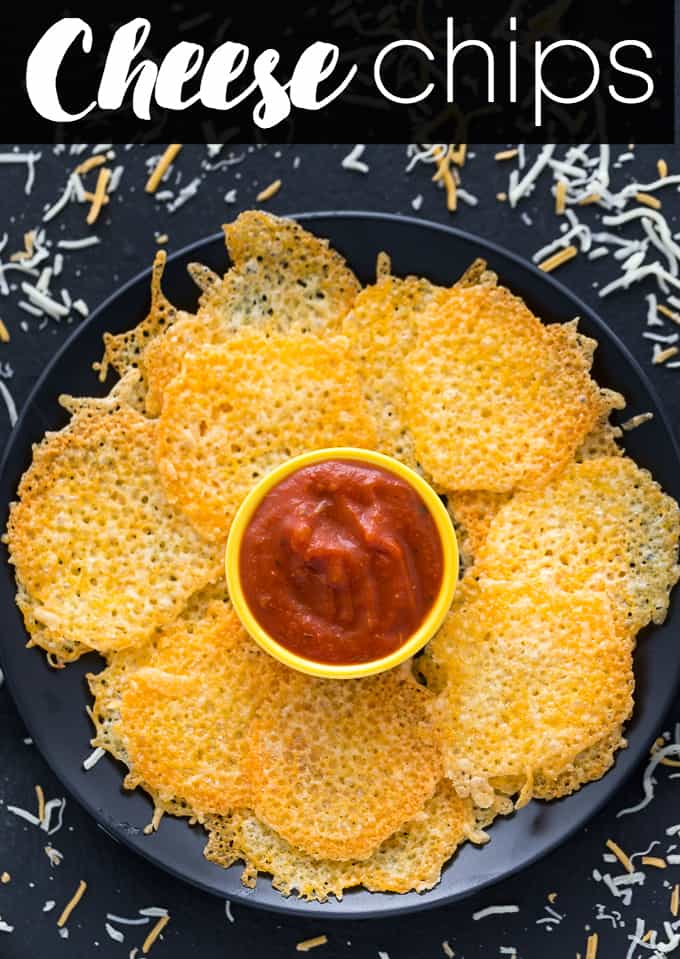
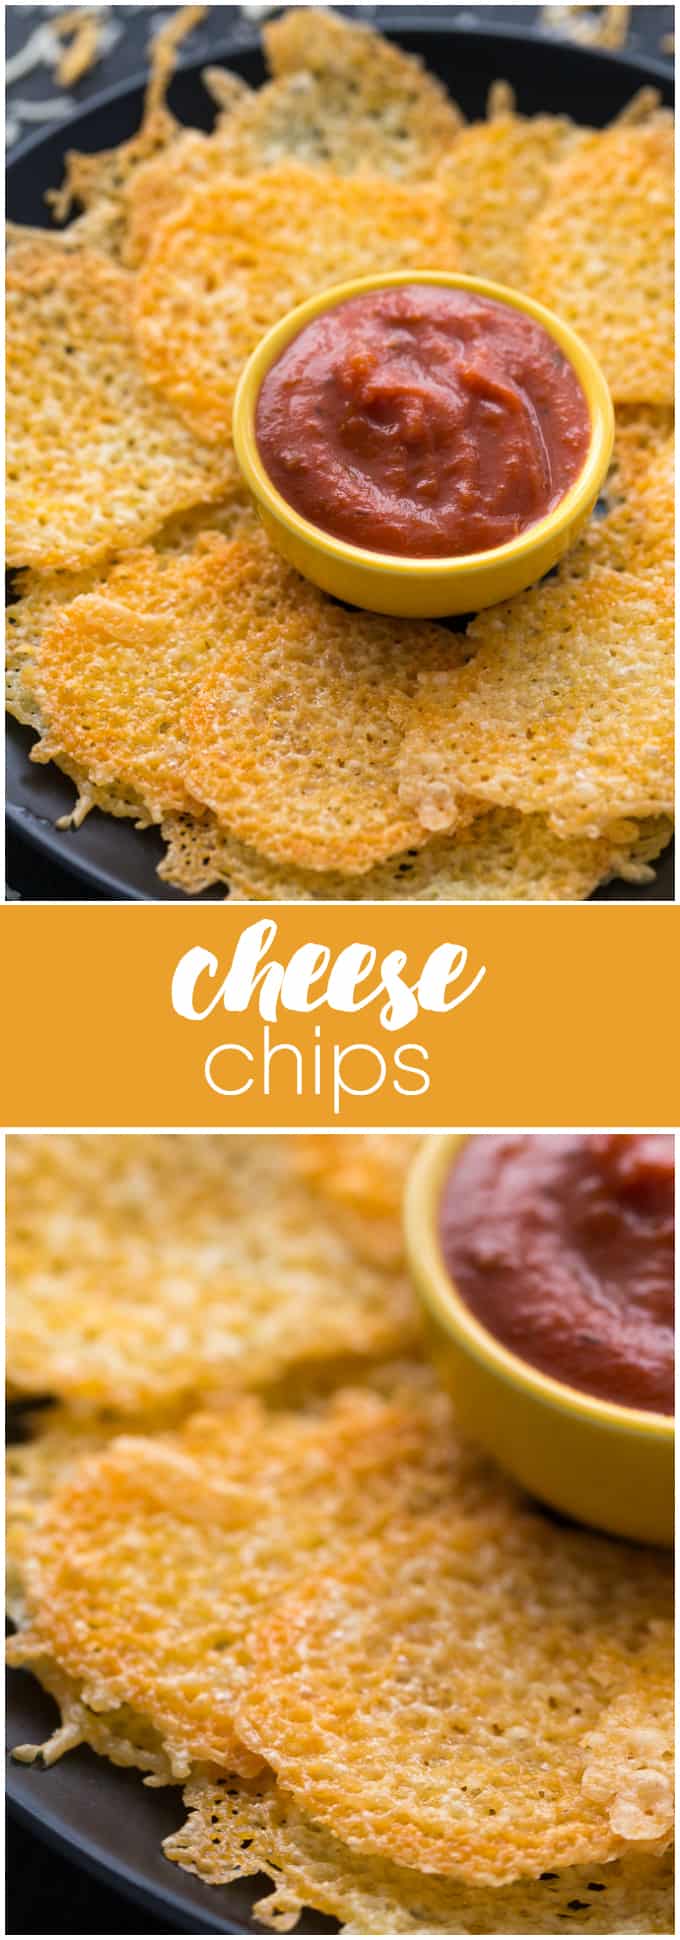
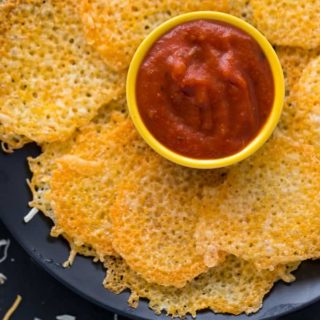
These one-ingredient Cheese Chips are barely a recipe but are a fantastic low-carb snack! Dip these keto chips in salsa or guacamole, or crumble them up on a salad for extra crunch and extra cheese!
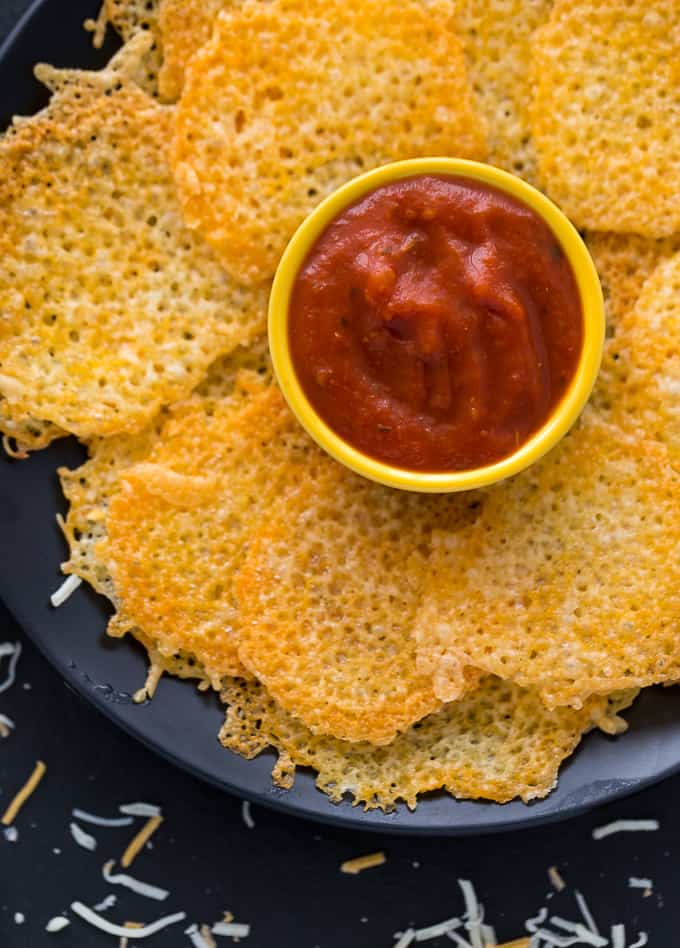
I love a crunchy potato chip, but sometimes, I don’t love the carbs that come with it. These Cheese Chips are amazing snack options for anyone on a low-carb diet and make the perfect dippers for your favorite dips and sauces!
I experimented with various cheeses to find the best one for this recipe. My favorite is the shredded Mexican cheese you buy in the bag. It made the crispiest cheese chips out of all the cheeses I tried!
Though I’ve been making this recipe for a while, I discovered another easy recipe to enjoy using a different kind of cheese. Parmesan Crisps are equally delicious, low carb and super easy to make! Dip them in a little marinara sauce for the perfect pizza snack!

You’ll want the Cheese Chips to look a little crispy to keep their shape once they cool. If you overcook them, it’s not really a big deal—you’ll just have a crispier chip. Just be careful not to burn them, as they do bake quickly!
Ingredients
- Shredded cheese — that’s it!
Are you looking for more of a kick? Feel free to season the cheese just before baking. This would go great with paprika, onion powder, garlic powder, chili powder, taco seasoning, or Italian seasoning! Try matching your dip style with your seasoning preference!
How to Make Cheese Chips
Follow along to learn how to make cheese chips!
- Preheat oven to 375°F. Lay parchment paper across 2 (or 3, depending on your space needs!) baking sheets.
- Add cheese to the baking sheet, about one tablespoon per chip. Like cookies, leave room between your cheese piles, as they will spread as they cook!
- Bake for 5 to 7 minutes or until the chips begin to crisp. Remove from heat allow to chill, and set for 5 to 10 minutes. Remove chips from parchment paper and serve with your favorite dipping sauce!
I think these go great with pizza sauce, but any dip will complement these crunchy Cheese Chips, such as guacamole, salsa, buffalo dip, ranch, or even a cheese dip!
Storage Instructions
Since these chips are made with perishable ingredients, they must be stored in the refrigerator and can last up to 72 hours before they get soft—if you have leftovers at all!
Pro-tip: Usually I’d say store everything that’s cooked in an air-tight container, but not these. Store your cheese chips in a paper bag folded and clipped close to help absorb the additional moisture from the chips and the humidity from the fridge to keep these chips crispy longer!
How to Use
Dips and snacks are my first to-go for these crunchy, carb-free discs, but sometimes I make WAY too many and have to find other uses for them.
These are a great crunchy alternative to a salad or a fun element to add to your tomato basil soup instead of grilled cheese!
One fun part of this recipe is that you can easily mold or shape them into other forms before they cool! Place them over the underside of a muffin tin before cooling and use them as mini cheese bowls, or roll them into tubes to be stuffed for a fancy keto appetizer.
The options are endless with these delicious chips!
Low Carb Recipes
Other delicious low-carb recipes to try…
- Buffalo Popcorn
- Chicken and Egg Ramekins
- Asian Chicken Lettuce Wraps
- Cauliflower Rice Enchilada Bowl
You might also like these Taco Roasted Chickpeas and Air Fryer Mozzarella Balls.
Have you ever tried cheese chips?
Follow me on Instagram @simplystacieblog, Facebook at Simply Stacie, TikTok @simplystacierecipes or Pinterest at @simplystacie and let me know how you liked this recipe and my other recipes.
Cheese Chips
SAVE THIS RECIPE!
Ingredients
- 1 ½ cups shredded cheese
- Italian seasoning optional
- pizza sauce for dipping
Instructions
- Preheat oven to 375°F. Lay a piece of parchment paper on two baking sheets.
- Add cheese to baking sheet, about 1 tablespoon per chip. Make sure to leave enough room in between them so they aren’t touching.
- Bake for 5 to 7 minutes, or until starting to crisp. Remove from heat and let cool about 5 to 10 minutes. Carefully remove from baking sheet and serve with your favourite dip. I like them with pizza sauce.
Notes
Nutrition
The information shown is an estimate provided by an online nutrition calculator. It should not be considered a substitute for a professional nutritionist’s advice.
Did you make this recipe?
I’d love to see it! Make sure to share it on your favorite social platform.
Want Even More Recipes?
Join Moms Best Recipes to find more delicious family recipes.
free ebook!
The Best of Simply Stacie
When you subscribe to the newsletter for the latest updates!


Good idea for a snack, we experimented with 3 mini peperoni, I let them melt a few minutes before adding and topped with a small pinch of parmesan. I could have fun with this. I also baked a little longer.
I just made these and although they are very delicious they are sticking to the parchment paper. Is there a trick? Or perhaps cooking spray first?
You could try using cooking spray and see if that is any better. I use a metal spatula to remove them and they are fine for me.
Hi how to ensure that the cheese does not stick to parchment paper? Thanks
There is enough grease in the cheese so that it doesn’t stick.
I just made these, and while the taste is good (ok, great!), the chip itself is kinda chewy, rather than crispy. I did two different kinds: parm and cheddar. Both were spread thin, and I cooked them the full 7 minutes, and they were brown around the edges. The brown parts are crispy, but that’s just because it was within a moment of burning. I’ve left them out, but they haven’t crisped up. Is it solely the type of cheese — so if I use the Mexican blend they might be crispier?
I find they vary greatly depending on the type of cheese you use. Just experiment with the different cheeses until you find one that you like. I like the Mexican blend.
I’ve never tried these but they look so tasty
how long do these keep for? do you have to refridgerate?
They taste the best if you eat them hot and fresh out of the oven. If you can’t enjoy right away, then refrigerate, but they won’t be as tasty unfortunately!