
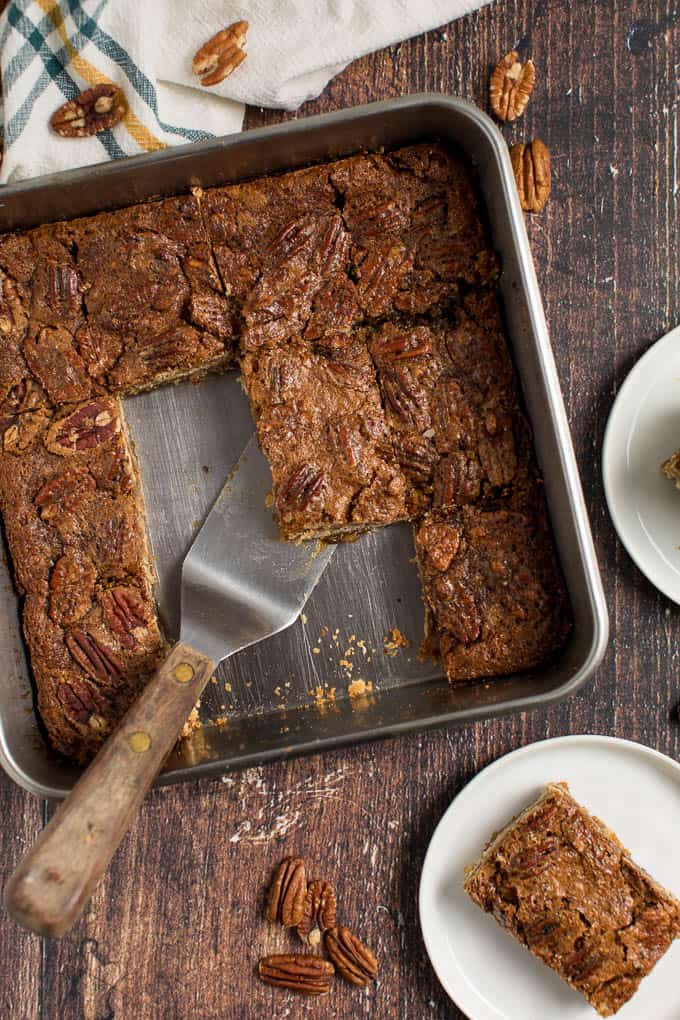
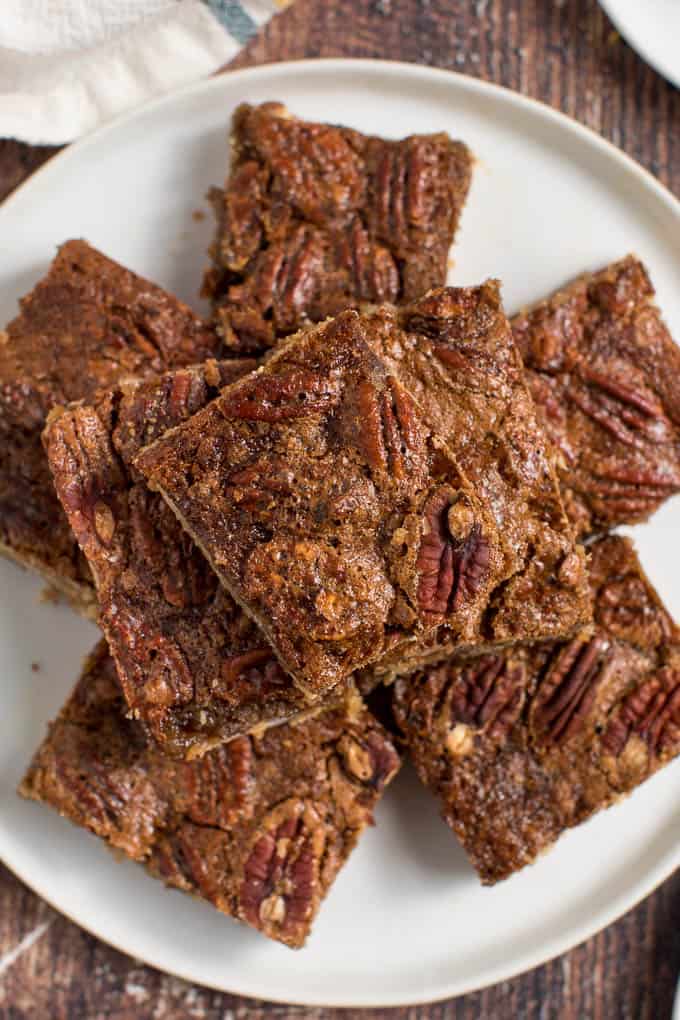
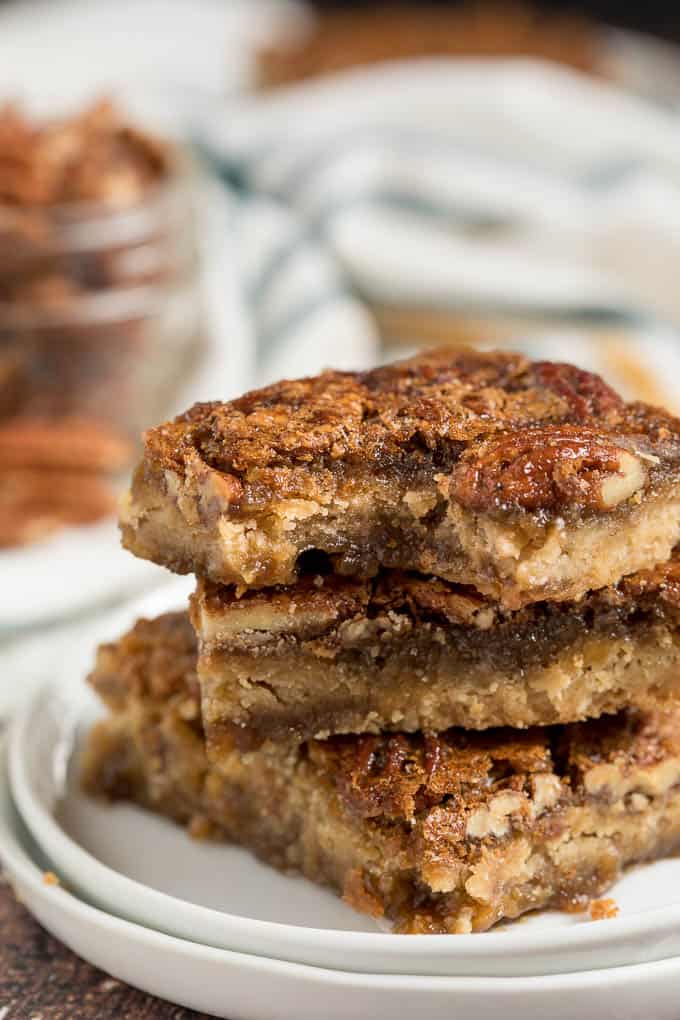
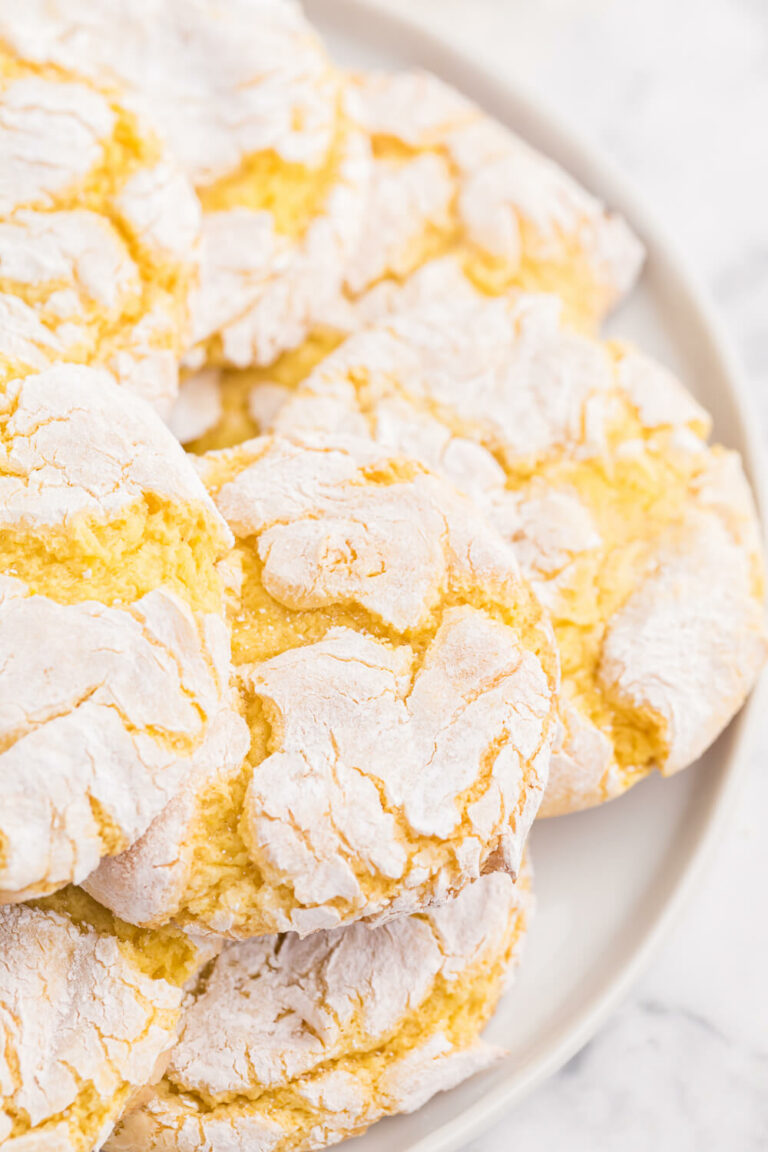
Maple Pecan Squares

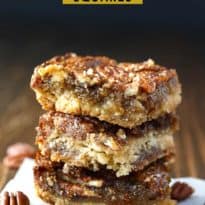
Maple Pecan Squares are addictive! This easy bar recipe is a cross between a butter tart and pecan pie. Prepare to lick your fingers from this mouthwatering dessert. Ooey gooey YUM!
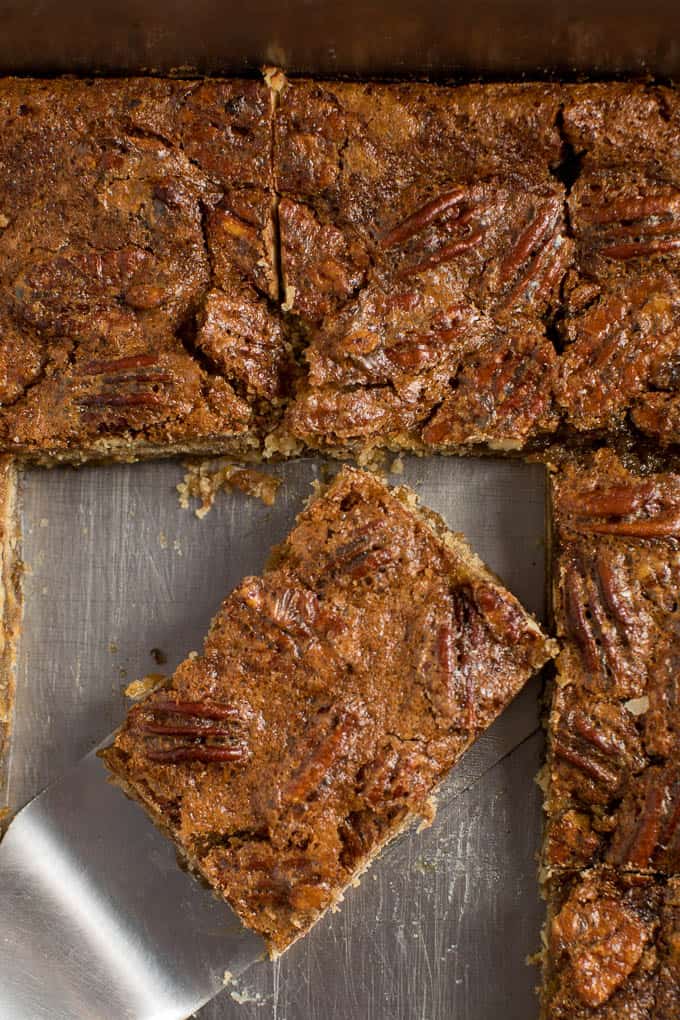
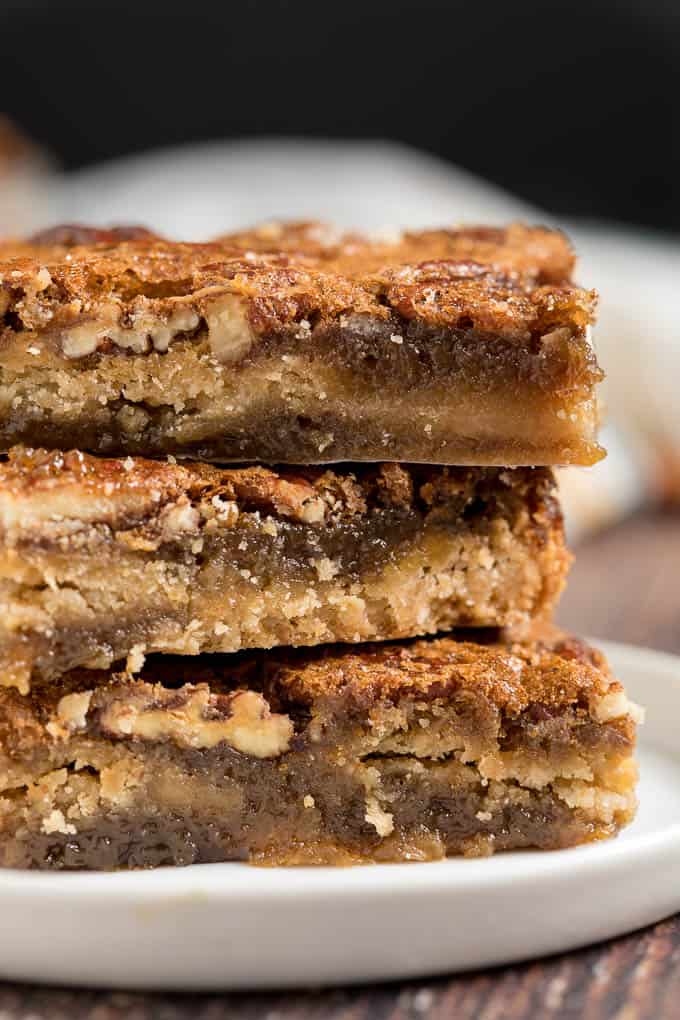
A brown sugar buttery shortbread crust topped with a sweet, salty, crunchy, and chewy goodness. These maple pecan squares are the quickest way to get the pecan and maple flavor combination we all know and love in a traditional pecan pie!
The base is a crumbly, sweet mixture of flour, brown sugar, and butter. It’s baked for a few minutes before you add the recipe’s highlight, the maple pecan filling. Then, it goes back in the oven to bake again.
Maple pecan squares aren’t just for holidays. If something tastes amazing, which pecan pie bars totally do, you should have it anytime you want. You’ll be wanting to make these delicious bars a lot. As soon as the air turns cooler, I crave this delightful sweet treat.
Why You’ll Love This Recipe
- Made with simple ingredients that you probably already have
- This bar form is easier to make than a pecan pie
- Easy press-in crust
- Ready in under an hour
- Decadent and divine dessert
- Can be enjoyed warm or at room temperature
- Kid-friendly
Ingredients
The full printable recipe card with measurements and instructions is found at the bottom of the post.
- All-purpose flour
- Brown sugar – Use light or dark brown sugar. Dark brown sugar will give it more of a caramel flavor.
- Salted butter – Unsalted butter will also work, but I would add a bit of extra salt to the dough to balance out the sweetness.
- Eggs
- Pecan halves
- Maple syrup – Use pure maple syrup if you can. It will make them taste so much better.
- Salt
How to Make Maple Pecan Squares
Making maple pecan pie bars is pretty straightforward.
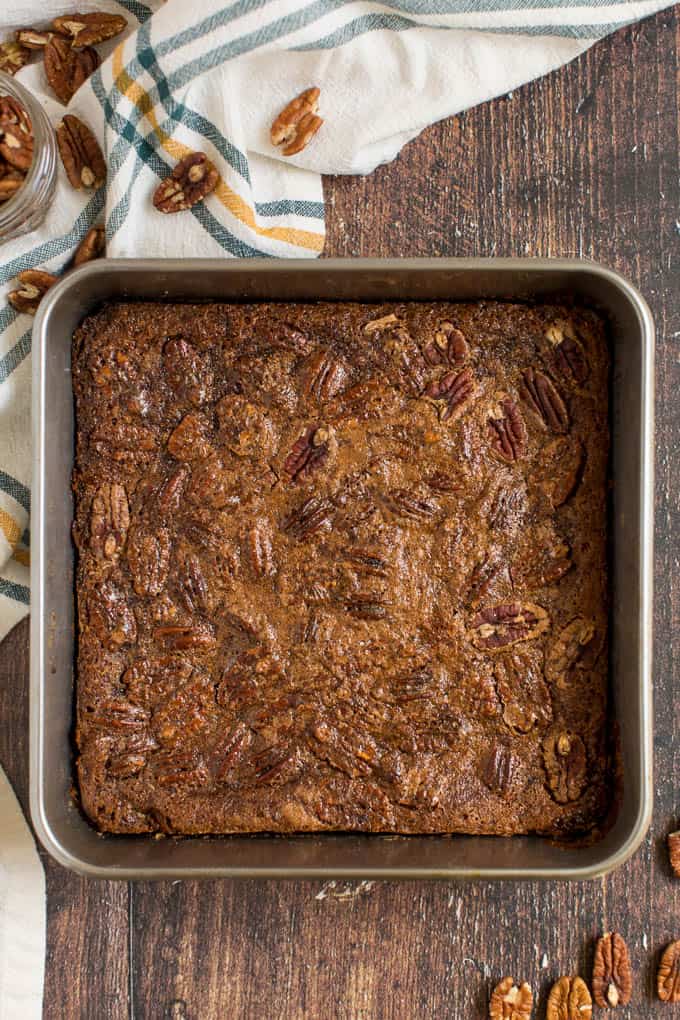
- Step One: Make the shortbread base. Grease a 9-inch square baking pan or line with foil. Add flour, brown sugar, and butter to a large mixing bowl. Use a pastry blender or rub the mixture with clean hands until combined and crumbled. Press the dough into the prepared baking pan. Bake for 5 minutes at 350°F. Set aside to cool on a wire rack.
- Step Two: Prepare the pecan pie filling. In a small, heavy saucepan, bring sugar and maple syrup to a boil. Remove from heat and let cool slightly.
- Step Three: Add beaten eggs to a large bowl. Pour the maple syrup mixture into the eggs, stirring constantly. Stir in pecans, salt, flour, and vanilla extract.
- Step Four: Pour the maple syrup mixture over the partially baked crust. Bake at 450°F for 10 minutes, then reduce the oven temperature to 350°F and bake 20 minutes longer. The top will be golden brown.
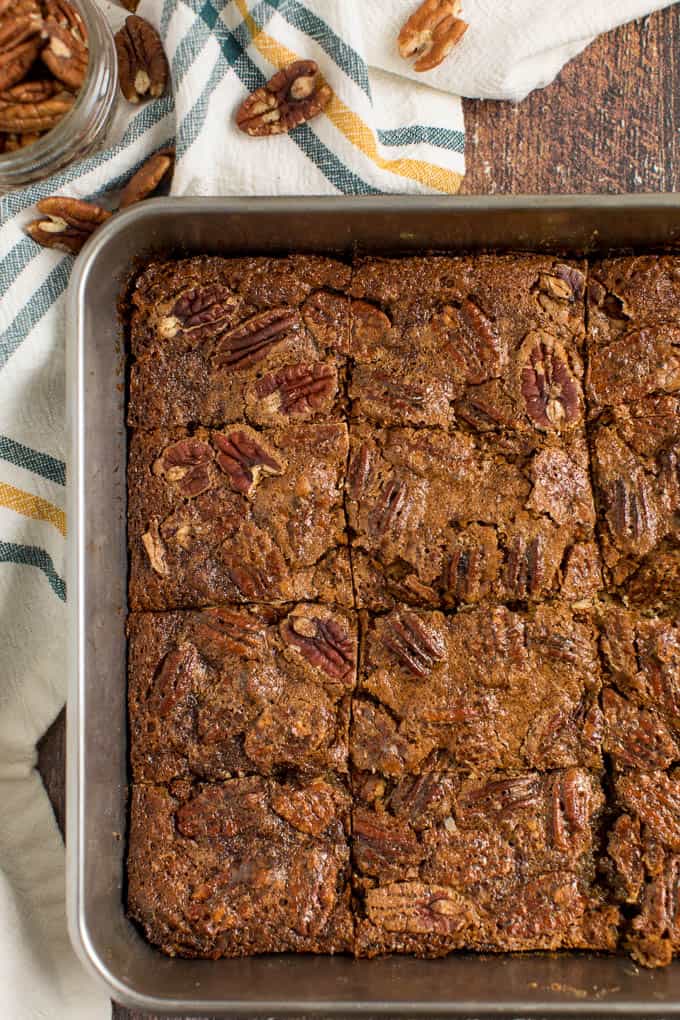
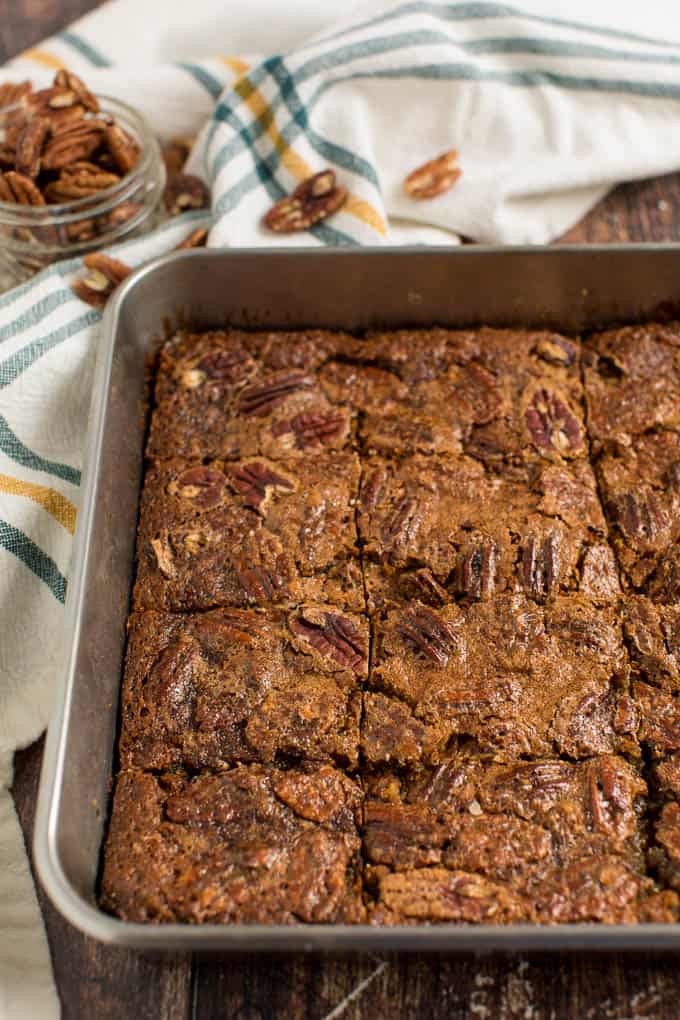
- Step Five: Cool bars completely before cutting into squares.
Cut a big square and serve with some vanilla ice cream for a fabulous fall dessert to end your meal. Then enjoy every last bite of this sweet deliciousness! If you have guests, even better. They will be so impressed by these delicious maple pecan bars.

Recipe Tips and Tricks
- When chilled, the bars are easier to cut. To speed things up, you can cool the pan to room temperature and then transfer the whole pan to the refrigerator to chill.
- Line the baking sheet with foil or parchment paper. Lift the whole slab out of the pan and onto a cutting board. Use a sharp knife to cut it into squares.
- Will you be traveling with this dessert? The pecan bars are sturdiest when cold, so you might want to put a couple of ice packs in the container being used to transport.
- Maple syrup is a bit pricier than your typical pancake syrup varieties, but I wouldn’t cheap out with this recipe. There’s something magical about the flavour of maple syrup. I’d put it on everything if I could.
Variations and Substitutions
- No pecans? Make this recipe with walnuts or almonds!
- If you don’t have or care for maple syrup, you can substitute it with honey or corn syrup, though in my opinion, maple syrup tastes the best.
- For an even more decadent treat, sprinkle some chocolate chips over the top for the last few minutes of baking.
Storage Instructions
Store the leftover bars in an airtight container at room temperature for up to 5 days.
Can I Freeze?
I prefer to serve desserts like this fresh, but these maple pecan squares can be frozen for up to 1 month ahead. To freeze, do NOT cut the bars. Wrap the entire slab in parchment paper and then aluminum foil. Be sure to freeze on a flat surface. Defrost overnight in the fridge, then bring to room temperature, cut, and serve.
Maple Syrup Desserts
Love maple syrup desserts? I have more to try to help you use up your maple syrup on more than just pancakes!
- No-Churn Maple Pecan Ice Cream
- Maple Coffee Milkshake
- Maple Apple Pudding
- Maple Syrup Bars
- Maple Syrup Cheesecake
- Maple Pecan Danish Bake
- Maple Almond Popcorn
You’ll also enjoy Butterscotch Blondies, Penuche Squares, Poutine, Pecan Butter Tart Buns, Butter Tart Squares.
Follow me on Instagram @simplystacieblog, Facebook at Simply Stacie, TikTok @simplystacierecipes or Pinterest at @simplystacie and let me know how you liked this recipe and my other recipes.

Maple Pecan Squares
SAVE THIS RECIPE!
Video
Ingredients
Base
- 1 cup all-purpose flour
- ¼ cup brown sugar
- ½ cup salted butter softened
Filling
- ⅔ cup brown sugar
- 2 large eggs beaten
- ⅔ cup pecan halves
- 2 tbsp all-purpose flour
- 1 cup maple syrup
- ¼ tsp salt
- ½ tsp vanilla extract
Instructions
- Preheat oven to 350°F.
- In a large bowl, combine flour, brown sugar and butter together. Rub mixture with clean hands until combined and crumbly. Press into a greased 9-inch square baking pan. Bake for 5 minutes. Set aside to cool.
- In a small saucepan, bring sugar and maple syrup to a boil over medium-high heat. Remove from heat immediately once it starts to boil. Cool slightly.
- In a large bowl, add beaten eggs. Pour syrup mixture into eggs, stirring constantly. Stir in remaining ingredients.
- Pour syrup mixture over partially baked crust. Bake at 450°F for 10 minutes. Reduce heat to 350°F and bake for 20 minutes longer.
- Cool completely before cutting into squares.
Nutrition
The information shown is an estimate provided by an online nutrition calculator. It should not be considered a substitute for a professional nutritionist’s advice.
Did you make this recipe?
I’d love to see it! Make sure to share it on your favorite social platform.
Want Even More Recipes?
Join Moms Best Recipes to find more delicious family recipes.
free ebook!
The Best of Simply Stacie
When you subscribe to the newsletter for the latest updates!


OMG! These are amazing! So very easy to make. The instructions are written perfectly. So easy to make. Thank you very much for sharing. I will be making these again real soon.
Look delicious, but haven’t made them yet. Waiting for an excuse or cooler weather!
I came across this recipe and thought I would give it a try. They were easy to make and tasted delicious, but a mess to get out of the pan. I followed the recipe. I could not serve them as bars. I might end up mixing them into vanilla ice cream. I ended up disappointed.
I would love to try this but can’t print the recipe.
It seems to be working ok on my end?
I have made these twice this Christmas. The first time in a non-stick pan with a little butter to grease the pan. The edges burned and had to be cut away. Also I think I didn’t press the crust down firmly enough because it crumbled. The second time I lined the pan with parchment paper, cooked the base a little longer (8 mins?) and I lowered the temp to 425F for 10 minutes before turning it down to 350F. They did not burn this time and came out of the pan much easier. The base was still crumbly but they tasted just as delicious. They got rave reviews from all my guests.
I baked these and they were so delicious! The only thing is somehow the crust and filling switched places while baking, so the crust was in the middle and the filling on the bottom. Do you know how I. An fix this?
I’m glad you enjoyed them but sorry to hear that happened! I would add time to baking the base and that will hopefully stop this from happening again for you.
I’ve got it in the oven now!! It’s beautiful and smells delicious! Can’t wait to dig in!
Can I use self rising flour?
I haven’t tried it, but I’m thinking it should be fine!
These are overly sweet. I would not add any sugar in the crust to balance out the very sweet pecan topping. Did not set up very well either
Mine got a bit too dark after baking 10 mins at 450°. I did add 1 1/2 cups pecans, because it feels like it needs more than the 2/3 cup. I will try making this again and baking it at a lower temperature.
Hi, what type of flour did you use? Plain or Self-raising?
Hi Kate,
I use regular all-purpose flour.
Could I use gluten-free flour to make these gluten-free for my daughter in law?
Yes, you can 🙂