
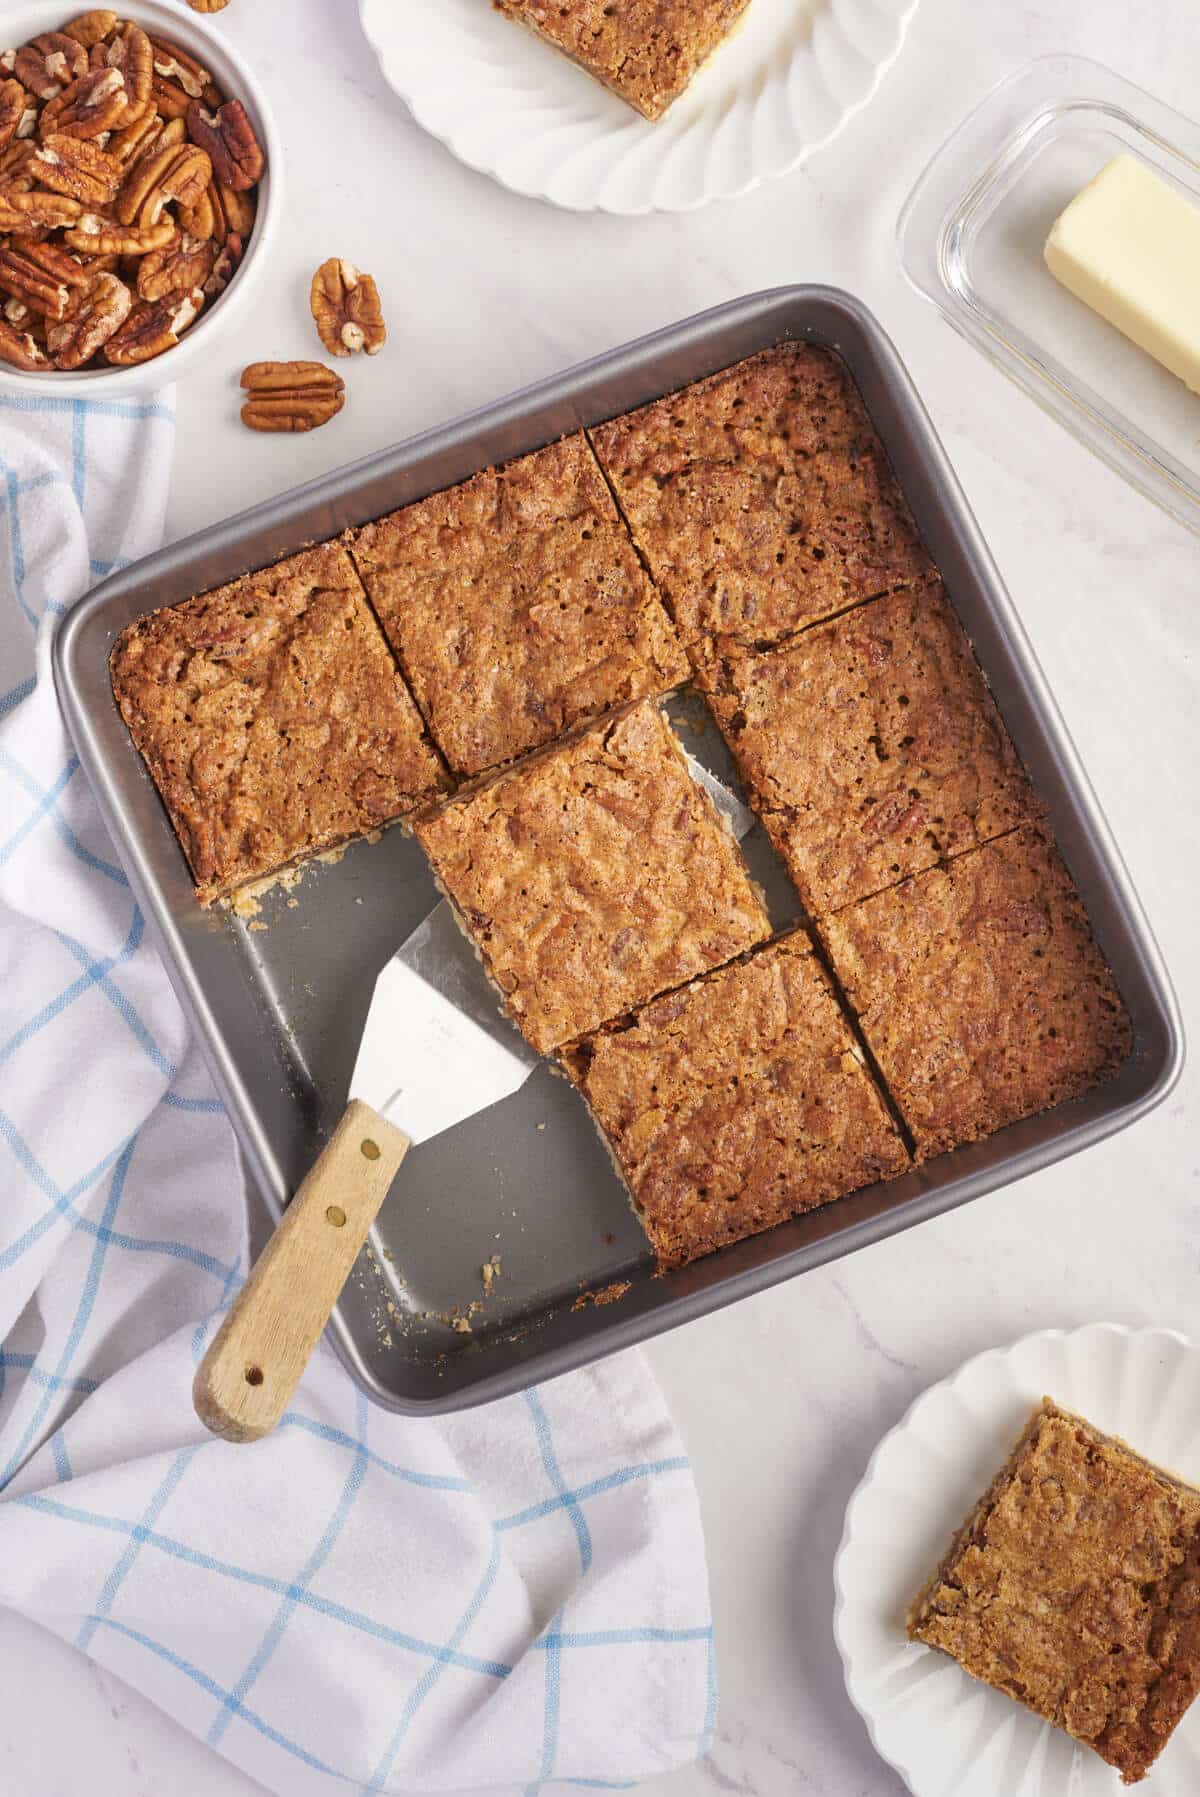
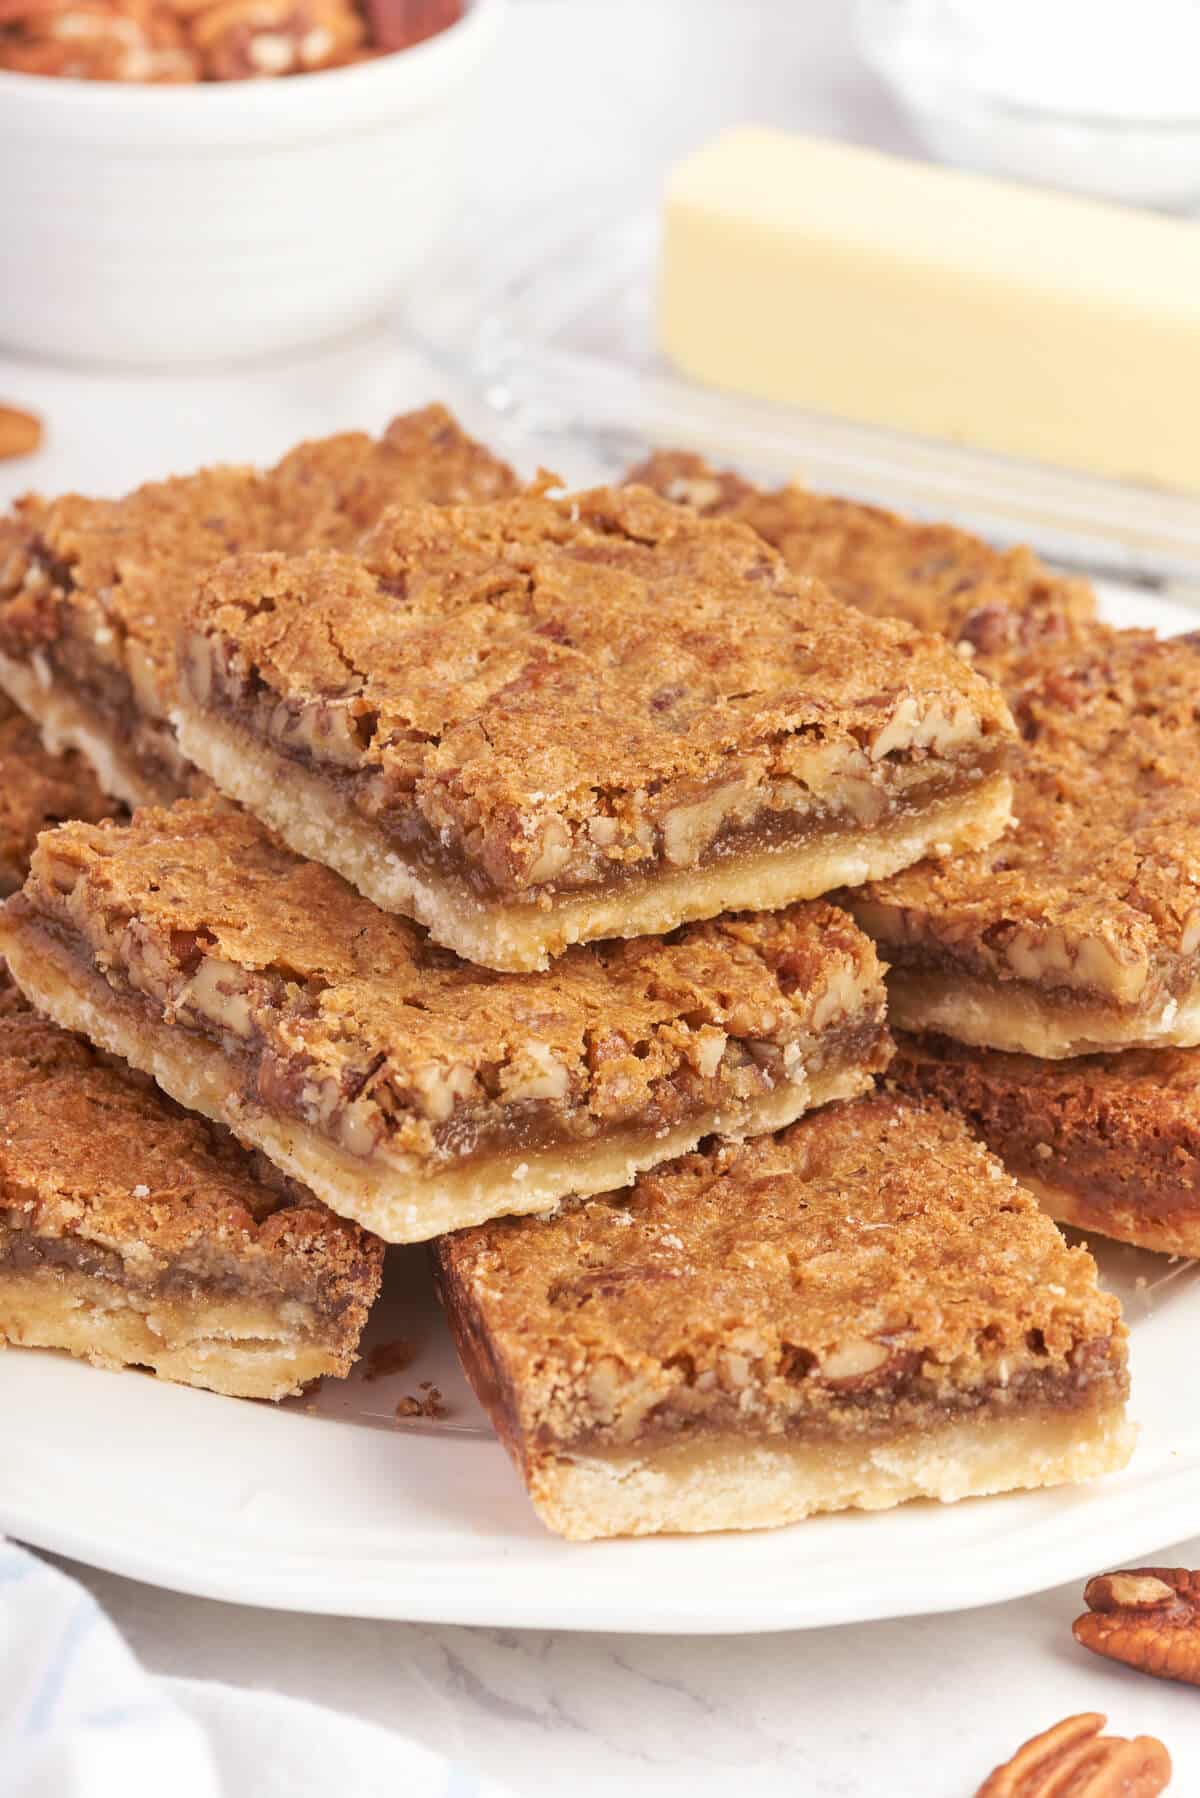
Butter Tart Squares

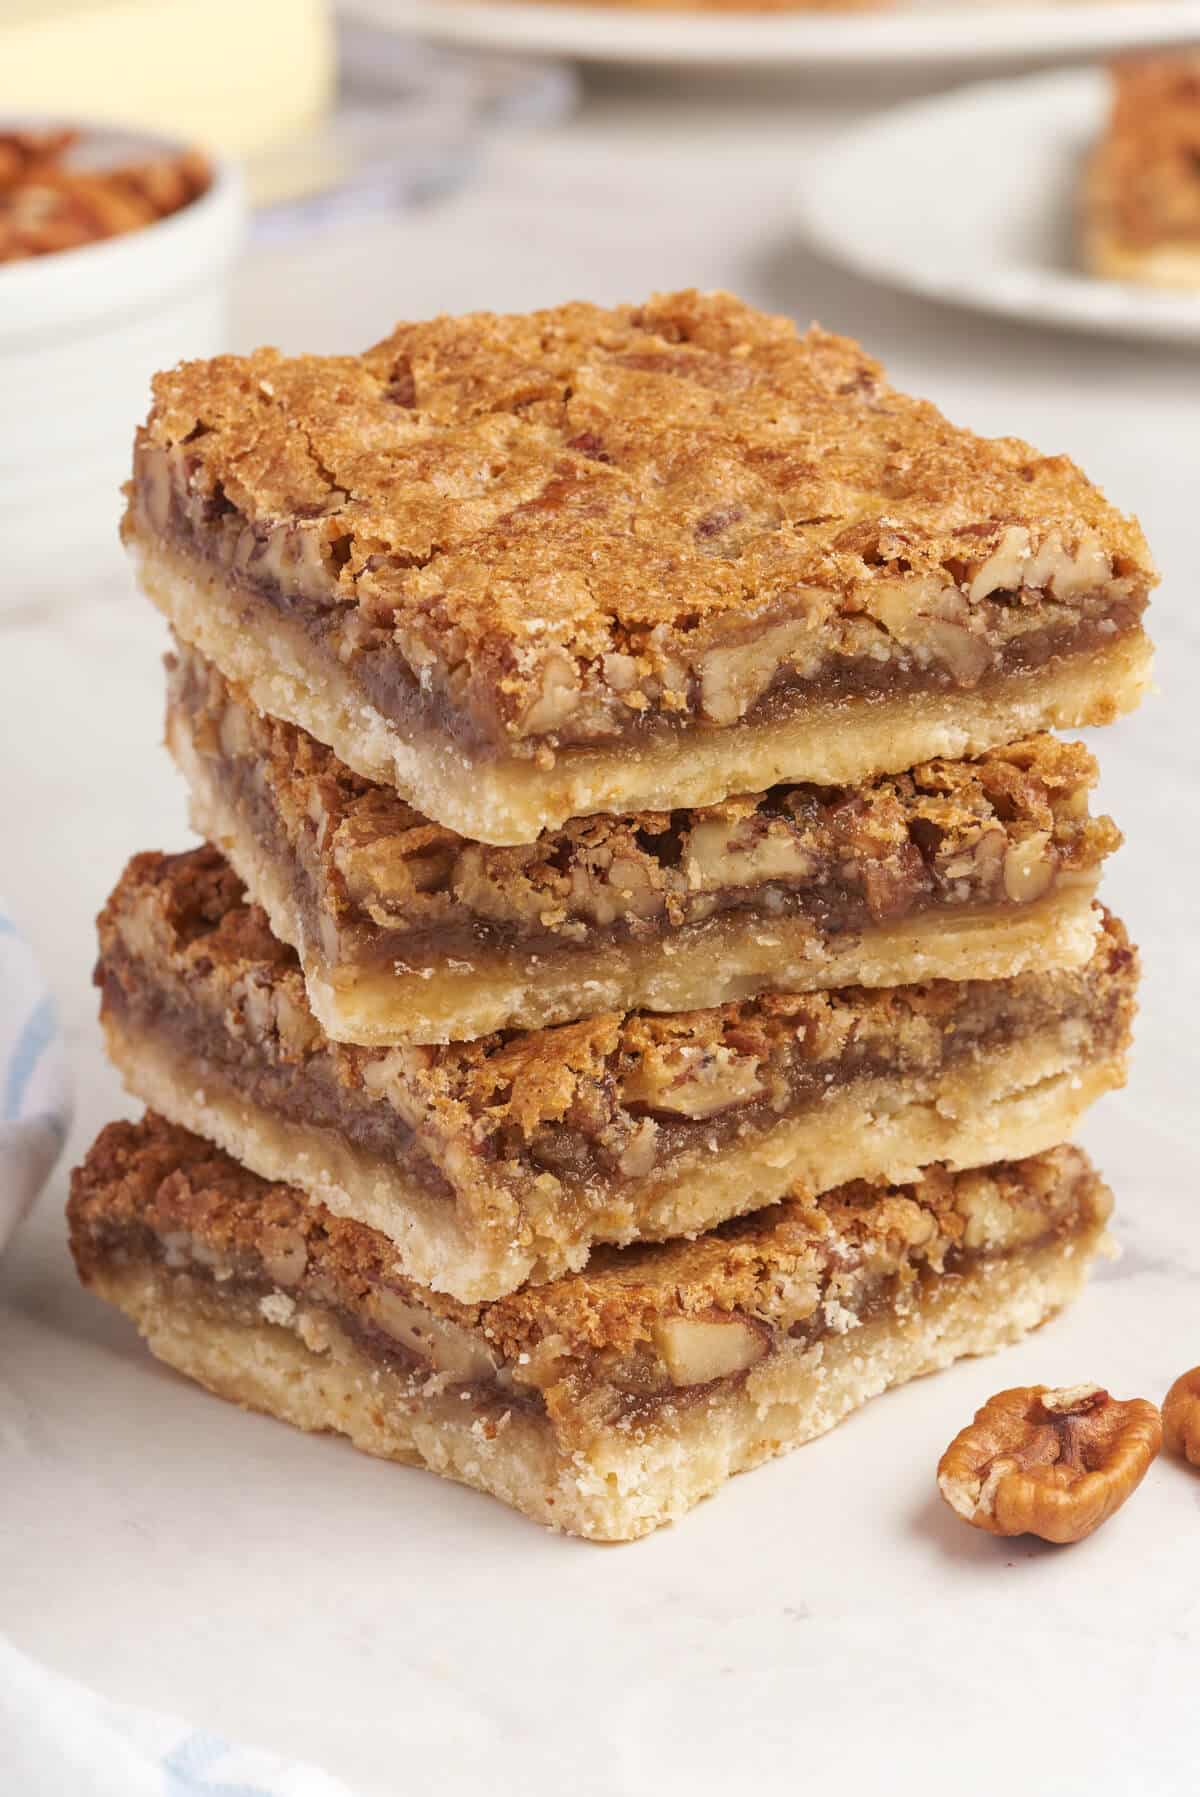
Meet Canada’s BEST dessert! Gooey butter tart filling packed with pecans on a sweet buttery crust. Butter Tart Squares are everything you love about classic Butter Tarts, but in a bar format.
If you’re Canadian like me, you probably already know how delicious butter tart squares are. And if you’re not, prime your palate for the richest and most indulgent dessert you’ll ever try!
This simple recipe combines basic ingredients, including brown sugar, butter, eggs, and vinegar. Although people sometimes look at me in horror when I mention the vinegar, I’ve always found that it’s key for a deep flavor and balancing sweetness!
Although the shortbread base is divine, the smooth and flavorful filling makes these bad boys fly out of the kitchen. The filling is almost molasses-like, and if you’re into nuts, the chopped pecans give it a slight crunch.
And hey, nothing stops you from getting creative with everything from chocolate chips to walnuts.
Why You’ll Love This Recipe
- They’re Canada’s best dessert (so, they need to be tried at least once!).
- The sweet and buttery crust makes these squares incredibly delicious.
- They’re portable enough for lunchboxes and leftovers.
- The slightly gooey filling complements the butter-based crust perfectly.
- Your entire family will love the rich and strong flavors in every bite.
Ingredients
The full printable recipe card with measurements and instructions is found at the bottom of the post.
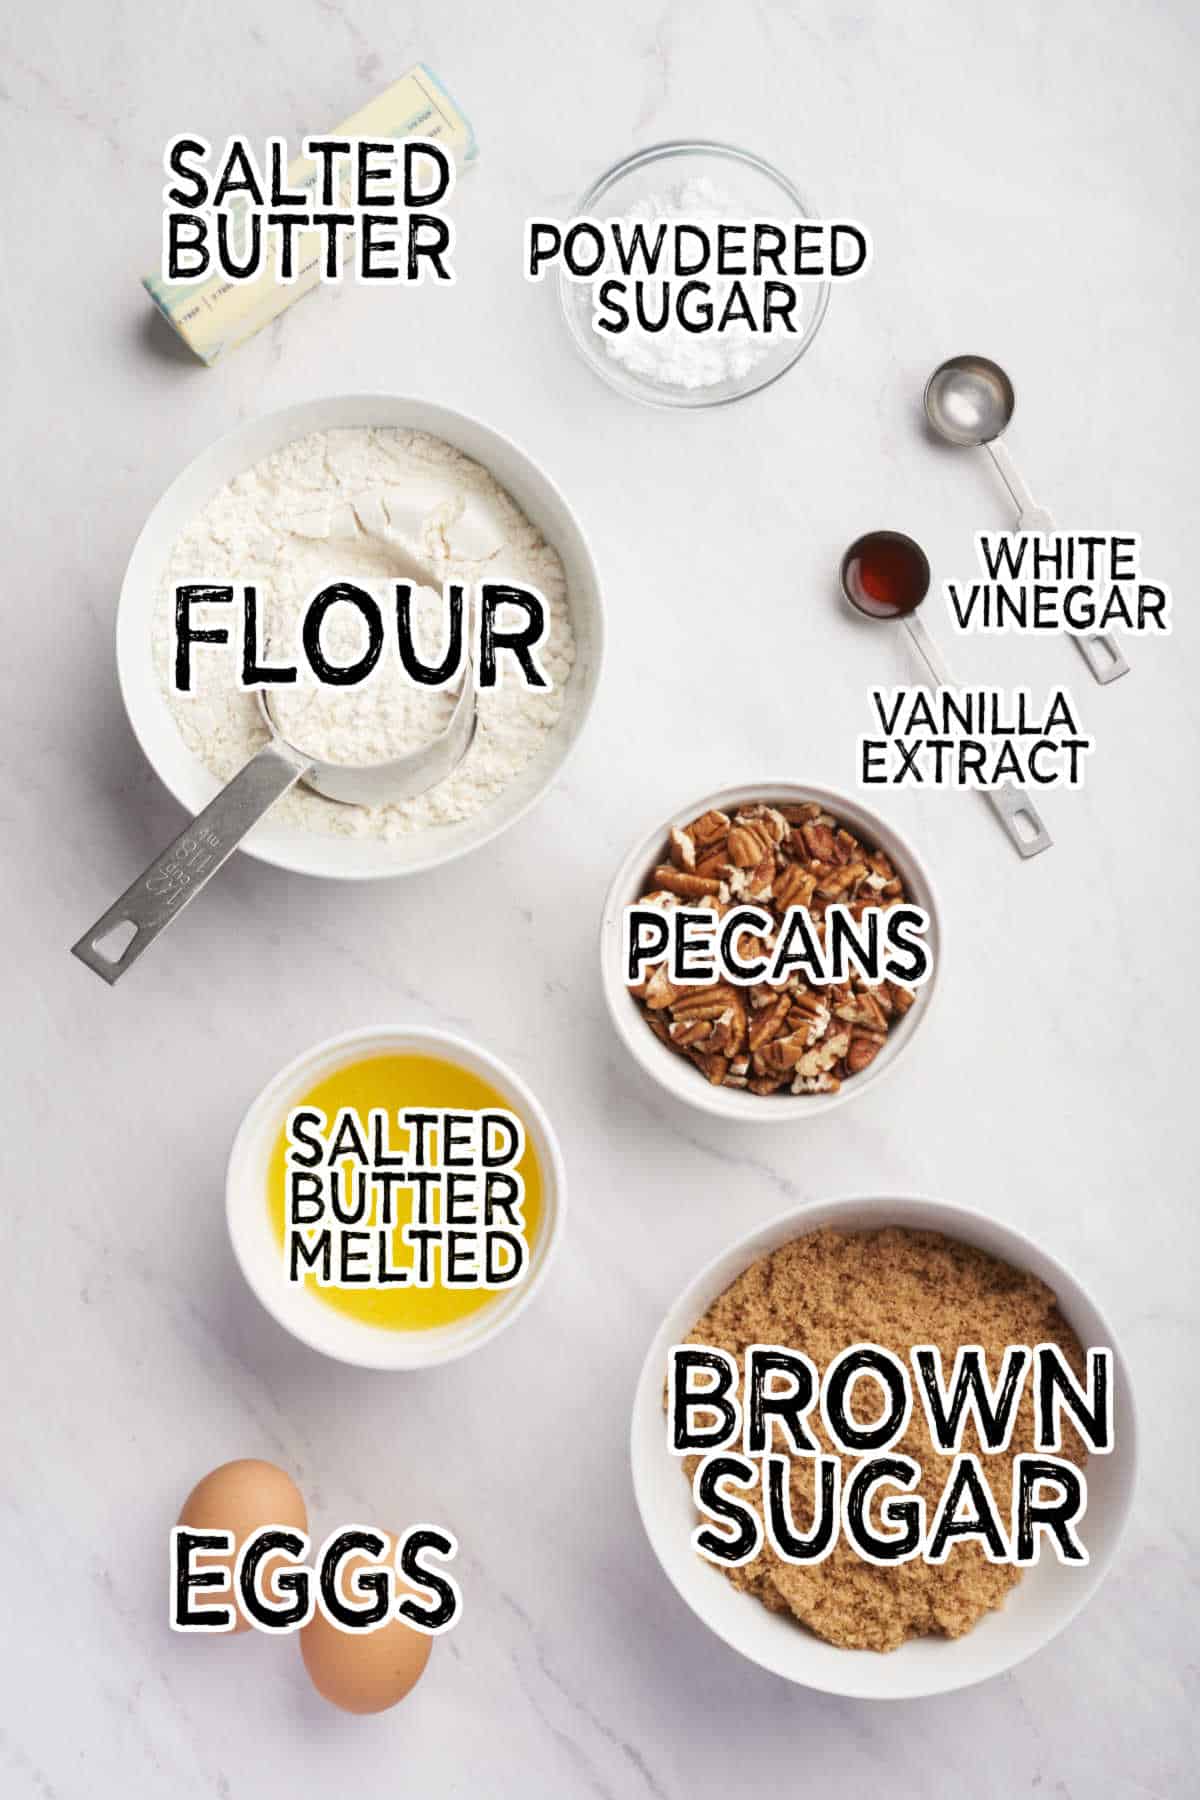
For the crust
- Salted butter
- Powdered sugar (Or as we call it in Canada, “icing sugar”)
- All-purpose flour
For the filling
- Brown sugar
- Salted butter
- Eggs
- White vinegar
- Vanilla extract
- Pecans (chopped)
How to Make Butter Tart Squares
- Step One: Preheat the oven to 350°F.
- Step Two: Grease a 9-inch square baking pan.
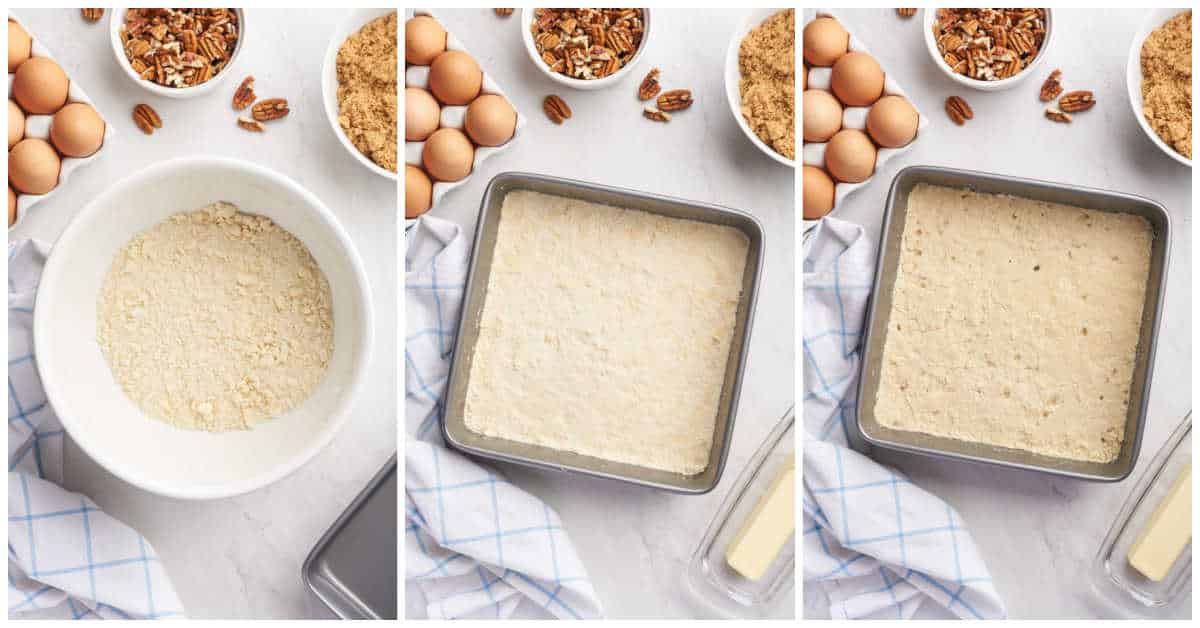
- Step Three: Combine the butter, powdered sugar, and flour in a large bowl. Press this mixture into the base of the pan.
- Step Four: Bake the cookie base for 5 minutes.
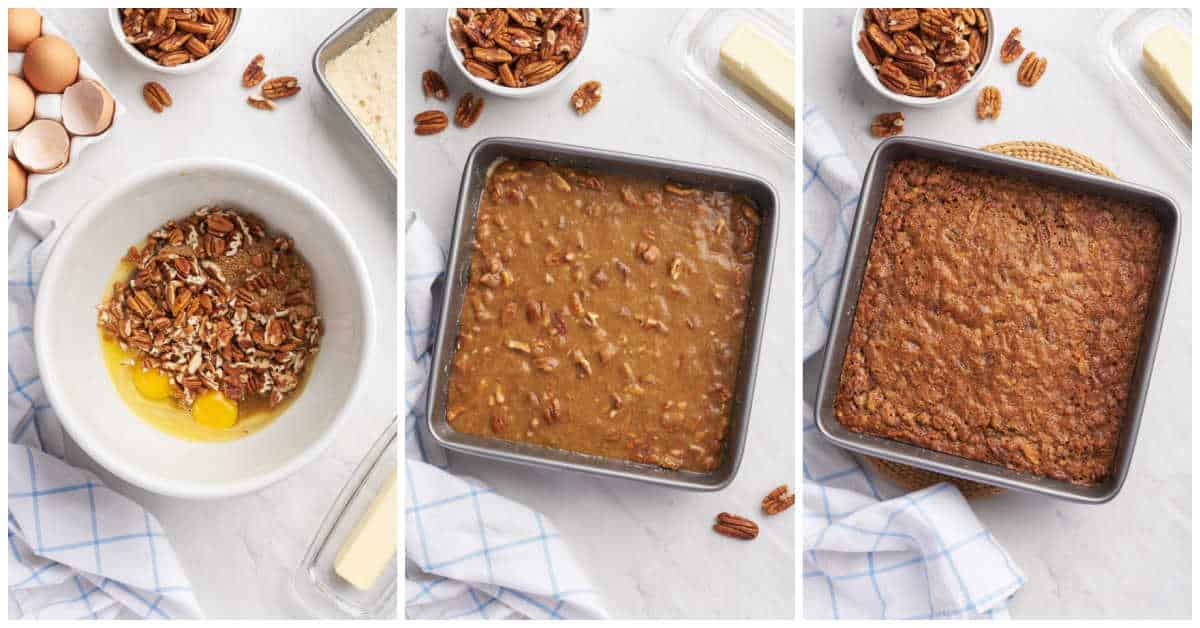
- Step Five: In another large bowl, stir together brown sugar, melted butter, eggs, vinegar, vanilla extract, and pecans.
- Step Six: Pour this mixture over the baked crust.
- Step Seven: Bake for 35 to 45 minutes or until the top is golden.
- Step Eight: Let the tarts cool before cutting them into squares and serving!

What to Serve with Them
Recipe Tips and Tricks
- Don’t substitute all-purpose flour for self-raising flour. Self-raising flour has benefits, but you’re not trying to achieve a rise with your base!
- If you’re struggling with a claggy or overly thick filling base, add just a touch of water to the mixture. A tablespoon or two is usually enough – don’t make it too runny! Your bars will probably fall apart if your mixture is too thick or too thin.
- The vinegar is designed to remove some of the natural sweetness from the recipe. This makes it perfectly balanced and won’t give you that sickly sweet taste! So, don’t miss it out.
- To start, have your butter at room temperature. This will help it incorporate with the rest of the ingredients and avoid a lumpy mixture.
- If you have a stand mixer, that’s probably the best thing to use for the filling. If not, working by hand or using a food processor is fine!
- To make removing your bars as easy as possible, put a layer of baking parchment along the base of your pan. This way, the base of the bars won’t stick or crumble!
- Always ensure your bars’ base has fully cooled before adding the filling. This will help you avoid the dreaded spread of your filling ingredients!
- You’ll know when your filling is done when a light jiggle of the pan results in zero movement. If it’s still wobbly, keep the bars in the oven.
- If you’re having trouble pressing the filling down, lightly moisten the back of a fork. This should help you reach the pan’s nooks and crannies.
Variations and Substitutions
- If you don’t like pecans, leave them out! This recipe also works well with raisins, chocolate chips, walnuts, and virtually any classic mix-in. The sky’s the limit when the result is guaranteed to be delicious!
- I like using darker brown sugar for a richer filling. If you prefer a lighter, less molasses-like bite, opt for light brown sugar!
Storage Instructions
These butter tart squares can be kept in the refrigerator for up to 5 days.
I recommend storing them in an airtight container to maintain their freshness, but they should be fine covered with foil or plastic wrap.
Can I Freeze?
You can freeze these butter tart squares!
You must pop them in an airtight container or freezer bag with parchment paper separating the layers.
When stored like this, they should last for up to 3 months, but it’s always worth checking for freezer burn.
When you’re ready to eat your bars, you can eat them as-is out of the freezer or thaw them in the fridge.
Oh, and I always recommend cutting these bars before freezing them, or you’ll struggle to separate each slice!

Butter Tart Inspired Recipes
You’ll also like Butterscotch Blondies, Penuche Squares, Pecan Bourbon Butter Tarts, Poutine, Sour Cream Raisin Bars, and No-Bake Nougat Bars.
Follow me on Instagram @simplystacieblog, Facebook at Simply Stacie, TikTok @simplystacierecipes or Pinterest at @simplystacie and let me know how you liked this recipe and my other recipes.
Butter Tart Squares
SAVE THIS RECIPE!
Ingredients
Crust
- ½ cup salted butter
- 2 tbsp powdered sugar
- 1 ½ cup all-purpose flour
Filling
- 1 ½ cup brown sugar
- ½ cup salted butter melted
- 2 large eggs
- 1 tsp white vinegar
- 1 tsp vanilla extract
- 1 cup pecans chopped
Instructions
- Preheat oven to 350°F. Grease a 9-inch square baking pan.
- In a large bowl, combine butter, powdered sugar and flour. Press into baking pan. Bake for 5 minutes.
- In another large bowl, stir together brown sugar, melted butter, eggs, vinegar, vanilla extract and pecans. Pour over crust.
- Bake for 35 to 40 minutes, until top is golden. Let cool before cutting into squares.
Nutrition
The information shown is an estimate provided by an online nutrition calculator. It should not be considered a substitute for a professional nutritionist’s advice.
Did you make this recipe?
I’d love to see it! Make sure to share it on your favorite social platform.
Want Even More Recipes?
Join Moms Best Recipes to find more delicious family recipes.
free ebook!
The Best of Simply Stacie
When you subscribe to the newsletter for the latest updates!


Love your recipes! I don’t have a 9×9 pan. If I double the recipe, can I use a 13×9? (Butter Tart Squares).
Thanks Ruth! Yes, you can! If you double the recipe, a 9×13 pan will work since it’s about twice the size of a 9×9. The baking time should be close to the same—start checking at 35 minutes and bake until the top is golden and set. Be sure to let the squares cool completely before cutting so they hold together nicely.
No reply to my comment? Want to know what you think!
Brenda
It does take me a few days or more to reply as I manage comments and emails on my own. I replied below to you.
Hi there, I have made these a few times and while they are good I think there is too much butter in the filling?!? I find it bubbling around the edges of the pan making it very sticky and kind of burnt around the edges?! I have read a dozen or more other recipes and the most butter I saw was 1/4 cup ! Some were just two tbsp. .!?
What do you think? Thanks
You could try the other ones and see how they compare. I like mine extra decadent and find it needs the butter for the right consistency.
Wait!?! No raisins in your butter tart squares???
I made these today! They are pretty good, but my bottom crust I don’t think I did right. It tastes heavily of flour, and it’s weird.
I love butter tarts and have made many times. So making butter tart squares I thought the crust layer would taste basically the same.
Can these be made ahead and frozen?
Yes, you can freeze them for up to 3 months!
Wow!!! These are incredible and super easy to make. Delicious!!!
Thank you for “keeping it simple, Stacie” . Only appreciation for this shared recipe.
These were delicious! A taste of home…
I can’t wait to try these! I’m a Canadian living in the States and they don’t have butter tarts here. You can understand how upsetting that is