
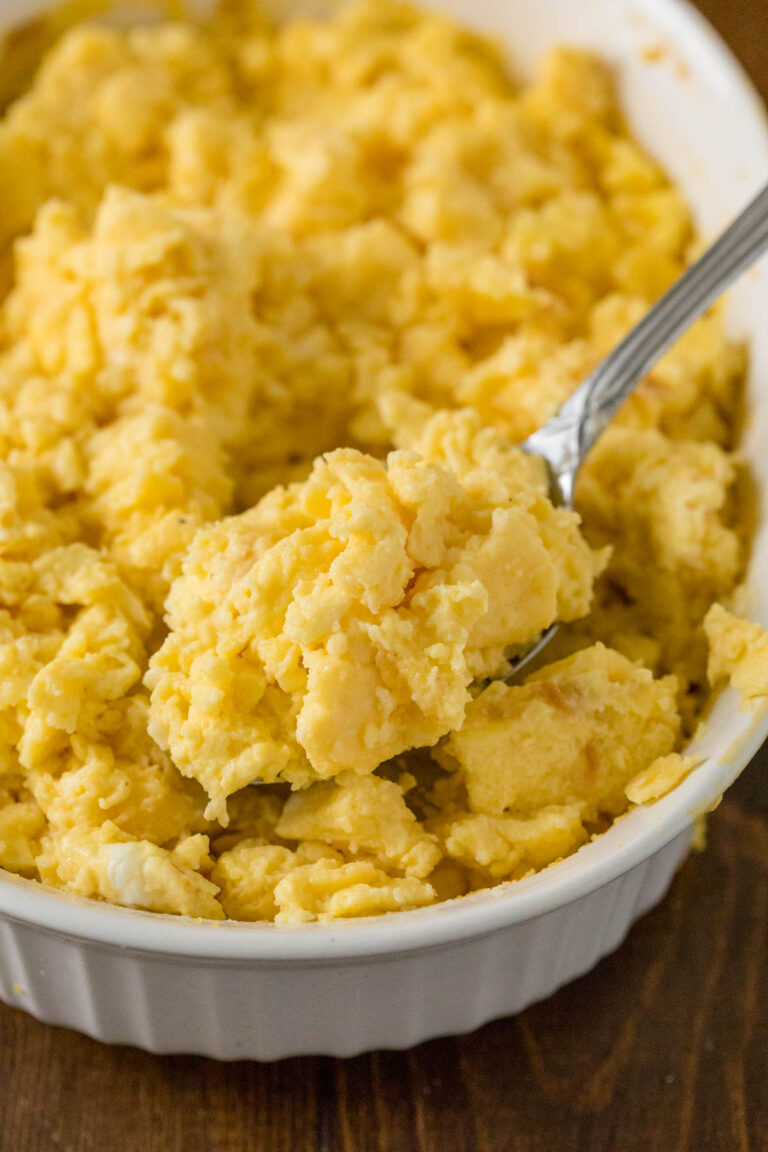
Mac and Cheese Cups

These mini Mac and Cheese cups are cheesy, creamy, and just like Kraft macaroni and cheese—but way better! They’re baked with a crispy topping that gives this homemade pasta recipe extra flavor.
This macaroni and cheese recipe is a keeper. A fun twist on traditional mac ‘n’ cheese, these baked cups are perfect for whenever you are craving your favorite pasta cheese sauce.
One of my favorite store-bought macaroni and cheese is the boxed kind with Velveeta. These macaroni cups are just as mouthwatering and cheesy as your favorite boxed brand–except better.
This baked macaroni has buttery toasted breadcrumbs, which add a lot of variety and crunchiness to the pasta.
You will love making this recipe because it comes together in about 30 minutes and is perfect for those nights whenever you want something simple but yummy. Pairing it with some of my other side dishes creates a delicious plate of sides!
Ingredients
The full printable recipe card with measurements and instructions is found at the bottom of the post.
- Noodles: I like to use macaroni noodles because they are classic, but you could try different pasta shapes.
- Butter: I like salted butter because the more salt, the better!
- Flour: All-purpose flour is used for the cheese sauce and is a thickening agent.
- Milk: I prefer dairy milk for this recipe, but you can use any kind. Just make sure it is unflavored.
- Cheese: You will need both Parmesan and cheddar cheeses. I like to freshly grate my cheeses for mac and cheese.
- Eggs: The eggs thicken the macaroni and cheese and give the tender pasta an extra smooth and creamy texture.
- Breadcrumbs: Any kind of breadcrumbs are acceptable in this recipe. The breadcrumbs add an element that makes this pasta recipe stand out from the rest!

How To Make Mac and Cheese Cups
Follow along to learn how to make mac and cheese cups!
- Preheat oven to 400°F. Grease the muffin pan with nonstick spray oil or softened butter. Set the pan aside.
- Cook the macaroni according to the package directions in a medium saucepan. Drain the macaroni in a colander and then quickly rinse it with cool water. Set aside.
- Add two tablespoons of butter to a saucepan over medium heat. Once the butter has melted, slowly add the flour. Cook the butter mixture for two minutes while constantly stirring.
- Next, stir in the milk and cook until the mixture thickens again. Stir in Parmesan and cheddar cheeses and add more milk as needed.
- Remove the cheese mixture from heat and add it to the cooked macaroni. Stir to combine, then add the eggs and continue to stir.
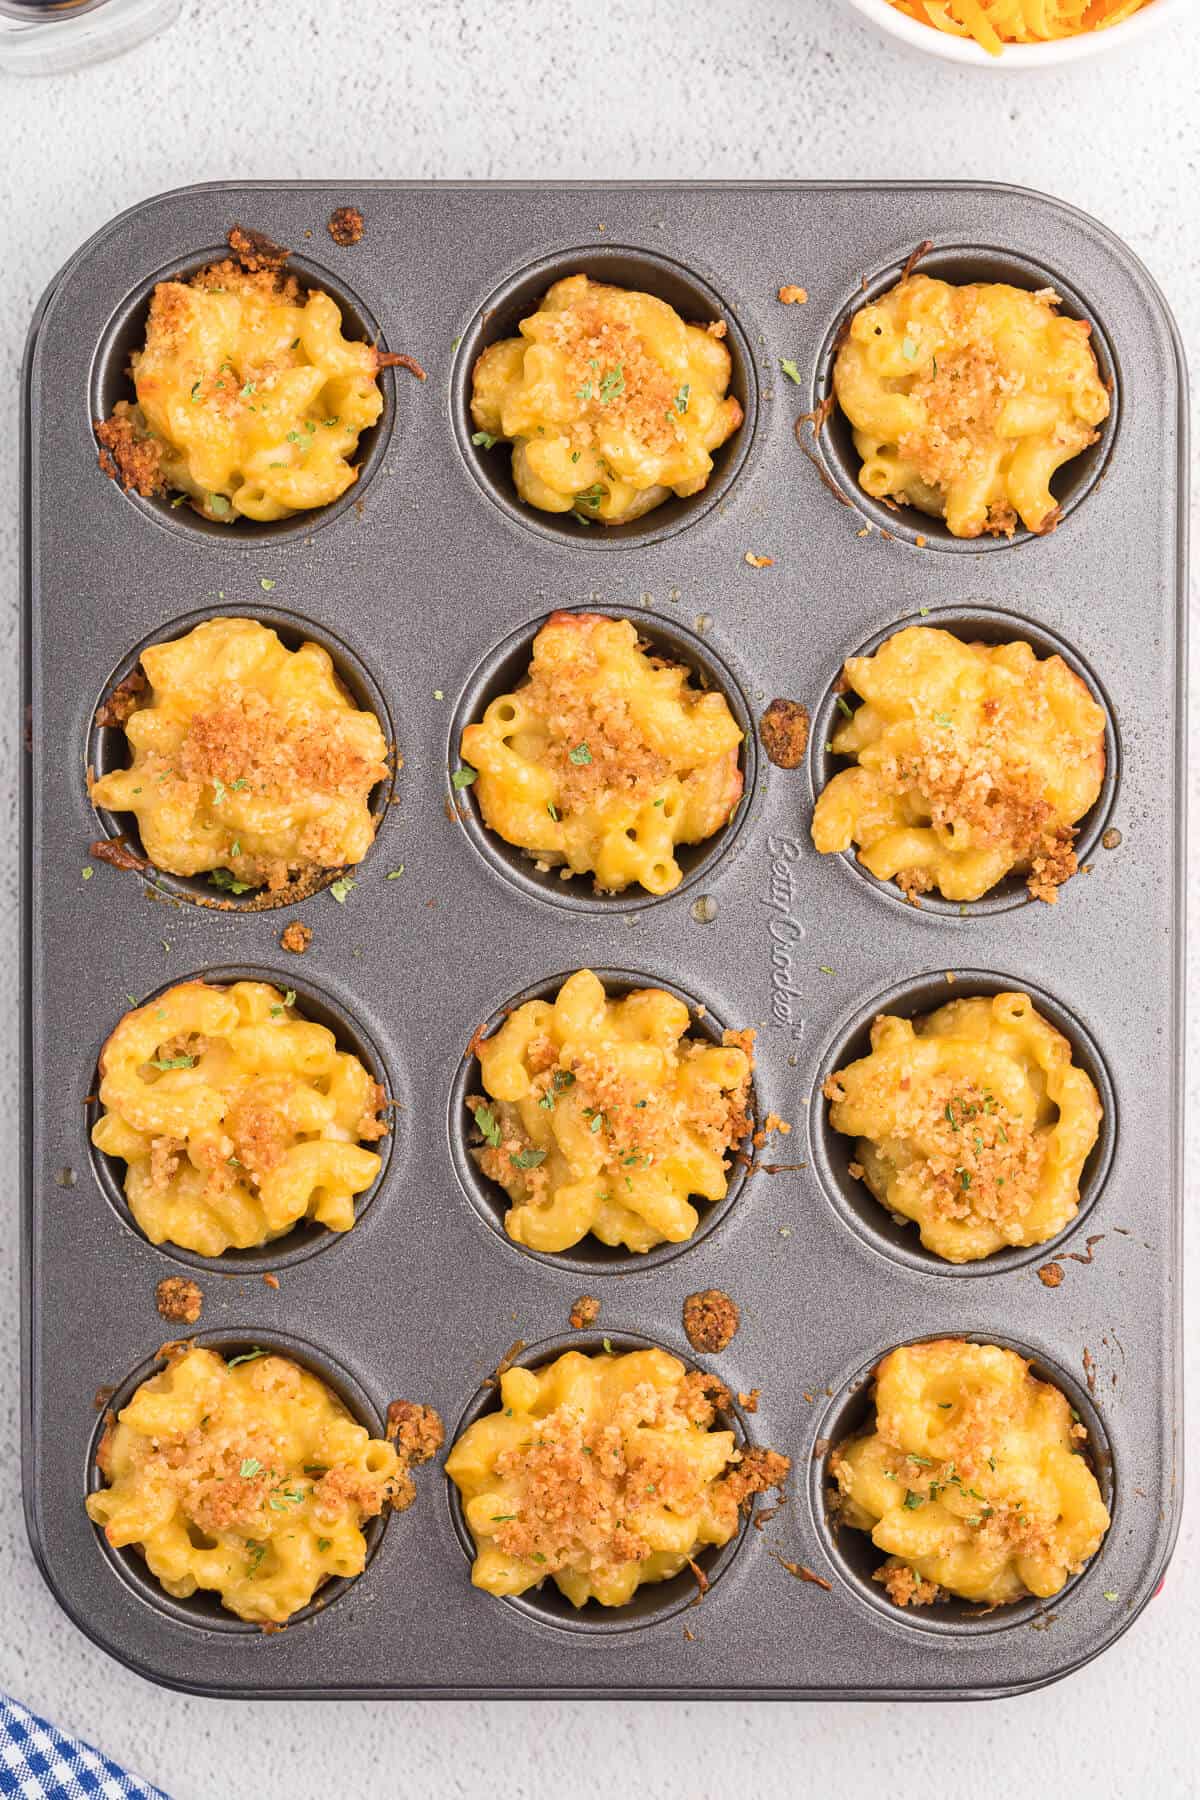
- Fill the mini muffin pan with the macaroni mixture at the top of each cup.
- In a small bowl, stir together the breadcrumbs, melted butter, and Parmesan cheese. Sprinkle the breadcrumbs over the mac and cheese cups.
- Bake the macaroni for fifteen minutes. Allow the macaroni to cool in the pan before moving each cup.
- If the mac and cheese cups do not easily come out of the pan, gently use a butter knife to loosen them.
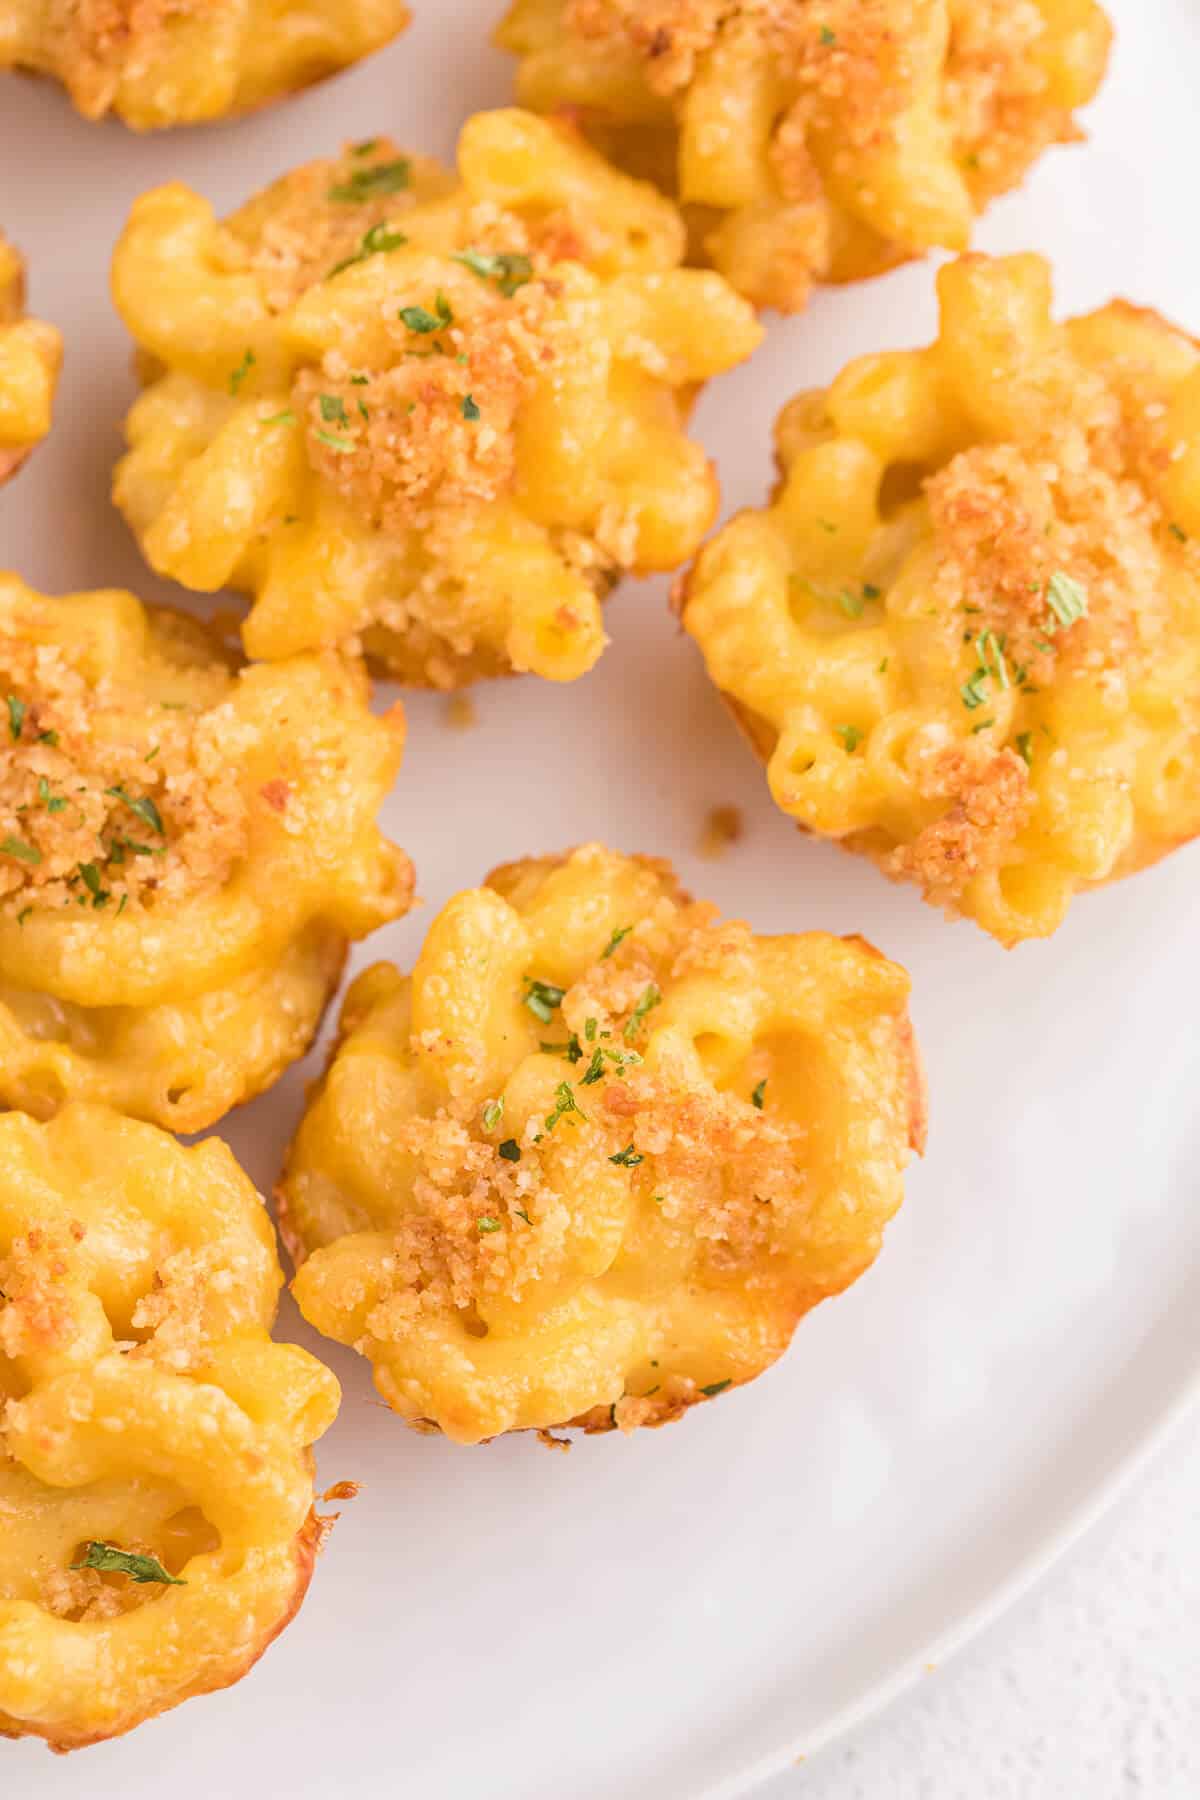
- Serve and garnish with fresh parsley, if desired.
Why Use Eggs?
Eggs allow macaroni and cheese to be extra indulgent and creamy. Often, macaroni and cheese recipes without eggs do not turn out as smooth.
Should You Cover Them While They Bake?
Do not worry about covering this mac and cheese as it bakes because the tops of the cups will turn golden brown.
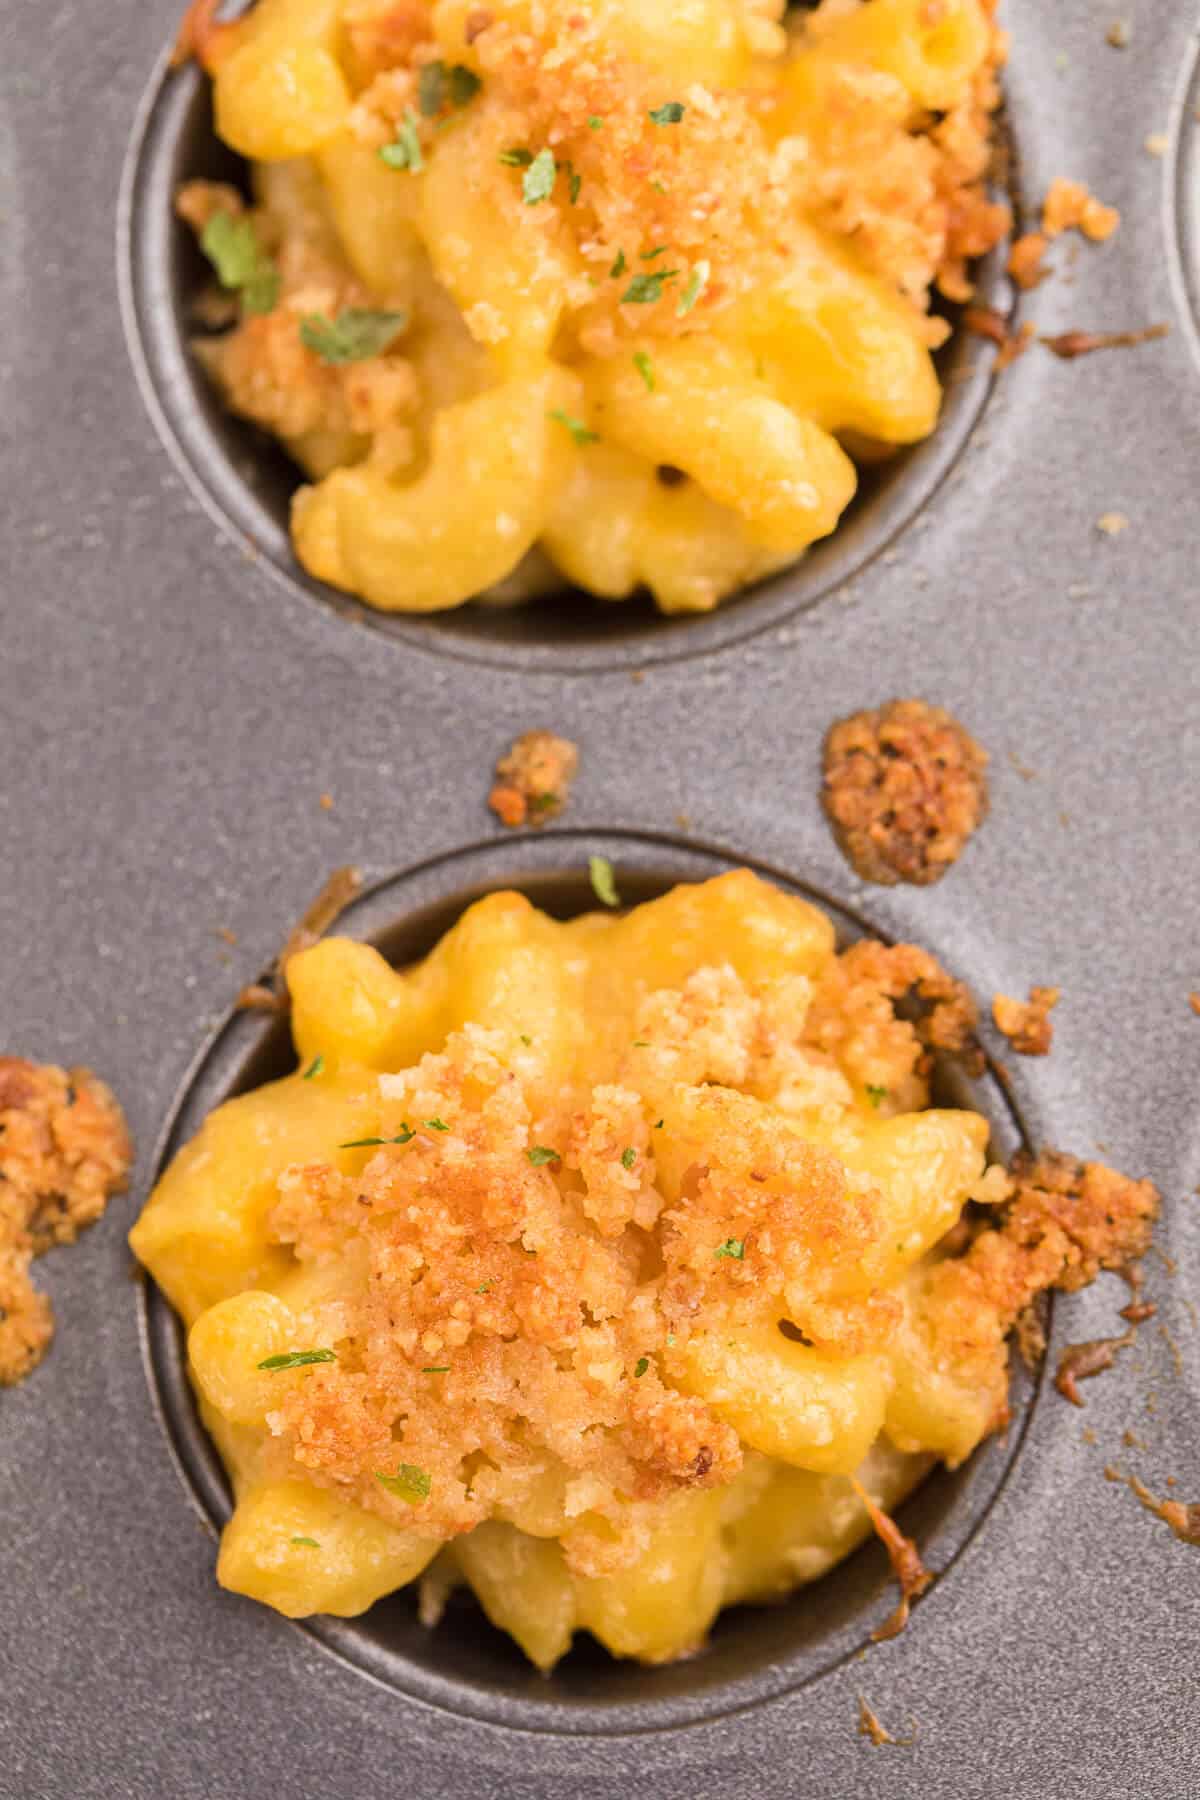
How to Tell When They Are Done
The tops of the mac and cheese cups will be slightly crispy and brown. When the mac and cheese is done, you will see the cheese bubbling on the sides of the pan.
Serving Ideas
Serve this recipe with your favorite meal, such as stuffed burgers or comforting Sunday meatloaf. I like to pair this easy mac with all types of proteins, veggies, and casseroles.
This easy pasta recipe is great for the holidays with your favorite turkey or ham recipes.
You’ll also like these Air Fryer Mozzarella Balls and Olive Cheese Balls.

More Pasta Recipes You’ll Love
- 5 Soup Pasta
- Pizza Pasta
- Chili Pasta Salad
- Unstuffed Pepper Pasta
- Stovetop Mac and Cheese
- Velveeta Mac and Cheese
- Dill Pickle Mac and Cheese
- Sloppy Joe Mac and Cheese
Follow me on Instagram @simplystacieblog, Facebook at Simply Stacie, TikTok @simplystacierecipes or Pinterest at @simplystacie and let me know how you liked this recipe and my other recipes.

Mac and Cheese Cups
SAVE THIS RECIPE!
Ingredients
- 2 cups macaroni noodles uncooked
- 2 tbsp salted butter
- 2 tbsp all-purpose flour
- ¼ cup milk
- 2 cups cheddar cheese shredded
- ¼ cup Parmesan cheese
- 2 large eggs
- ¼ tsp dried Parsley for garnish, optional
Crumb topping
- ¼ cup plain breadcrumbs
- 2 tbsp salted butter melted
- 1 tbsp Parmesan cheese
Instructions
- Preheat oven to 400°F. Grease a mini muffin pan and set aside.
- Cook macaroni according to package directions. Set aside.
- Add 2 tablespoons salted butter to a saucepan over medium low heat. Once melted, add stir in flour. Cook for two minutes, stirring constantly.
- Stir in milk and cook until the mixture thickens up again. Stir in cheddar cheese and ¼ cup Parmesan cheese. You can add more milk if you find the mixture too thick.
- Remove from heat and add to cooked macaroni. Stir to combine. Add eggs and stir to combine.
- Fill the mini muffin pan with the macaroni mixture right to the top.
- In a small bowl, stir together breadcrumbs, melted butter and Parmesan cheese. Sprinkle on top of mac and cheese cups.
- Bake for 15 minutes. Let cool 10 minutes in the pan before attempting to remove them. You might need to loosen them with a butter knife if they don’t come out easily. Sprinkle parsley on top, if desired.
Nutrition
The information shown is an estimate provided by an online nutrition calculator. It should not be considered a substitute for a professional nutritionist’s advice.
Did you make this recipe?
I’d love to see it! Make sure to share it on your favorite social platform.
Want Even More Recipes?
Join Moms Best Recipes to find more delicious family recipes.
free ebook!
The Best of Simply Stacie
When you subscribe to the newsletter for the latest updates!


This is not a recipe for leftover mac & cheese.
This looks delicious! Can I use leftover Mac and cheese?
Yes, you can use leftovers! You will need to add in eggs though so they hold together in the muffin pan.
Can these be made in regular muffin tins and if yes, does it change the baking time?
Hi Leslie,
Yes, you can. I found the baking time to be the same, but they were a little more tricky to get out of the muffin tin. Just make sure you grease the pan well so they don’t stick. Let them cool a good 10 to 15 minutes so they’ll hold better.
These look so good and easy to make.
These look crazy good! I too am a fanatic for mac-n-cheese. Thanks for sharing. Adding this to my Pin board!
I ought to give these a try. I bet my family would love them.