
Grandma’s Mud Hen Bars

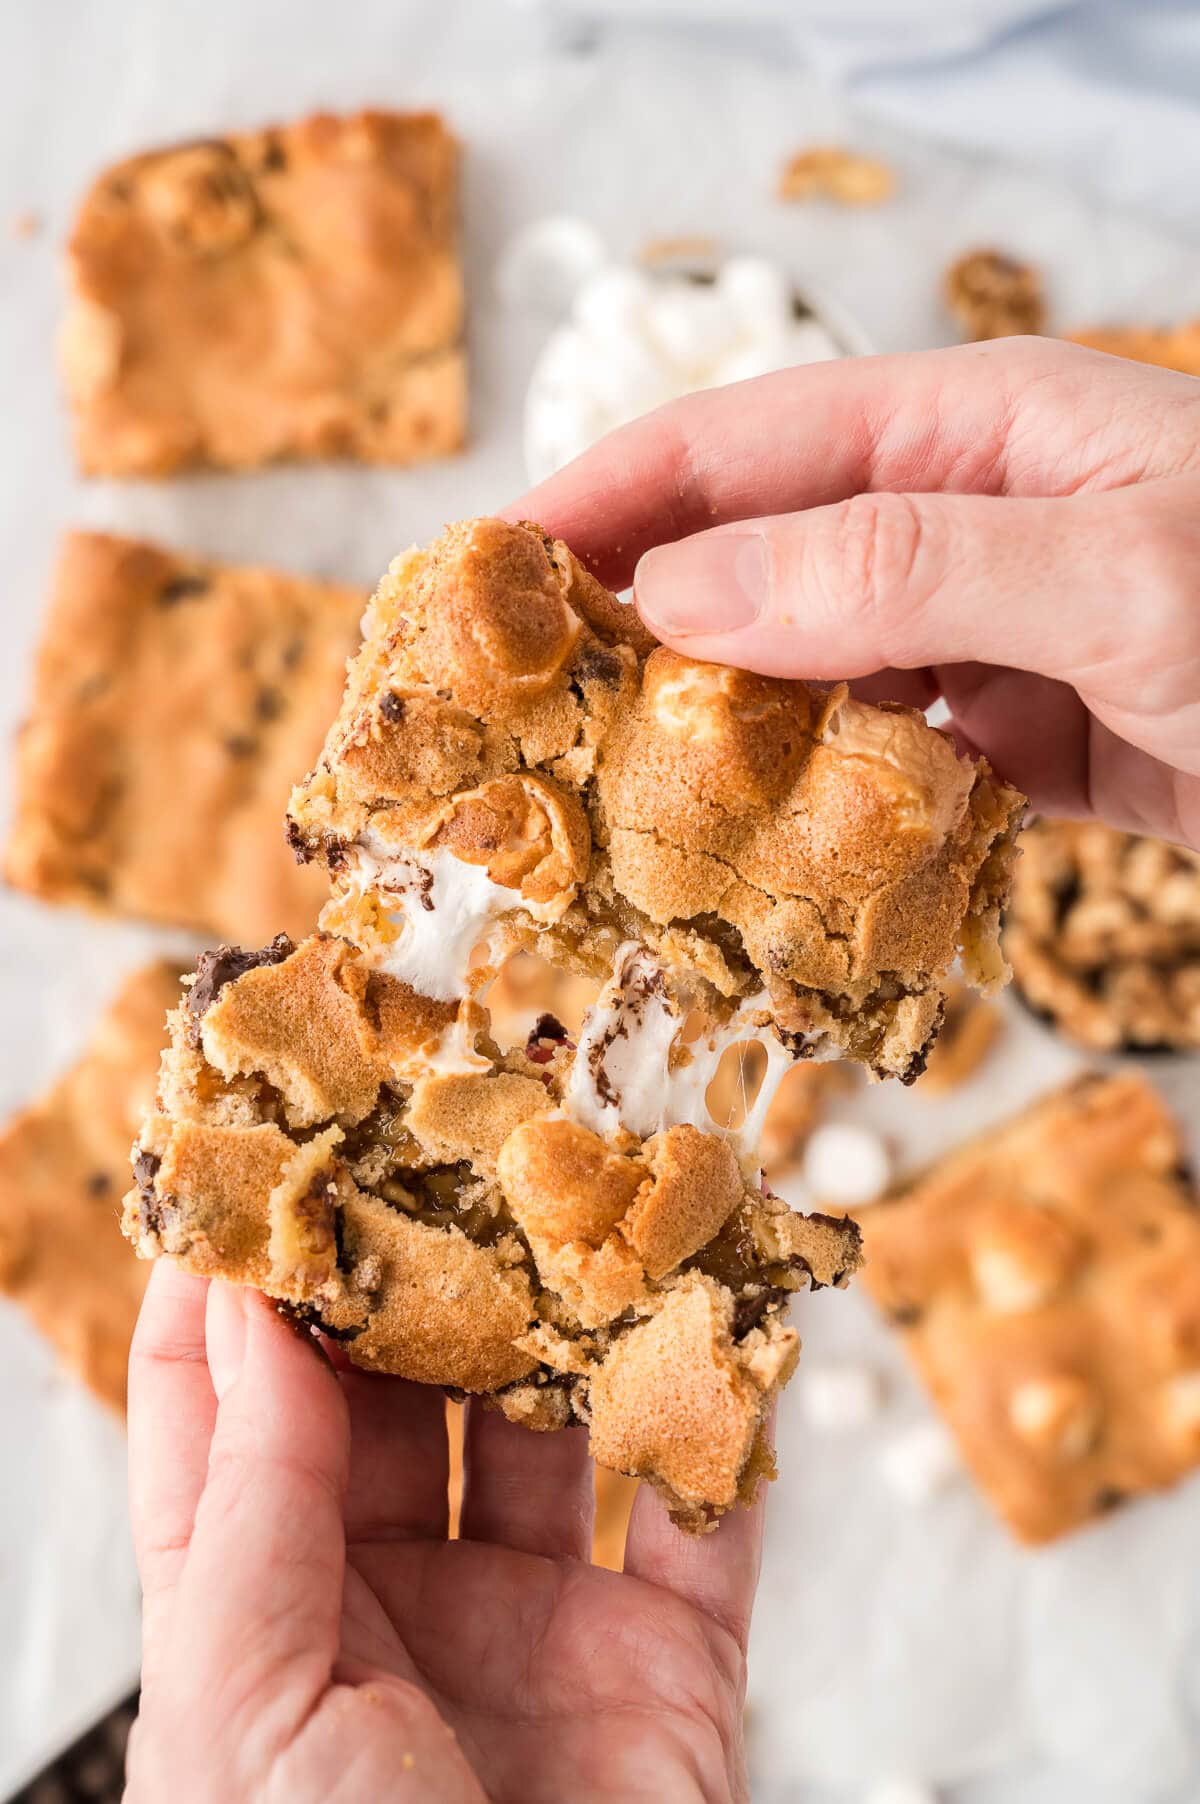
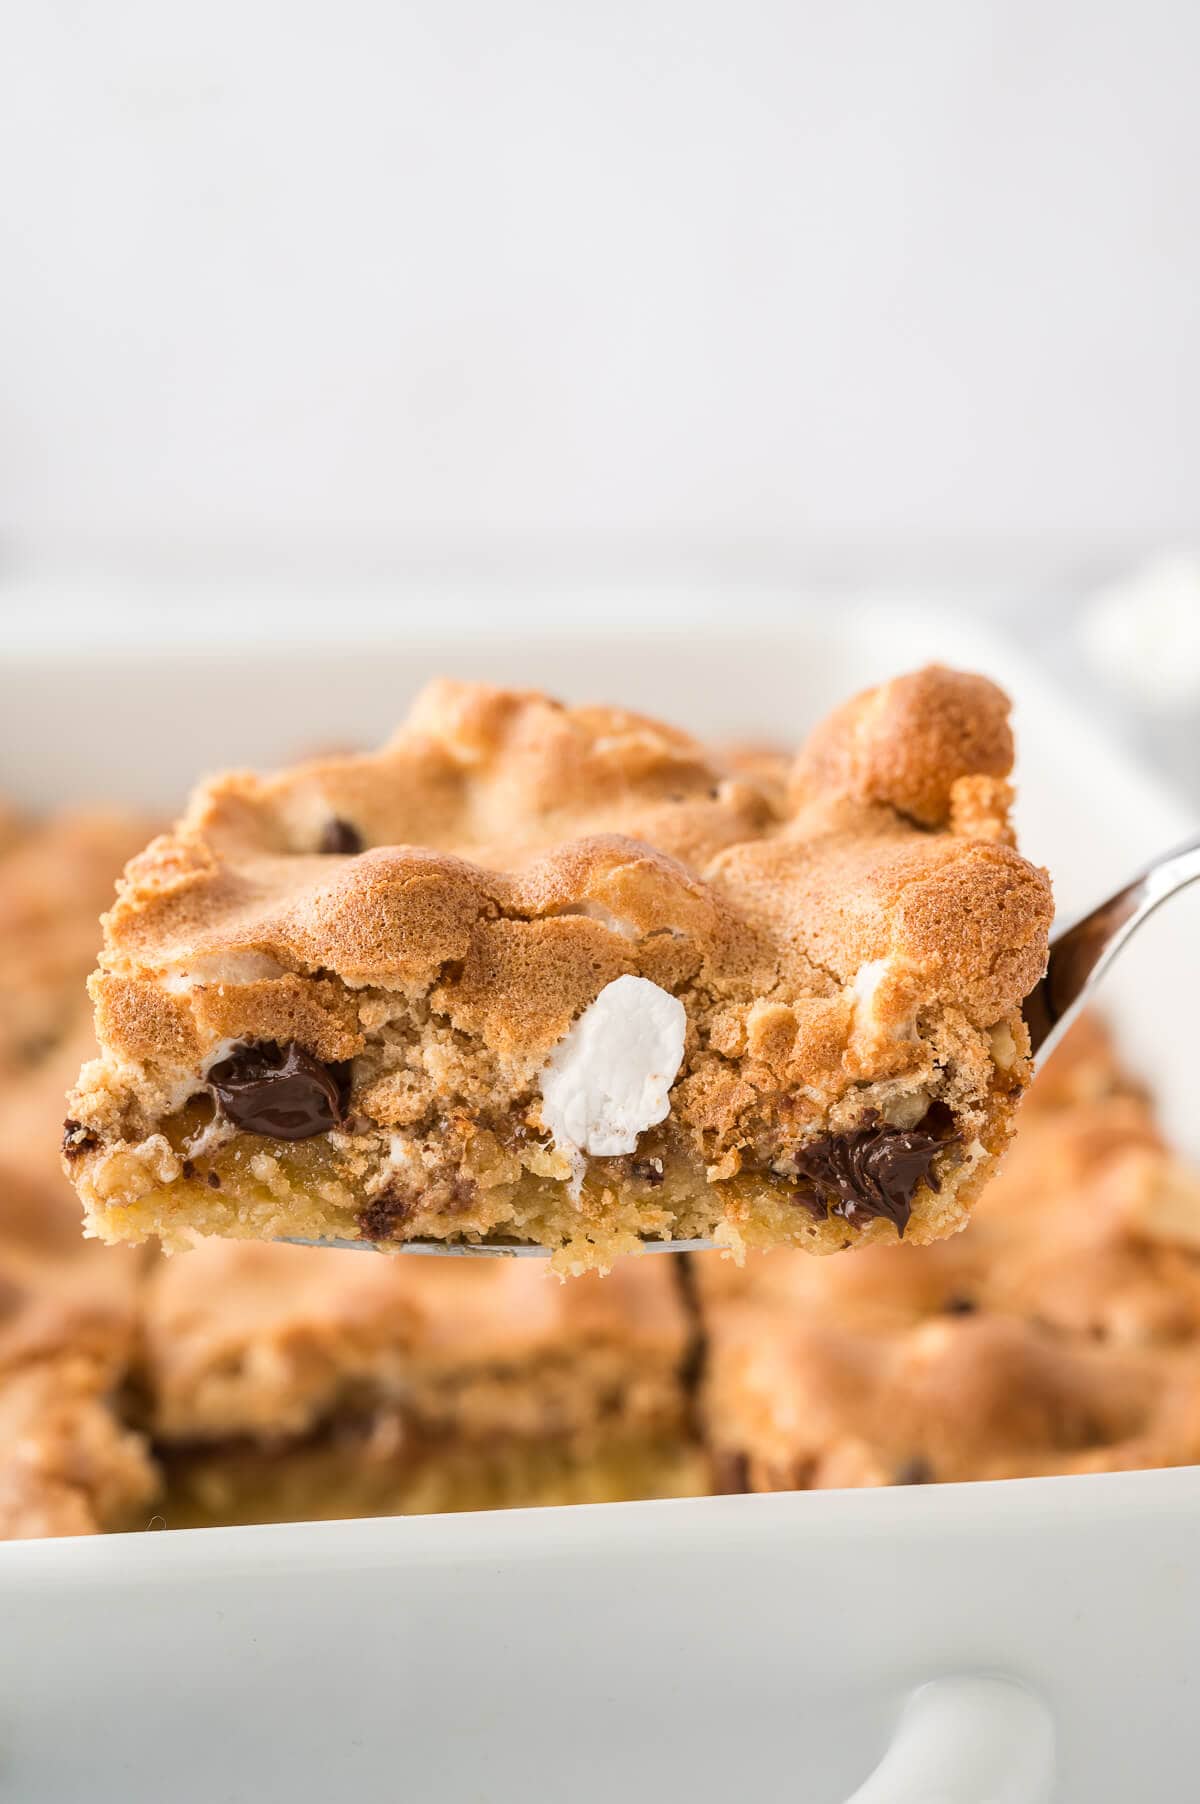
Mud Hen Bars are a vintage dessert from Grandma’s cookbook. They have a cookie bar base topped with walnuts, chocolate chips, melted marshmallows, and a sweet brown sugar meringue.
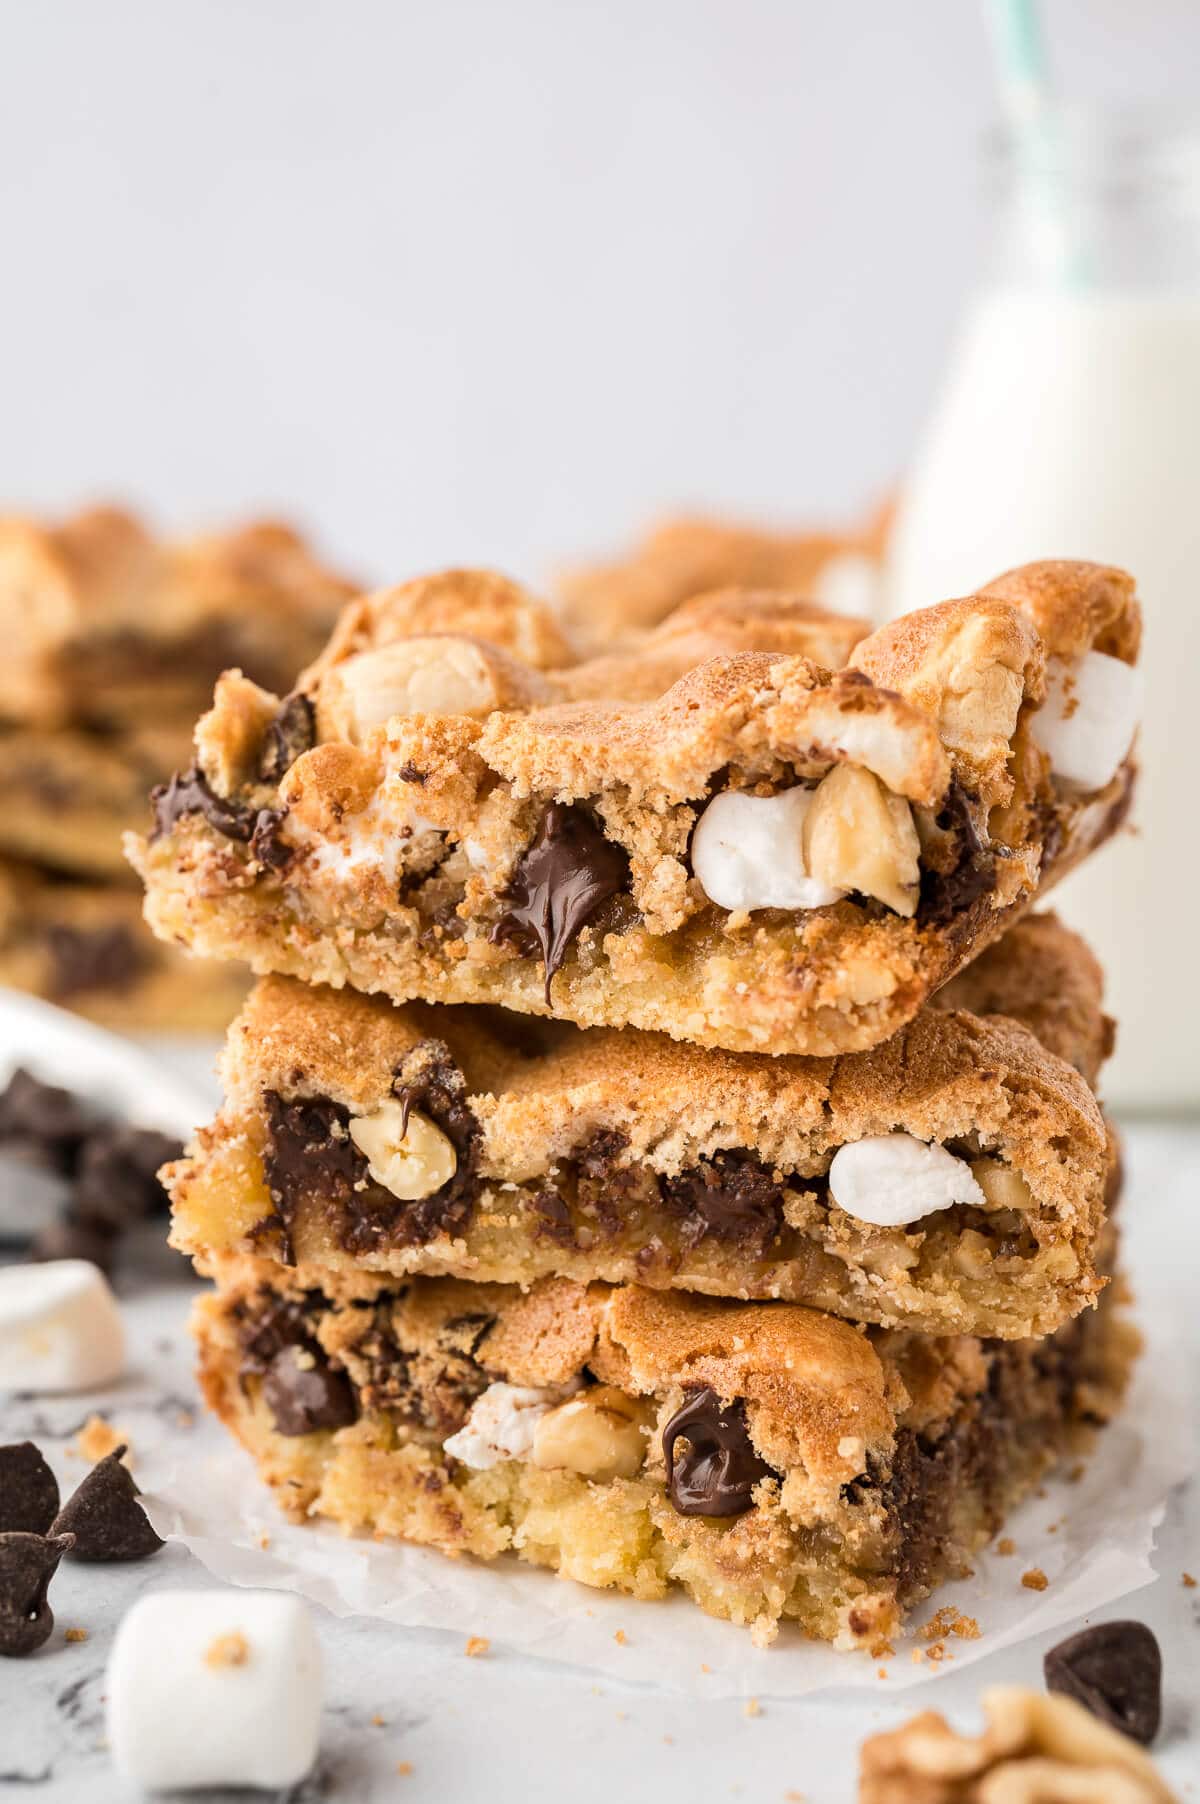
They may not be the prettiest dessert, but they’re tasty. One bar is never enough for me. I get cravings for Mud Hen Bars and end up eating two or three. Eek!
They’re sweet, chewy, gooey, and oh so yummy. The brown sugar meringue is crisp on top and soft underneath, sitting over melted marshmallows, chocolate, and a chewy cookie base. It’s my favorite part. Pure bliss.
I’m not sure where the name comes from, but one popular guess is the old Southern saying “uglier than a mud hen.” Don’t judge them until you try them at least once. They were gobbled up fast at my house.
Ingredients
The full printable recipe card with measurements and instructions is found at the bottom of the post.
- Shortening: It’s all fat with no water, so the base stays soft and tender under the toppings.
- Sugar
- Egg and egg yolks: Add the whole egg and two yolks to the base. Add the two whites to the meringue so nothing goes to waste.
- All-purpose flour, baking powder, and salt
- Walnuts
- Semi-sweet chocolate chips
- Mini marshmallows
- Brown sugar: Dark or light brown sugar works.

How to Make Mud Hen Bars
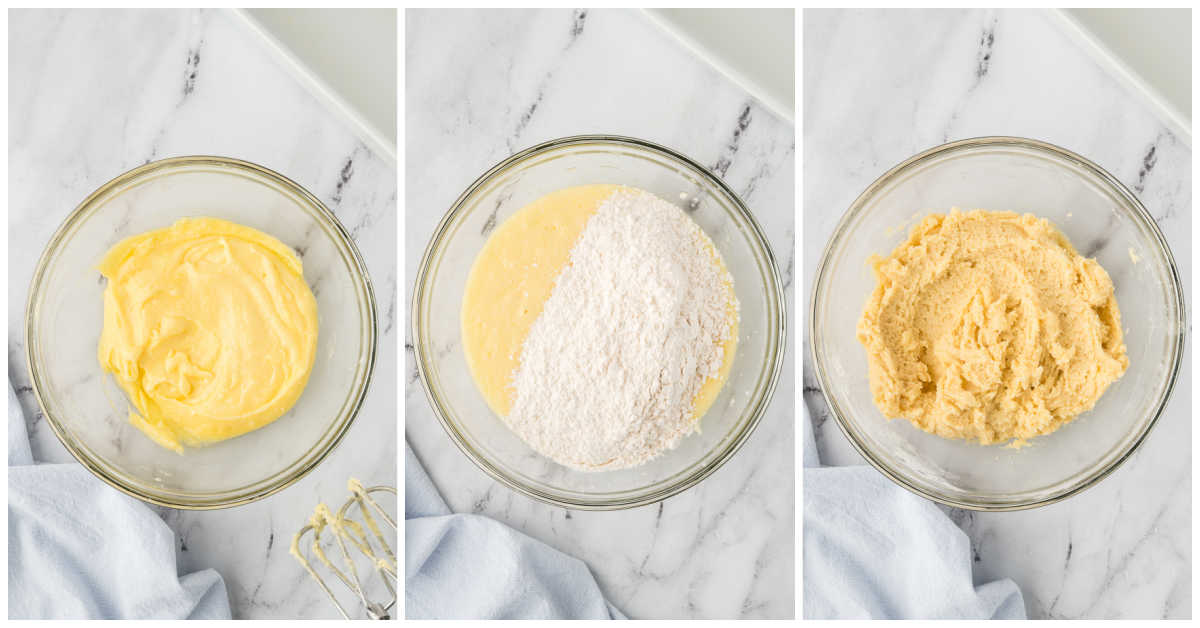
- Step One: Make the cookie base. Cream the shortening and sugar, beat in the egg and yolks, then mix in the dry ingredients. The dough is thick and sticky, so grease the pan well and press it out with a spatula or damp fingers.
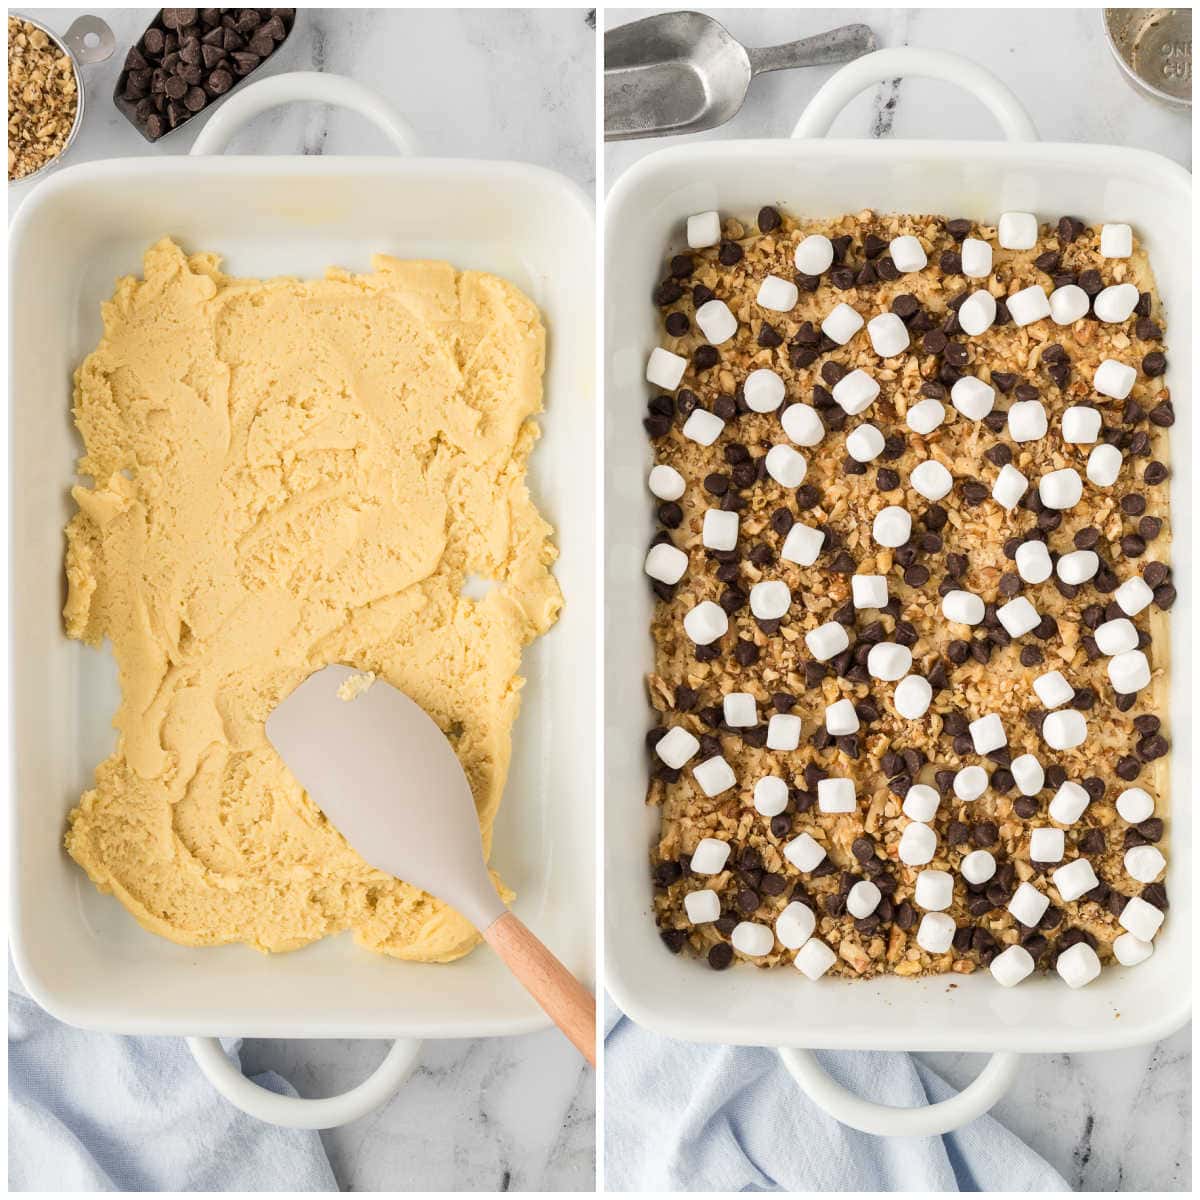
- Step Two: Add the toppings. Sprinkle the walnuts, chocolate chips, and marshmallows over the base.
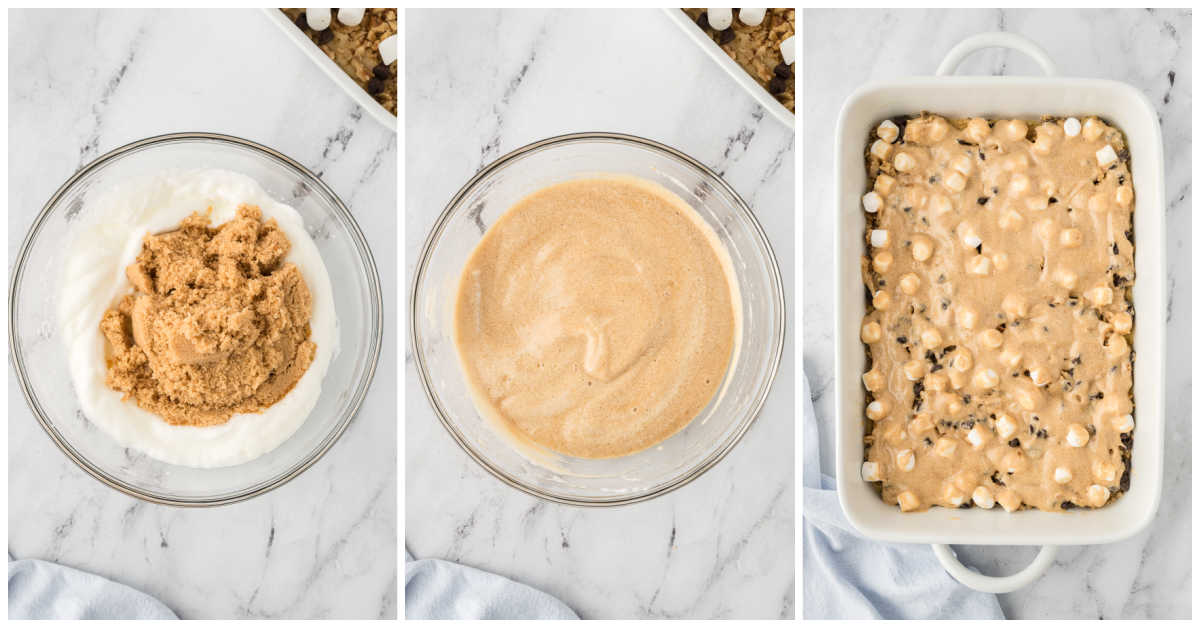
- Step Three: Make the meringue. Beat the egg whites until stiff peaks form, then gently fold in the brown sugar. Spread it over the toppings, reaching the edges.
- Step Four: Bake and cool. Bake until the top is golden, then let the bars cool completely before cutting.

What I Learned Making This Recipe
- Keep the yolk out of the whites. Even a little yolk keeps egg whites from whipping stiff.
- Beat to stiff peaks first, then gently fold in the brown sugar. This keeps the meringue light.
- The base is stiff and sticky. Grease the pan well, then press the mixture out with a spatula or damp fingers.
- Spread the meringue to the edges. It should cover the marshmallows all the way across.
- A cracked top is normal. That’s just how these bars look.
- Let them cool fully before cutting. The meringue is fragile, so use a sharp knife and wipe it between cuts.
- Go by color. The topping should be golden brown when they’re done. If it gets there before the base is baked through, tent it with foil.
Variations and Substitutions
- Skip the nuts. One reader left them out for a s’mores-style bar and loved them.
- Use pecans instead of walnuts. Pecans are a good swap, and they show up in many older versions of this recipe.
- Use butter instead of shortening. You’ll get a more buttery flavor.
- Try butterscotch chips. Use them in place of the chocolate chips.
Storage Instructions
- Refrigerator: Keep them in an airtight container in the fridge for up to 3 days.
- Freezer: I don’t recommend freezing these.
More Bar Recipes
Follow me on Instagram @simplystacieblog, Facebook at Simply Stacie, TikTok @simplystacierecipes or Pinterest at @simplystacie and let me know how you liked this recipe and my other recipes.

Vintage Mud Hen Bars
SAVE THIS RECIPE!
Ingredients
- ½ cup shortening
- 1 cup sugar
- 1 large egg
- 2 egg yolks
- 1 ½ cup all-purpose flour
- 1 tsp baking powder
- ¼ tsp salt
- 1 cup walnuts chopped
- ½ cup semisweet chocolate chips
- 1 cup mini marshmallows
- 1 cup brown sugar
- 2 egg whites
Instructions
- Preheat oven to 350°F. Grease a 9×13 inch baking pan and set aside.
- Add shortening and sugar to a bowl and cream together with an electric mixer. Beat in egg and egg yolks.
- In another bowl, stir together flour, baking powder and salt. Add to sugar mixture and stir together until combined.
- Spread mixture on the bottom of the baking pan. Sprinkle walnuts, semisweet chocolate chips and marshmallows on top.
- In another bowl, beat egg whites until stiff. Fold in brown sugar. Spread in the baking pan.
- Bake for 30 minutes. Let cool and then cut into bars.
Notes
- Storage: Keep leftovers in a covered container in the fridge for up to 3 days. I don’t recommend freezing these.
- Doneness: Bake until the topping is golden brown. If it browns too fast, tent with foil.
- The base: The dough is thick and sticky. Grease the pan well and press it out with a spatula or damp fingers.
- The meringue: Spread it all the way to the edges so it covers the marshmallows.
- Cutting: Let the bars cool completely first. Use a sharp knife and wipe it between cuts.
- Swaps: Skip the nuts, use pecans instead of walnuts, or use butter instead of shortening. Butterscotch chips can replace the chocolate chips.
Nutrition
The information shown is an estimate provided by an online nutrition calculator. It should not be considered a substitute for a professional nutritionist’s advice.
Did you make this recipe?
I’d love to see it! Make sure to share it on your favorite social platform.
Want Even More Recipes?
Join Moms Best Recipes to find more delicious family recipes.
free ebook!
The Best of Simply Stacie
When you subscribe to the newsletter for the latest updates!











This recipe is amazing! Incredibly simple ingredients, no butter, no vanilla, no excess yolks or whites you don’t know what to do with. I followed the recipe exactly (except no walnuts bc I wanted them smore-y), used a metal 9×13, and they came out perfect. I was so surprised the egg whites didn’t deflate after adding so much brown sugar, but it worked! They were a hit at knitting night, and the one I may have had for breakfast this morning was delightful! I expect the meringue won’t stay crisp for much longer, especially in humid places, but I’m not worried about them getting eaten before that happens. Next time, I might jazz up the ingredients and use browned butter and vanilla and maybe make the cookie part more graham-cracker-y to make them like fancy smores. BUT it’s so valuable to have a fancy* dessert that’s actually so cheap to make. Thanks for keeping this recipe alive!
*if there’s meringue, it’s fancy
This was my first time ever trying this vintage dessert, and it turned out super yummy! So glad I tried it!
Your Mud Hen Bars will be a very special treat! Hope you are having a great week and thanks so much for sharing your awesome post with us at Full Plate Thursday!
Miz Helen
Very cute name, and they look delicious! They would make a fun and tasty addition to my “treat tins” that I like to give to friends at christmas time! Thank you for sharing at Celebrate it!
I have never ever heard of mud hen bars. I always love a good dessert with a fun name! Pinned.