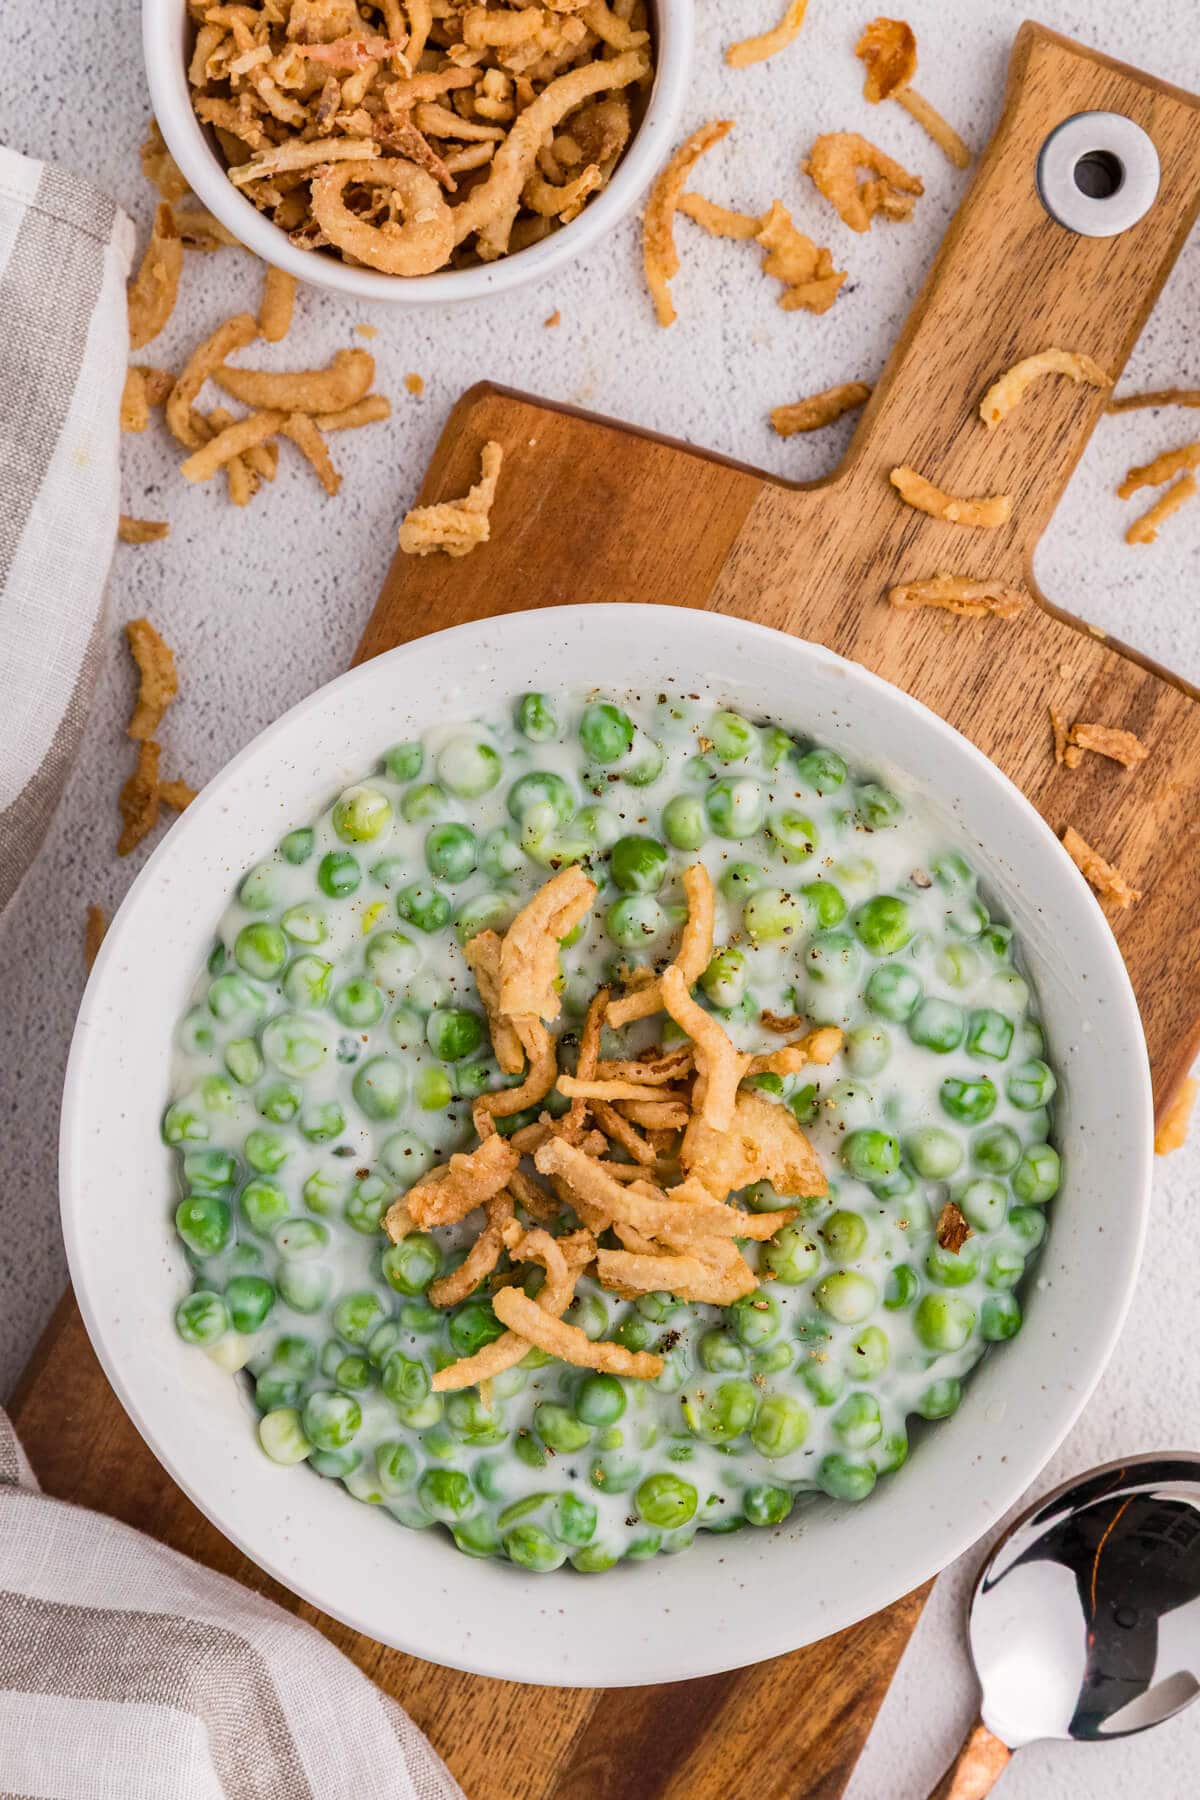
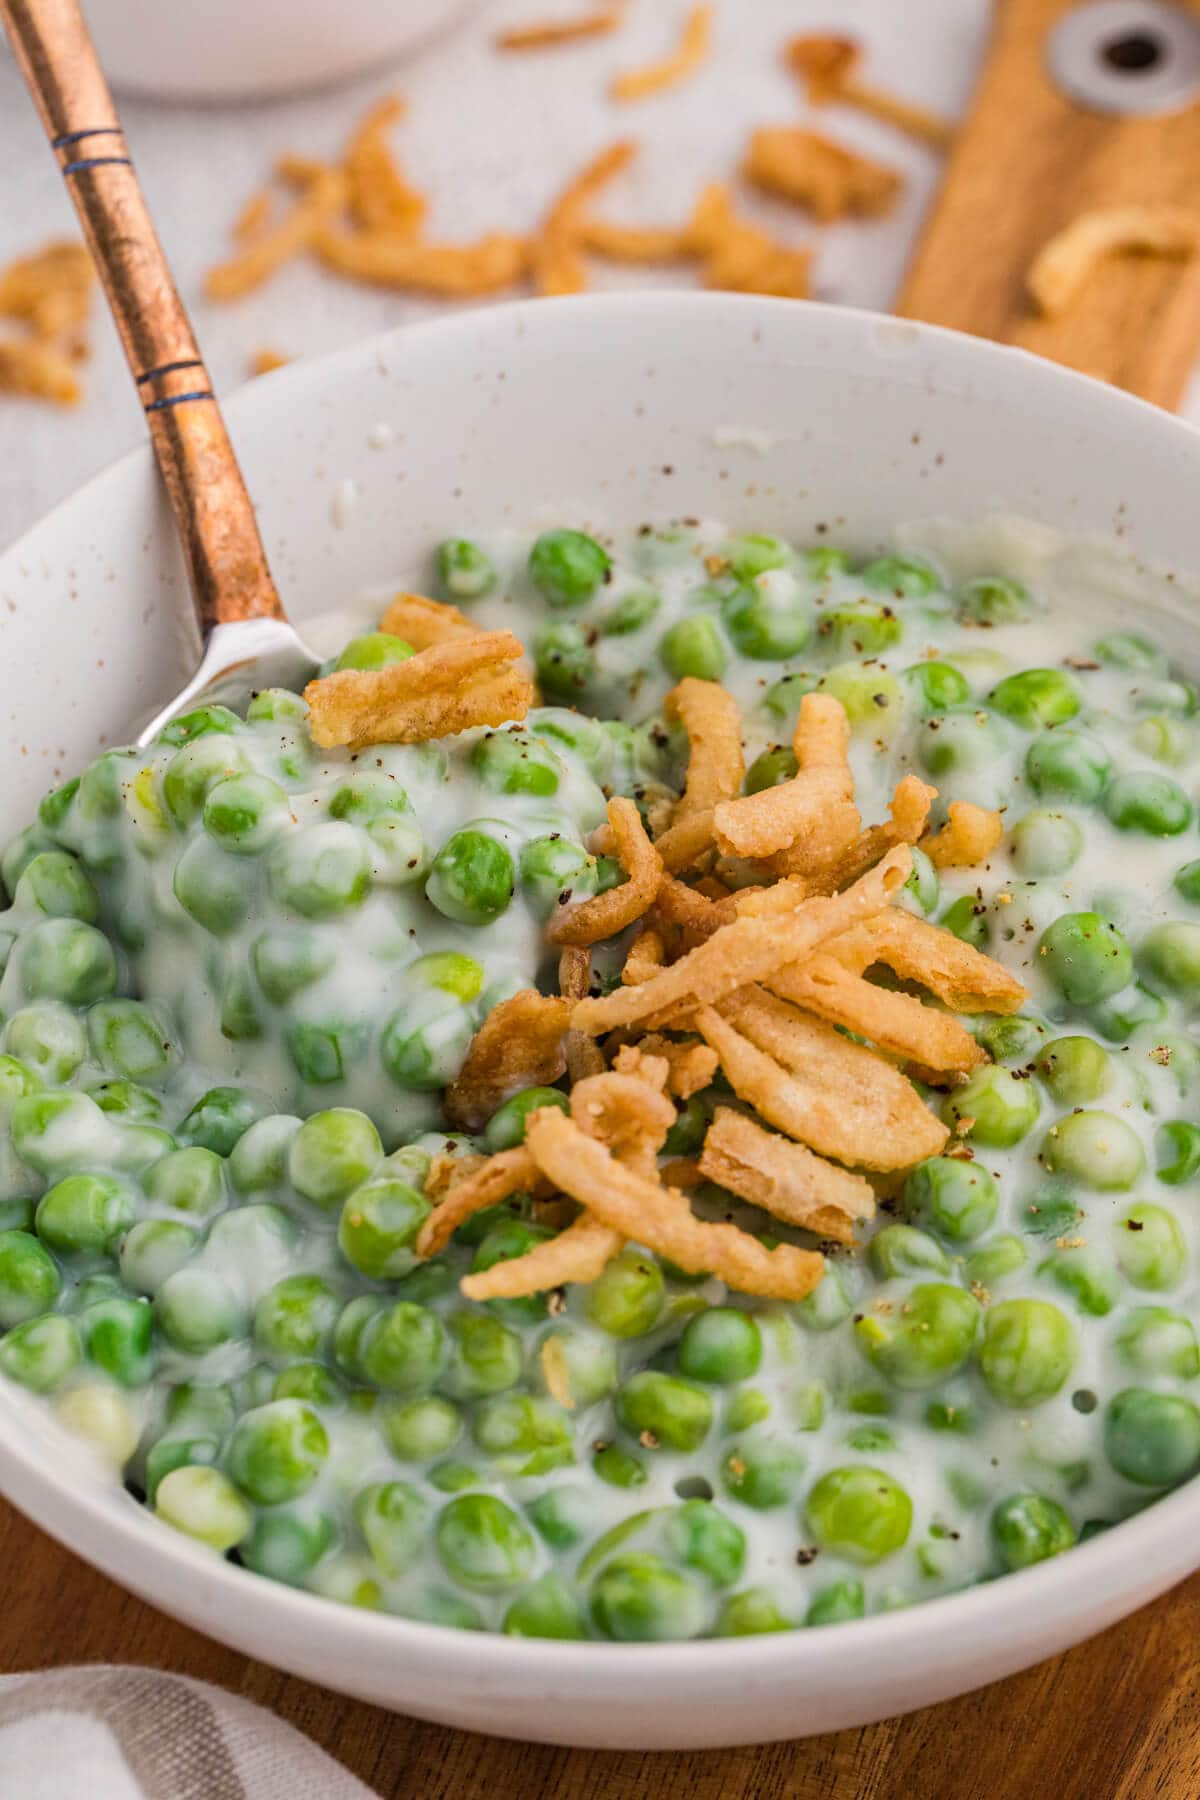
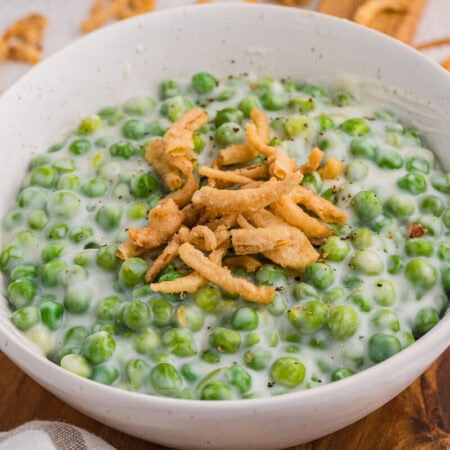
Creamed Peas

Creamed Peas may not sound that exciting, but one bite of this old-fashioned side dish will change your mind. Sweet, tender peas are enveloped in a rich, buttery cream sauce that’s so silky smooth and flavorful. It’s ready in minutes and made with budget-friendly pantry staples. It’s not surprising to see this simple recipe being passed down in families for generations.
stacie’s note
I can’t remember the last time I had leftovers of this creamed peas recipe. They always seem to disappear fast. The last time I made them, Veldon’s family was over for a ham dinner, and I barely had time to set everything on the table before the bowl was almost empty.
His aunt said it reminded her of the way her mom and grandmother used to make peas, and that’s how they always had them growing up. Moments like that are the best, when a simple and delicious side dish brings back those kinds of memories, and everyone goes back for seconds.
Ingredients
The full printable recipe card with measurements and instructions is found at the bottom of the post.
- Frozen peas: No need to thaw ahead of time. Just cook them according to the package directions and drain well so your sauce doesn’t get watery.
- Unsalted butter: Using unsalted butter lets you control the salt level. If you only have salted butter, just go easy on the added salt later.
- All-purpose flour: Make sure to cook it with the butter for about a minute to get rid of that raw flour taste.
- Milk: Whole milk makes the creamiest sauce, but 2% works too. Add it slowly while whisking to keep the sauce smooth and lump-free.
- Salt and black pepper: Start with a small amount and adjust at the end once everything is combined.
- Sugar: This is optional, but it helps bring out the peas’ natural sweetness and balance the sauce.
- Crispy fried onions: Sprinkle them on just before serving so they stay crisp.

How to Make Creamed Peas
- Step One: Cook peas according to package directions. Drain and set aside.
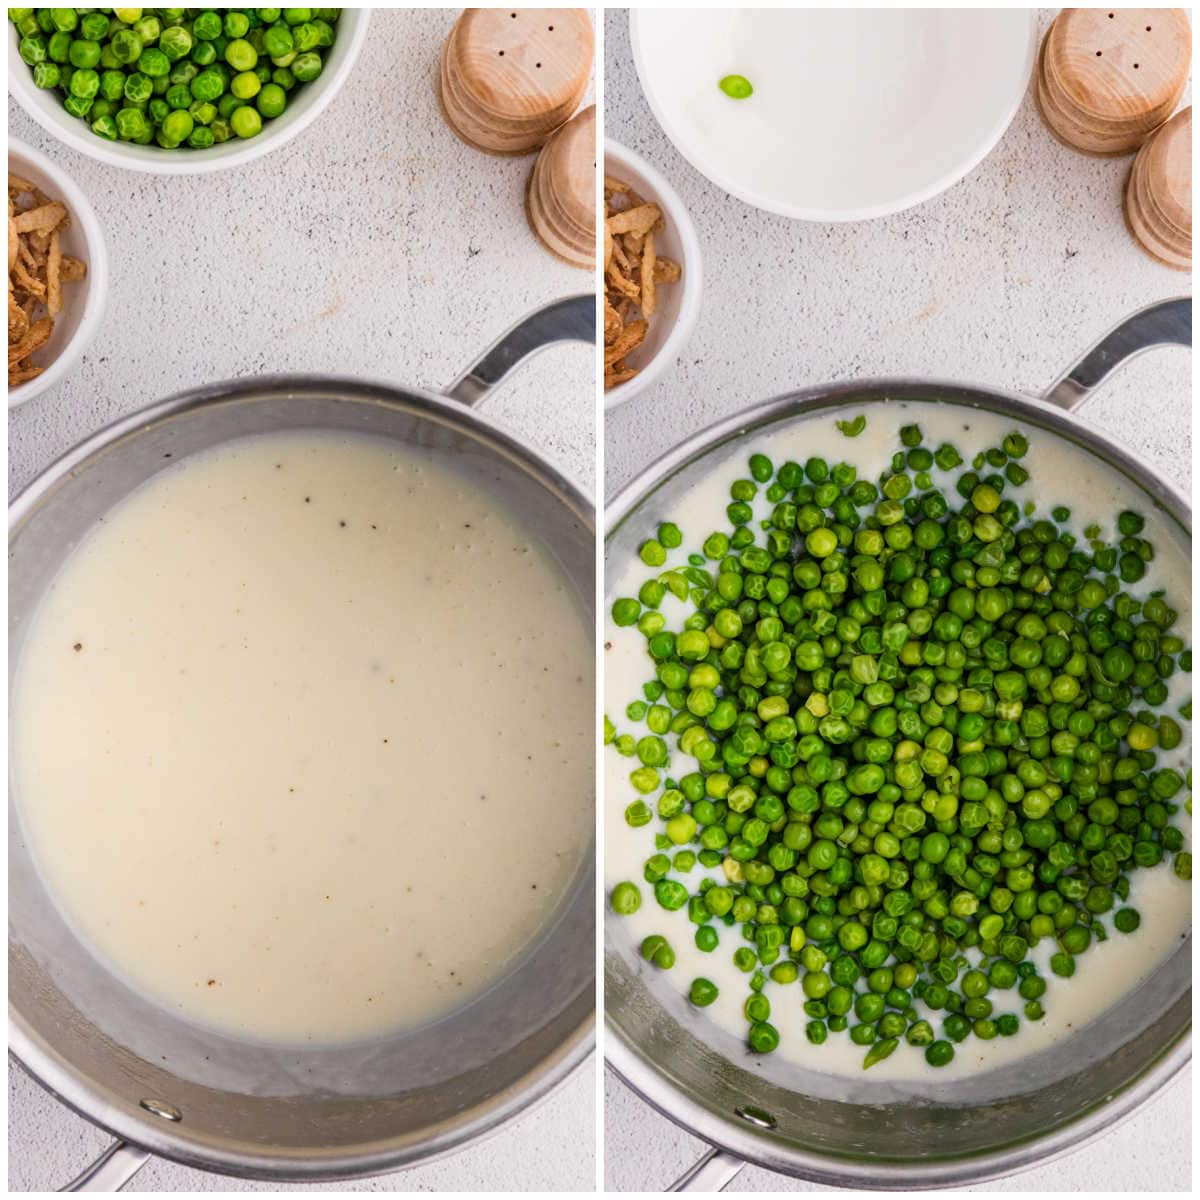
- Step Two: Melt butter in a medium saucepan over medium heat.
- Step Three: Whisk in the flour to make a roux and cook for 1 minute, until smooth.
- Step Four: Slowly add the milk, whisking constantly until smooth and thickened.
- Step Five: Season with salt, pepper, and a pinch of sugar if desired.
- Step Six: Stir in the peas and cook for 2 to 3 minutes until heated through. Serve warm.

Variations and Substitutions
- Use fresh peas instead of frozen: If you have fresh peas on hand, go for it. Just cook them until tender before adding to the sauce. They’ll have a slightly sweeter, brighter flavor.
- Use canned peas: Drain well and add them at the end since they’re already cooked. Heat gently to avoid them getting too soft or mushy.
- Make it richer: Swap out part of the milk for half-and-half or a splash of heavy cream for an extra creamy sauce.
- Add cheese: Stir in a handful of shredded cheddar or Parmesan at the end for a cheesy twist. It melts right into the sauce and adds more depth.
- Mix in onions, garlic, or mushrooms: Sauté a little diced onion, minced garlic, or sliced mushrooms in the butter before adding the flour for extra flavor.
- Add bacon or ham: Crumble cooked bacon or cut ham into small pieces to turn this into a heartier side dish that pairs perfectly with holiday meals.
- Skip the sugar: If your peas are already sweet, you can leave out the pinch of sugar altogether.
- Try different toppings: Instead of crispy fried onions, sprinkle on toasted breadcrumbs, fresh herbs, or even a little cracked pepper for a simple finish.
Storage Instructions
- Refrigerator: Store any leftovers in an airtight container in the fridge for up to 3 days. The sauce will thicken as it sits, which is totally normal.
- Reheating: Warm gently on the stovetop over low heat or in the microwave in short intervals, stirring in between. Add a splash of milk to loosen the sauce and restore its creamy texture.
- Make Ahead: You can make this recipe a day in advance and store it in the fridge. When ready to serve, reheat gently and stir in a little extra milk to refresh the sauce and keep it nice and creamy.
- Freezing: Creamed peas don’t freeze well since the sauce can separate and become grainy once thawed. It’s best to enjoy them fresh.

Recipe Tips and Tricks
- Whisk constantly for a smooth sauce: Keep the whisk moving as you add the milk to avoid lumps and get that silky texture.
- Don’t rush the thickening: Let the sauce gently simmer for a minute or two until it has fully thickened before adding the peas.
- Season at the end: Once everything is combined, taste and adjust the salt and pepper to avoid overdoing it.
- Keep the heat moderate: Cooking on medium to medium-low heat helps prevent the sauce from scorching or separating.
- Serve right away for best texture: Creamed peas are at their creamiest when freshly made, so try to time them close to serving.
- Adjust consistency easily: If the sauce gets too thick, just stir in a splash of milk until it’s the consistency you like.
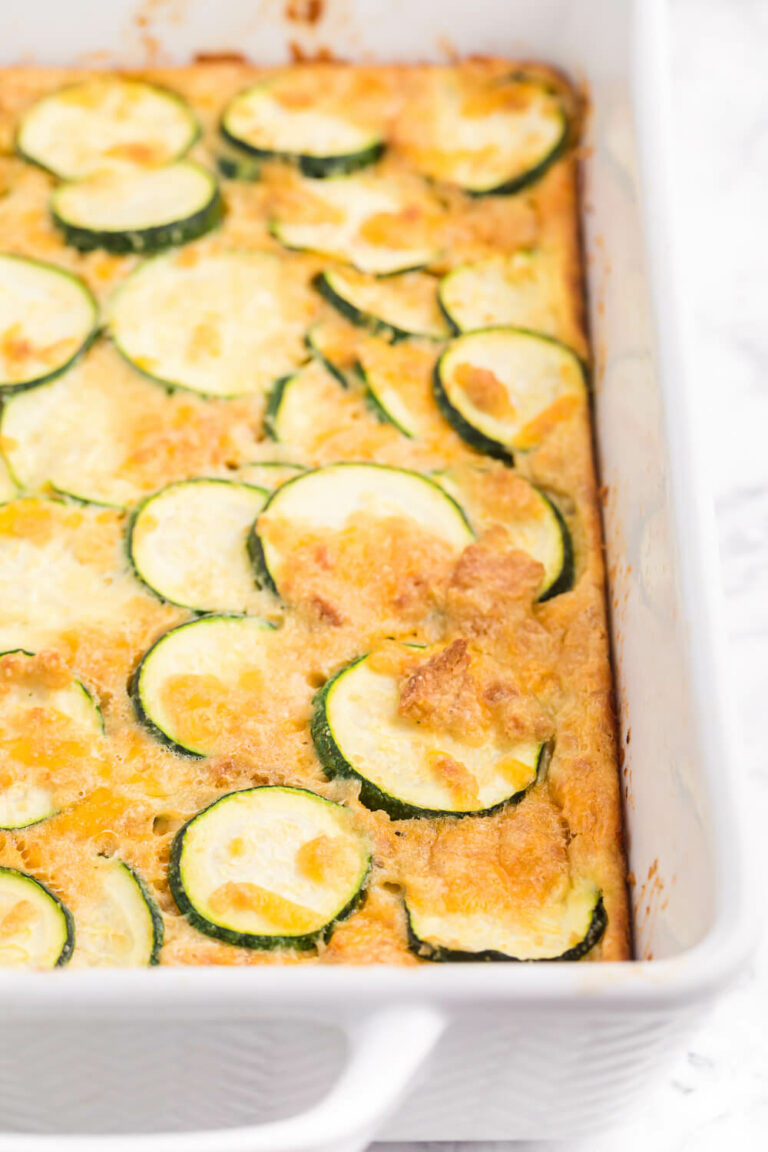
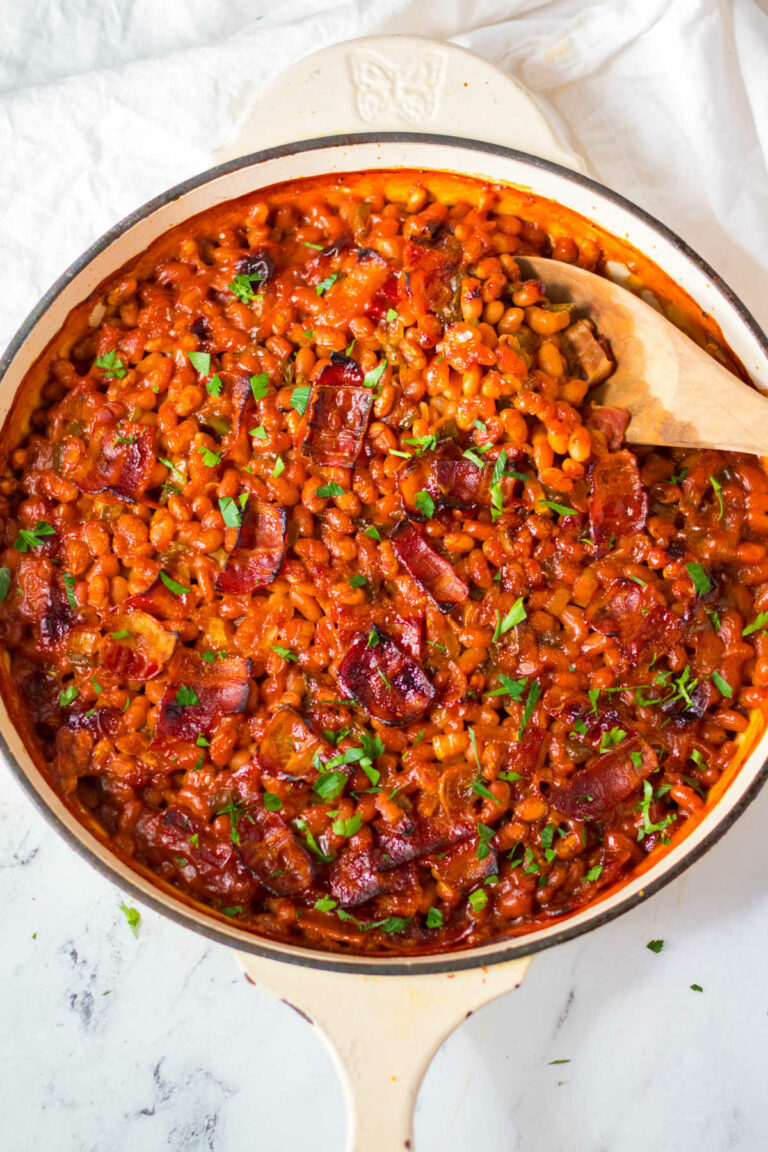
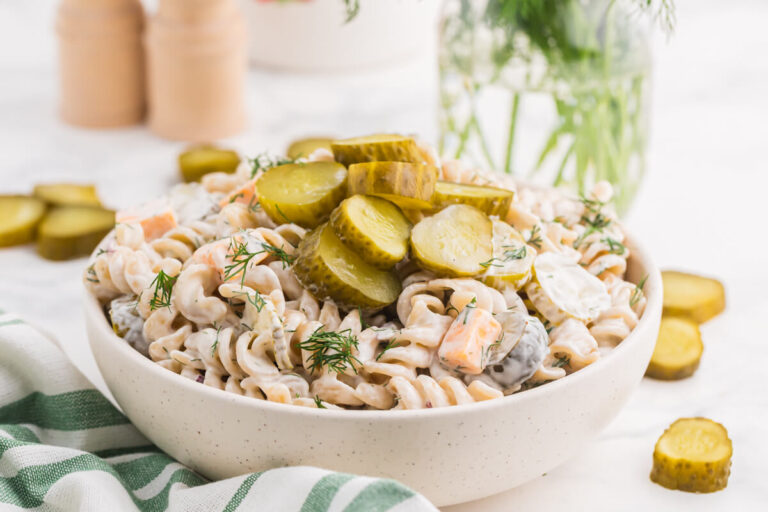
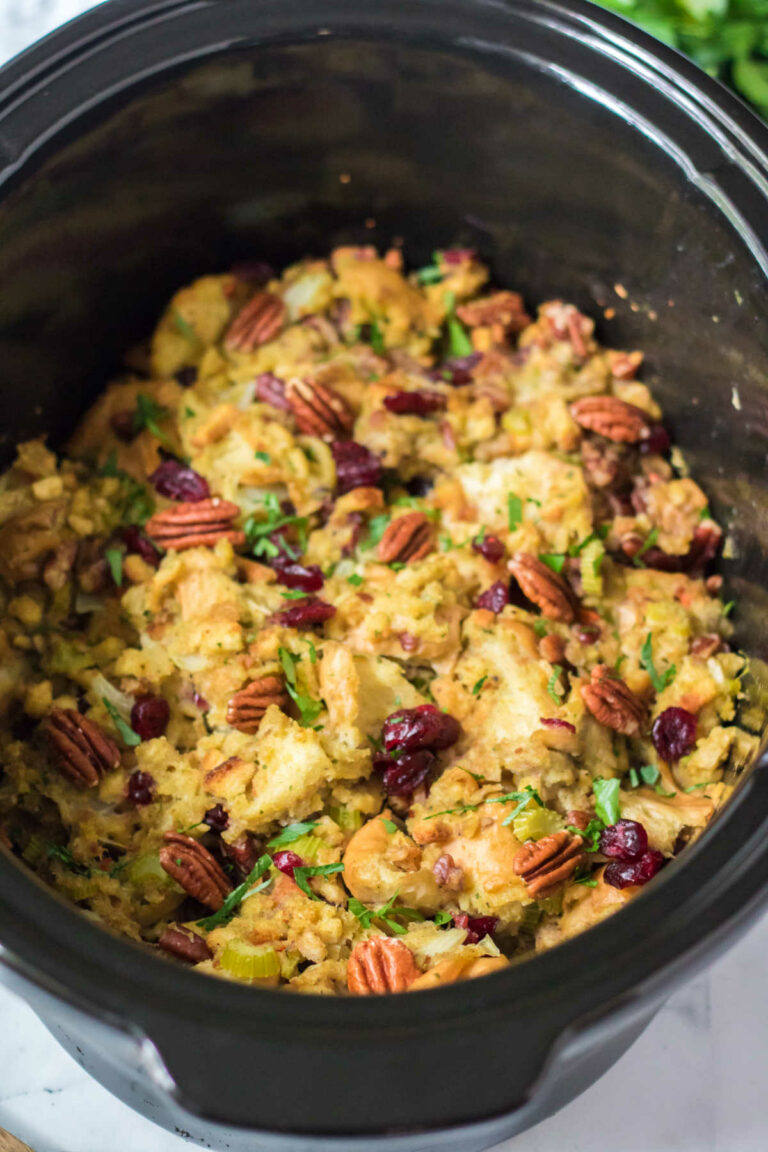
Easy Side Dishes
Follow me on Instagram @simplystacieblog, Facebook at Simply Stacie, TikTok @simplystacierecipes or Pinterest at @simplystacie and let me know how you liked this recipe and my other recipes.
Creamed Peas
SAVE THIS RECIPE!
Ingredients
- 2 ⅔ cups frozen peas
- 2 tbsp unsalted butter
- 2 tbsp all-purpose flour
- 1 cup milk
- salt and pepper to taste
- pinch sugar
- ¼ cup crispy fried onions for garnish, optional
Instructions
- Cook peas according to package directions. Drain and set aside.
- In a saucepan over medium heat, melt the butter.
- Whisk in the flour and cook for 1 minute to form a smooth paste.
- Slowly add the milk, whisking constantly until smooth and thickened.
- Season with salt, pepper, and a pinch of sugar if desired.
- Stir in the peas and cook for 2 to 3 minutes until heated through. Serve warm.
Notes
- Frozen peas work best for this recipe because they hold their shape and have a nice texture.
- If the sauce gets too thick, stir in a splash of milk until it reaches your desired consistency.
- Taste before serving and adjust the salt and pepper as needed.
- For extra flavor, you can sauté a little onion or garlic in the butter before adding the flour.
- Add crispy fried onions just before serving so they stay crunchy.
- This dish is best served fresh while the sauce is creamy and smooth.
Nutrition
The information shown is an estimate provided by an online nutrition calculator. It should not be considered a substitute for a professional nutritionist’s advice.
Did you make this recipe?
I’d love to see it! Make sure to share it on your favorite social platform.
Want Even More Recipes?
Join Moms Best Recipes to find more delicious family recipes.
free ebook!
The Best of Simply Stacie
When you subscribe to the newsletter for the latest updates!