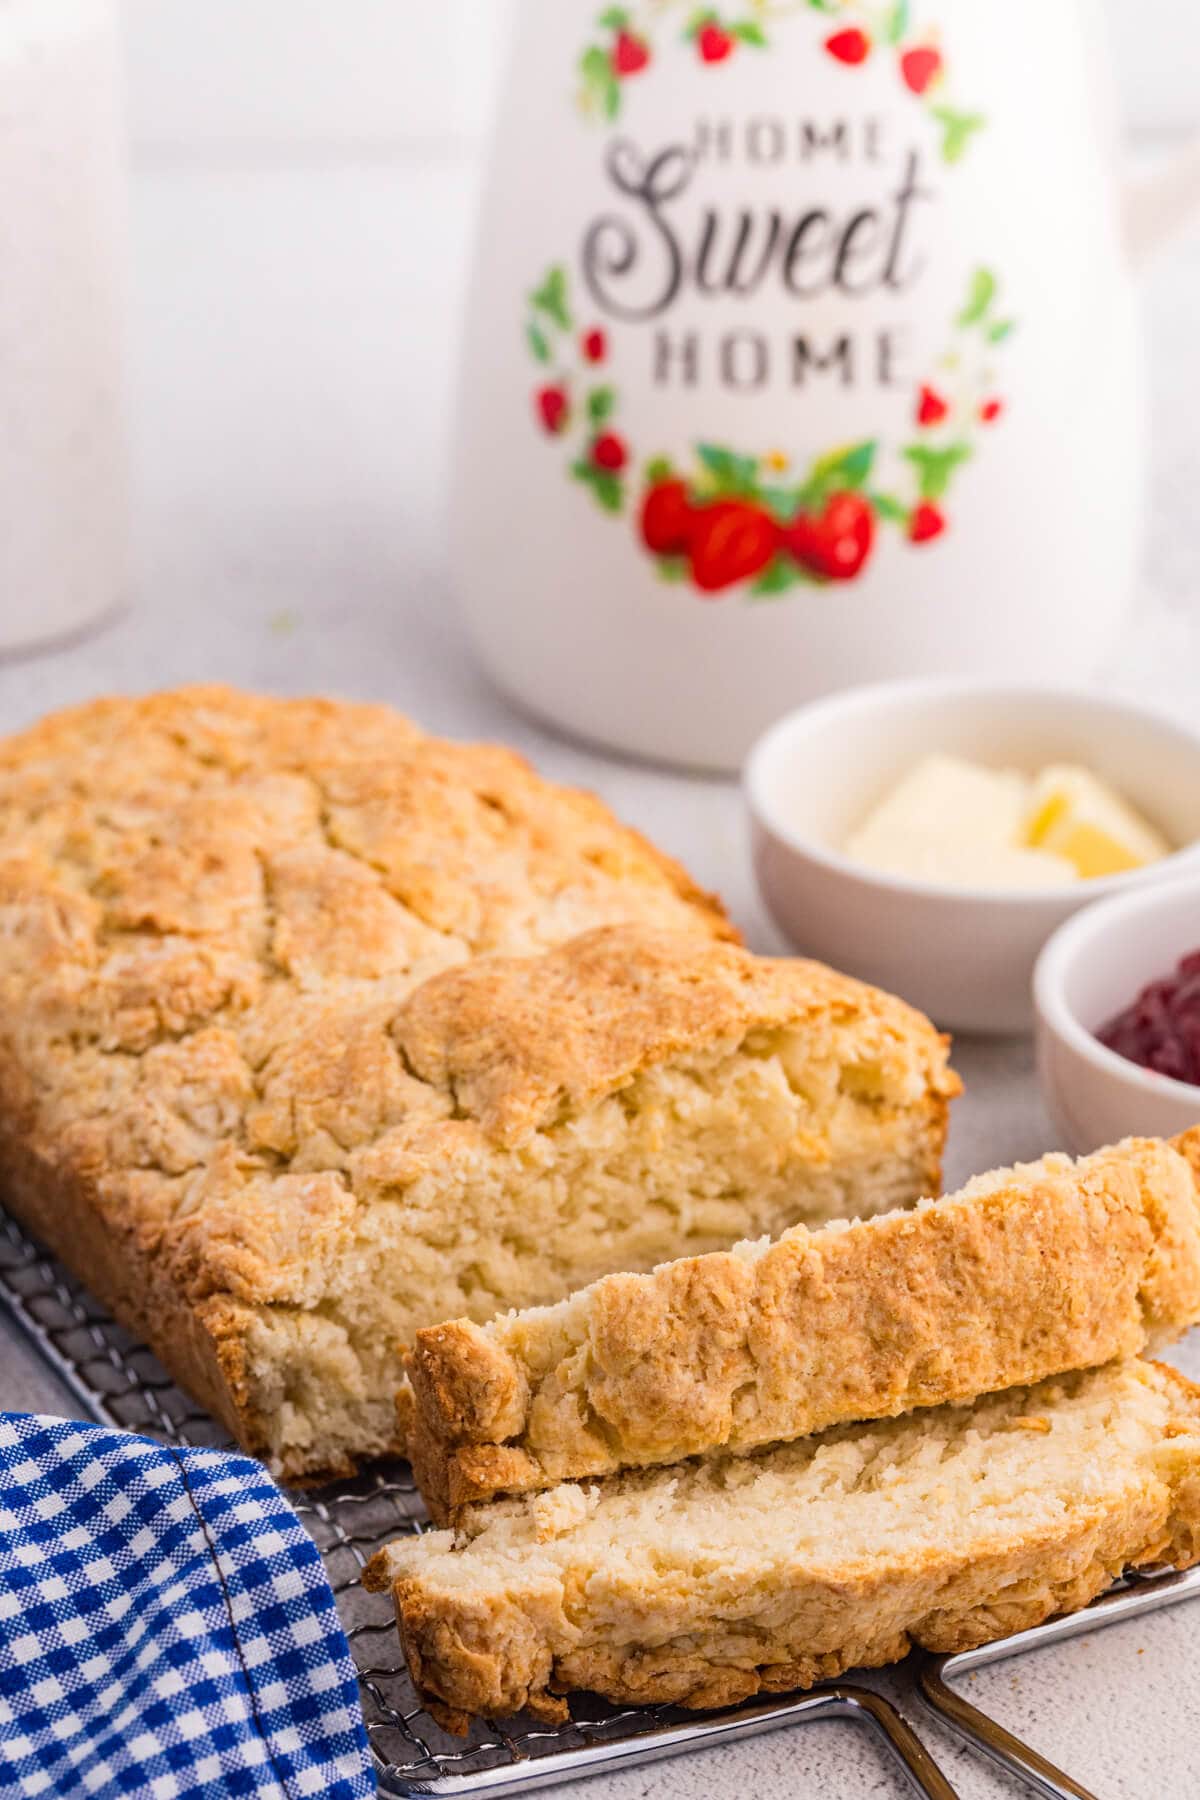
Old-Fashioned Biscuit Bread

This old-fashioned biscuit bread is the ultimate shortcut to homemade flavor without the mess of rolling or cutting dough. It takes just 10 minutes to prep by mixing and pressing the dough straight into the pan before baking until golden. No yeast required! The result is a soft, buttery loaf that’s best served warm with a thick swipe of butter or jam.
stacie’s note
This is the kind of recipe that always makes me think of my Grandma June. She was born the year the Great Depression began, so she grew up on simple, no-fuss recipes like this one. She often said she never knew when her next meal would come, so she always ate whatever was on her plate.
I’ve always had a soft spot for those old-fashioned dishes because they tell a story and just feel comforting. This biscuit bread is exactly that. It’s budget-friendly, easy to make, and the kind of thing that reminds me of being in her kitchen, where good food didn’t have to be complicated to be special.
Ingredients
The full printable recipe card with measurements and instructions is found at the bottom of the post.
- All-purpose flour: Spoon and level it instead of scooping straight from the bag so the bread doesn’t turn out too dense.
- Baking powder: Make sure it’s fresh for the best rise. If it’s been sitting in your pantry for a while, it might not have that light texture.
- Sugar: Just a small amount adds a touch of flavor without making the bread sweet. You can leave it out if you prefer a more savory loaf.
- Salt: Don’t skip it. It brings out all the other flavors and keeps the bread from tasting flat.
- Cold butter: Keep it cold and cut it into small pieces to get a soft, tender texture. You can even pop it in the freezer for a few minutes first.
- Milk: Add just enough to bring the dough together. If it feels too dry, splash in a little more, a tablespoon at a time.

How to Make Biscuit Bread
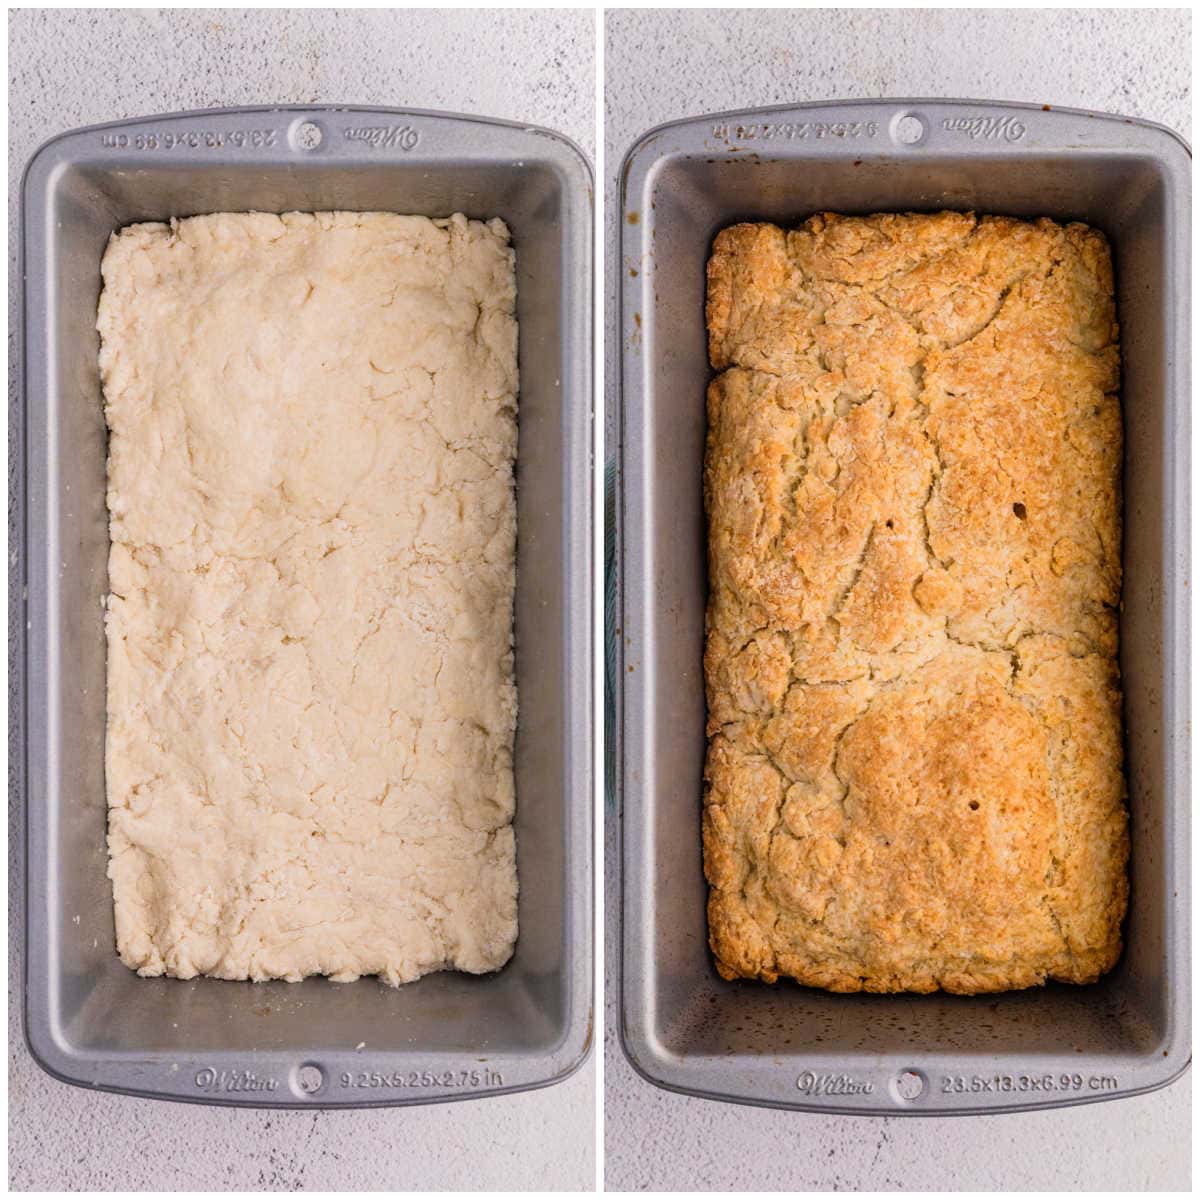
- Step One: Preheat oven to 375°F. Grease a 9×5-inch bread pan.
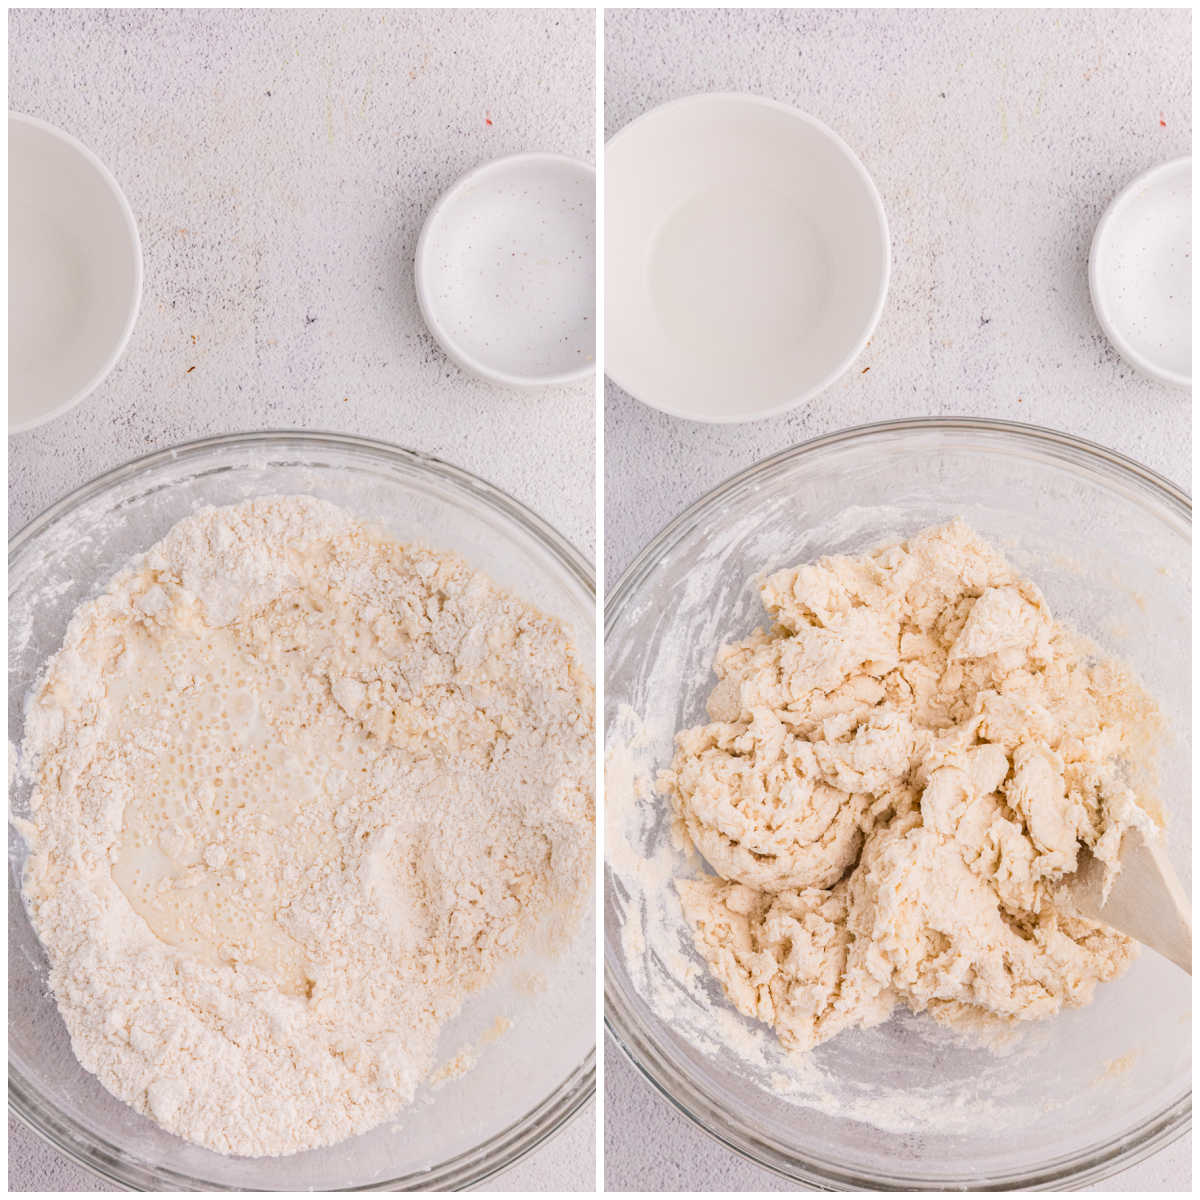
- Step Two: In a large bowl, whisk together flour, baking powder, sugar, and salt.
- Step Three: Cut in the butter using a pastry cutter or your fingers until the mixture resembles coarse crumbs.

- Step Four: Stir in the milk just until a soft dough forms. Do not overmix. Add extra milk if needed.
- Step Five: Press the dough evenly into the prepared loaf pan.
- Step Six: Bake for 35 to 40 minutes, until the top is golden and a toothpick comes out clean.
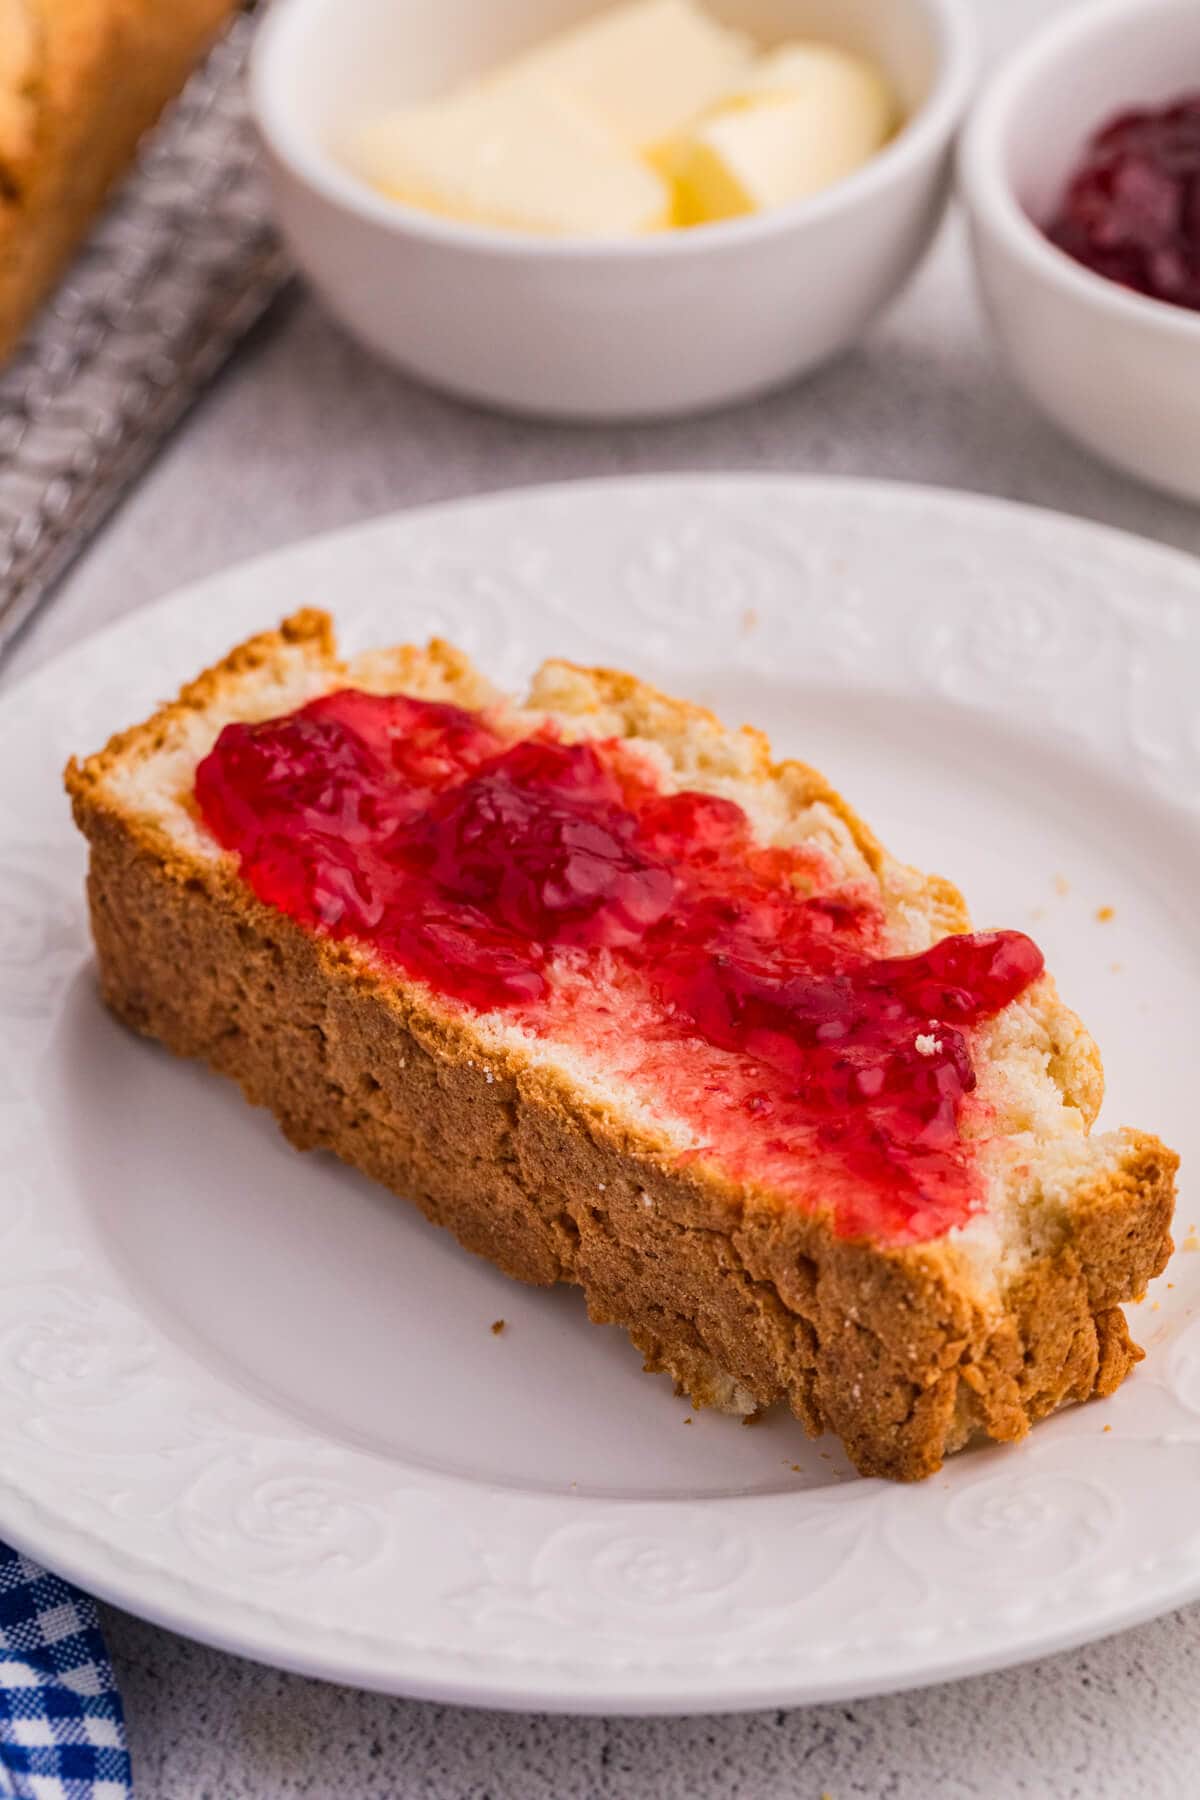
- Step Seven: Cool slightly before slicing. Serve warm with butter or jam.

Variations and Substitutions
- Make it savory: Add shredded cheddar cheese, chopped green onions, or a pinch of garlic powder for a more savory loaf that pairs well with soups and chili.
- Add herbs: Fresh or dried herbs like parsley, chives, or rosemary give it a nice boost of flavor without much extra effort.
- Use buttermilk: Swap the milk for buttermilk for a slightly tangy flavor and an even more tender crumb.
- Try whole-wheat flour: Replace up to half of the all-purpose flour with whole-wheat flour for a heartier texture. I wouldn’t swap it all, or it can get too dense.
- Add a touch of sweetness: Stir in a little extra sugar or drizzle honey over the top after baking for a slightly sweeter finish.
- Mix in extras: You can fold in things like cooked bacon bits, corn kernels, or even jalapeños to change it up, depending on what you’re serving it with.

Storage Instructions
- Room temperature: Store the bread in an airtight container or wrapped tightly on the counter for up to 2 days. It’s best enjoyed fresh, but it will still be good the next day.
- Refrigerator: You can refrigerate it for up to 5 days, though it may dry out a bit. Warm it slightly before serving to restore its soft texture.
- Freezer: Slice the bread and wrap individual pieces or the whole loaf tightly in plastic wrap, then in foil. Freeze for up to 2 months. Thaw at room temperature or warm in the oven.
- Make ahead: You can bake it earlier in the day and reheat it in a low oven before serving. It tastes just as good warm the second time around.
Recipe Tips and Tricks
- Handle the dough gently: Press it into the pan lightly rather than packing it down too much, so the bread stays tender.
- Check early: Ovens can vary, so start checking around the 35-minute mark to avoid overbaking.
- Use the right pan: A standard 9×5-inch loaf pan gives you the best thickness and even baking.
- Let it rest before slicing: Give it a few minutes to cool so it holds together better when you cut it.
- Brush with butter: For extra flavor, brush the top with melted butter right after it comes out of the oven.
- Serve it warm: This bread really shines when it’s still warm, especially with butter, honey, or your favorite jam or jelly. Try it with my Instant Pot Strawberry Jam! It’s also perfect alongside soup, roast chicken, or anything with gravy since it holds up well for dipping.
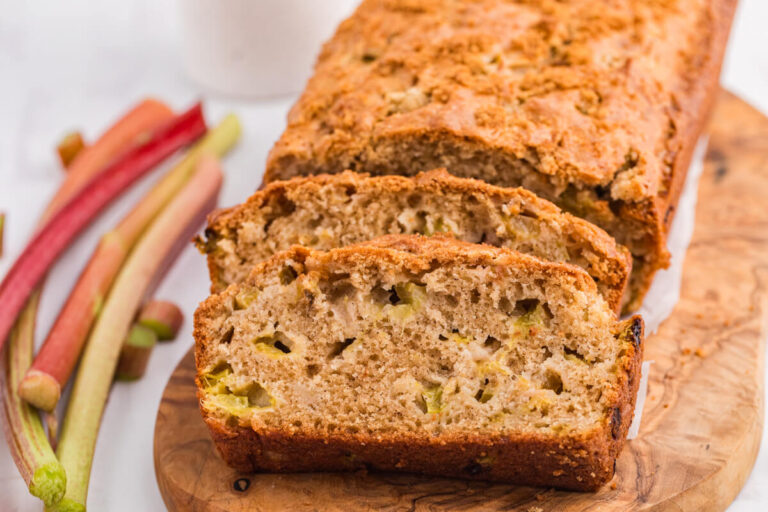
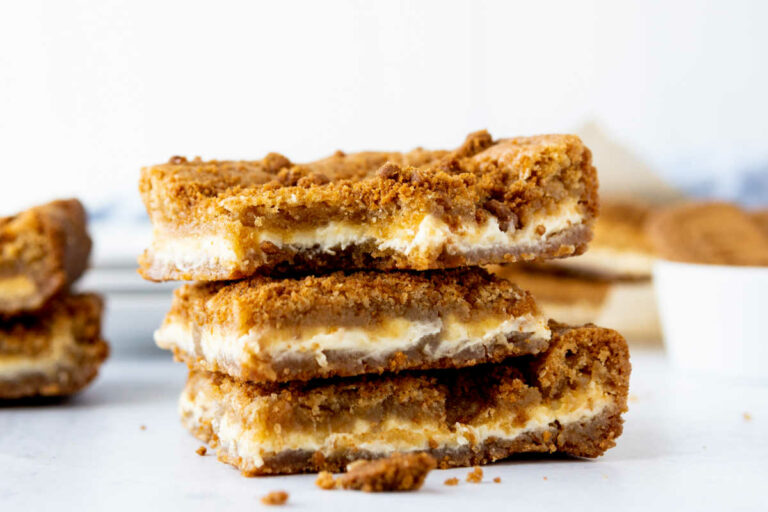
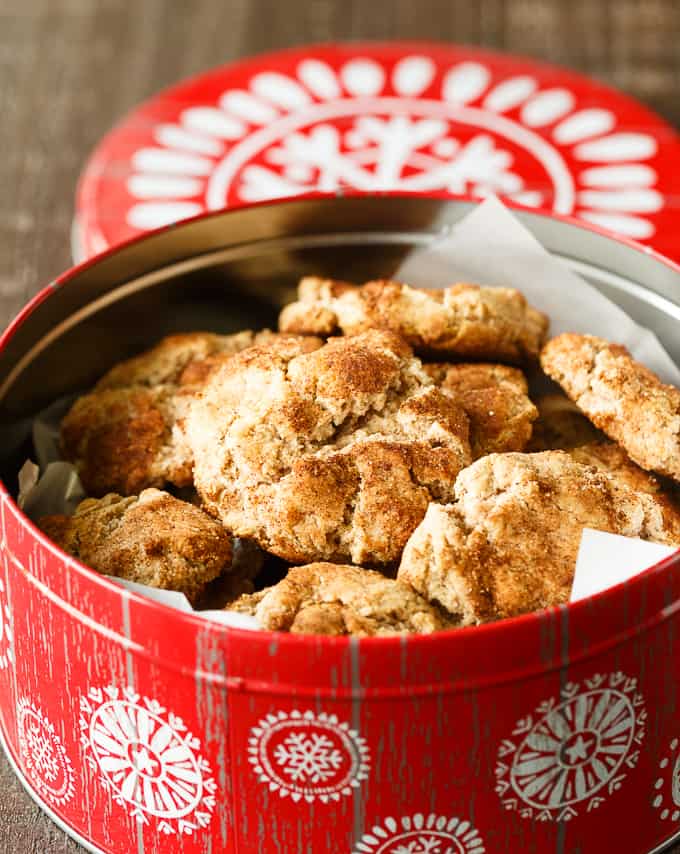
Biscuit Recipes
Follow me on Instagram @simplystacieblog, Facebook at Simply Stacie, TikTok @simplystacierecipes or Pinterest at @simplystacie and let me know how you liked this recipe and my other recipes.

Old-Fashioned Biscuit Bread
SAVE THIS RECIPE!
Ingredients
- 2 cups all-purpose flour
- 1 tbsp baking powder
- 1 tsp sugar
- 1 tsp salt
- ⅓ cup cold butter
- ¾ cup milk
Instructions
- Preheat oven to 375°F. Grease a 9×5-inch loaf pan.
- In a large bowl, whisk together flour, baking powder, sugar, and salt.
- Cut in the butter using a pastry cutter or your fingers until the mixture resembles coarse crumbs.
- Stir in the milk just until a soft dough forms. Do not overmix. Add extra milk if needed.
- Press the dough evenly into the prepared loaf pan.
- Bake for 35 to 40 minutes, until the top is golden and a toothpick comes out clean.
- Cool slightly before slicing. Serve warm with butter or jam.
Notes
- Don’t overmix the dough, or the bread can turn out dense instead of tender. Mix just until it comes together.
- The dough should be soft but not sticky. Add a splash more milk if it feels too dry.
- Cold butter is key for the best texture, so work quickly to keep it from melting.
- Bake until the top is golden, and a toothpick inserted in the center comes out clean.
- Let it cool for a few minutes before slicing so it holds together better.
- Best served warm, but you can reheat slices in the microwave or oven to soften them up again.
Nutrition
The information shown is an estimate provided by an online nutrition calculator. It should not be considered a substitute for a professional nutritionist’s advice.
Did you make this recipe?
I’d love to see it! Make sure to share it on your favorite social platform.
Want Even More Recipes?
Join Moms Best Recipes to find more delicious family recipes.
free ebook!
The Best of Simply Stacie
When you subscribe to the newsletter for the latest updates!