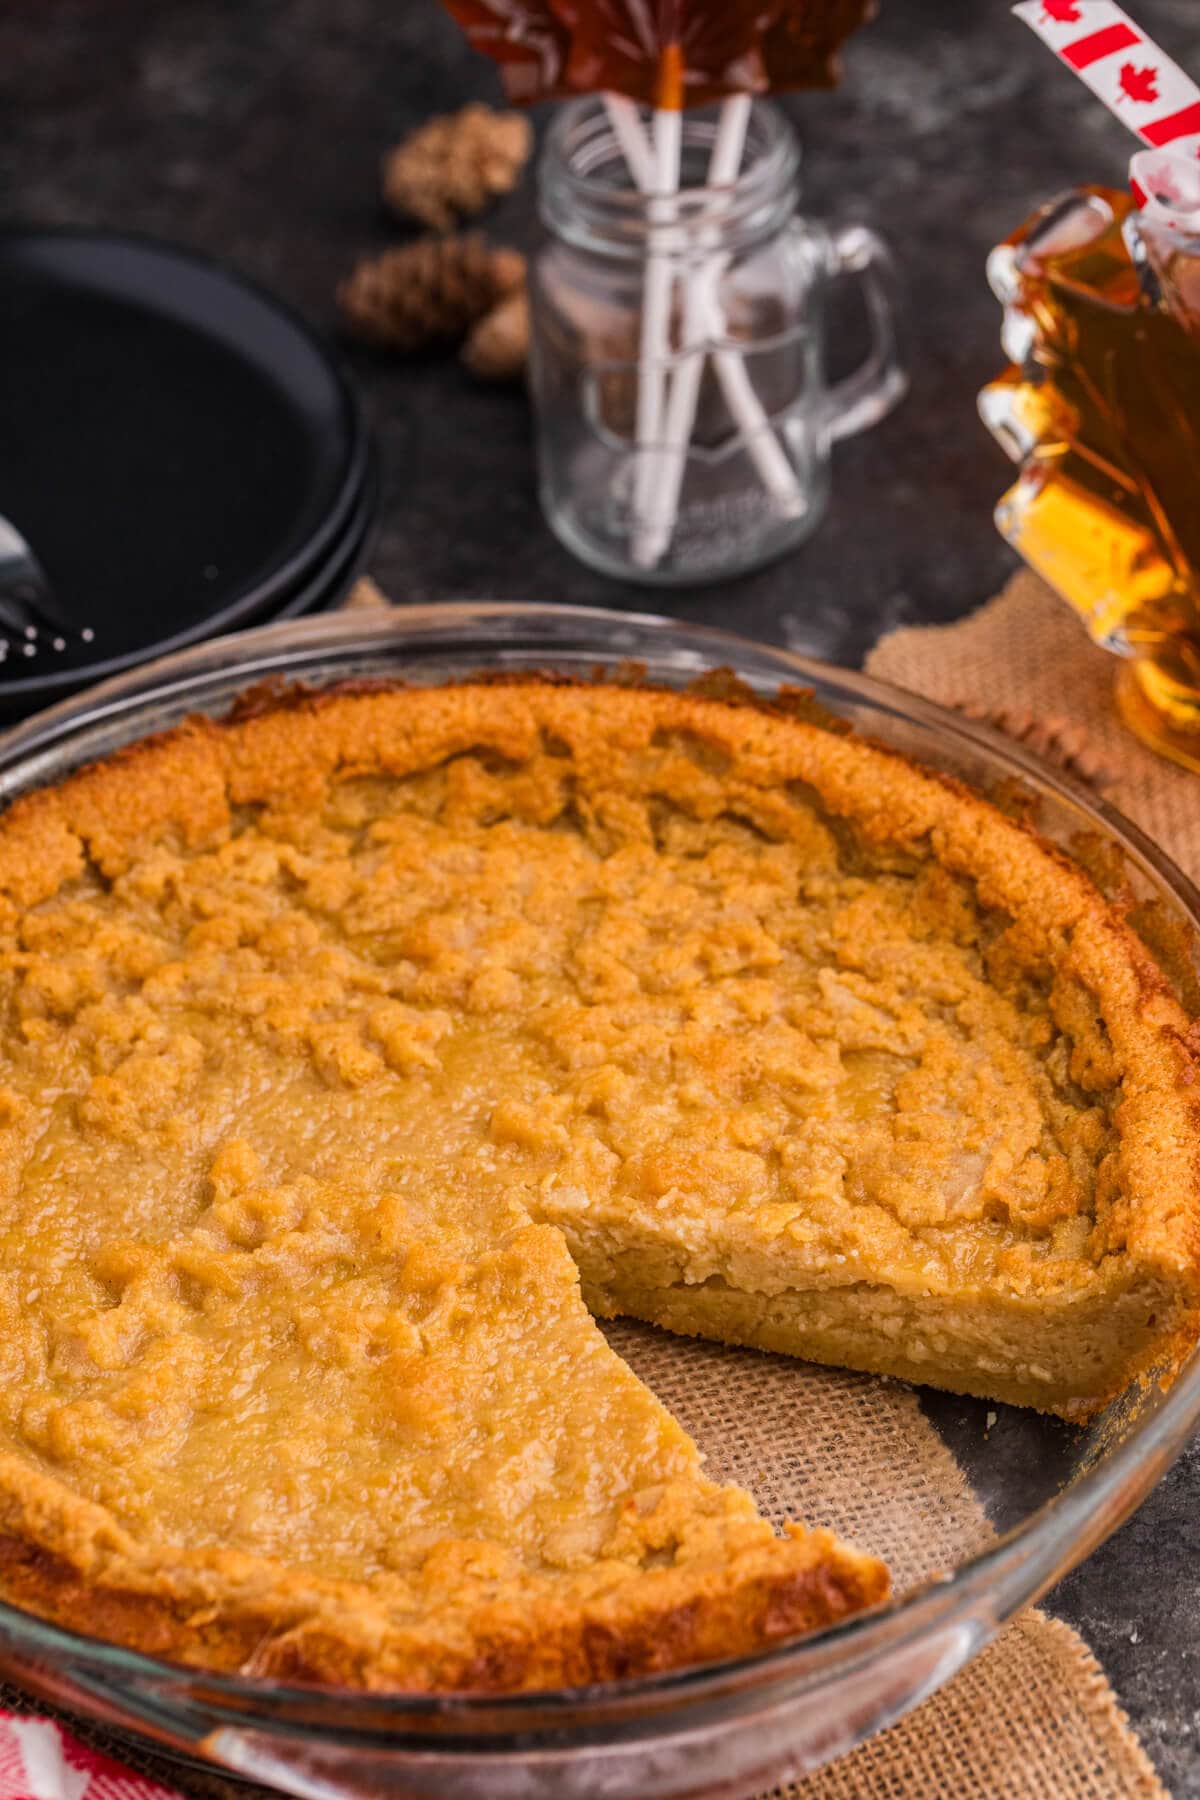
Maple Impossible Pie

Maple Impossible Pie is one of those cozy, old-fashioned desserts that makes you feel like you’re baking straight from Grandma’s recipe box. It’s sweetened with real maple syrup, giving it that warm, unmistakably Canadian flavour that tastes like a stack of pancakes turned into pie.
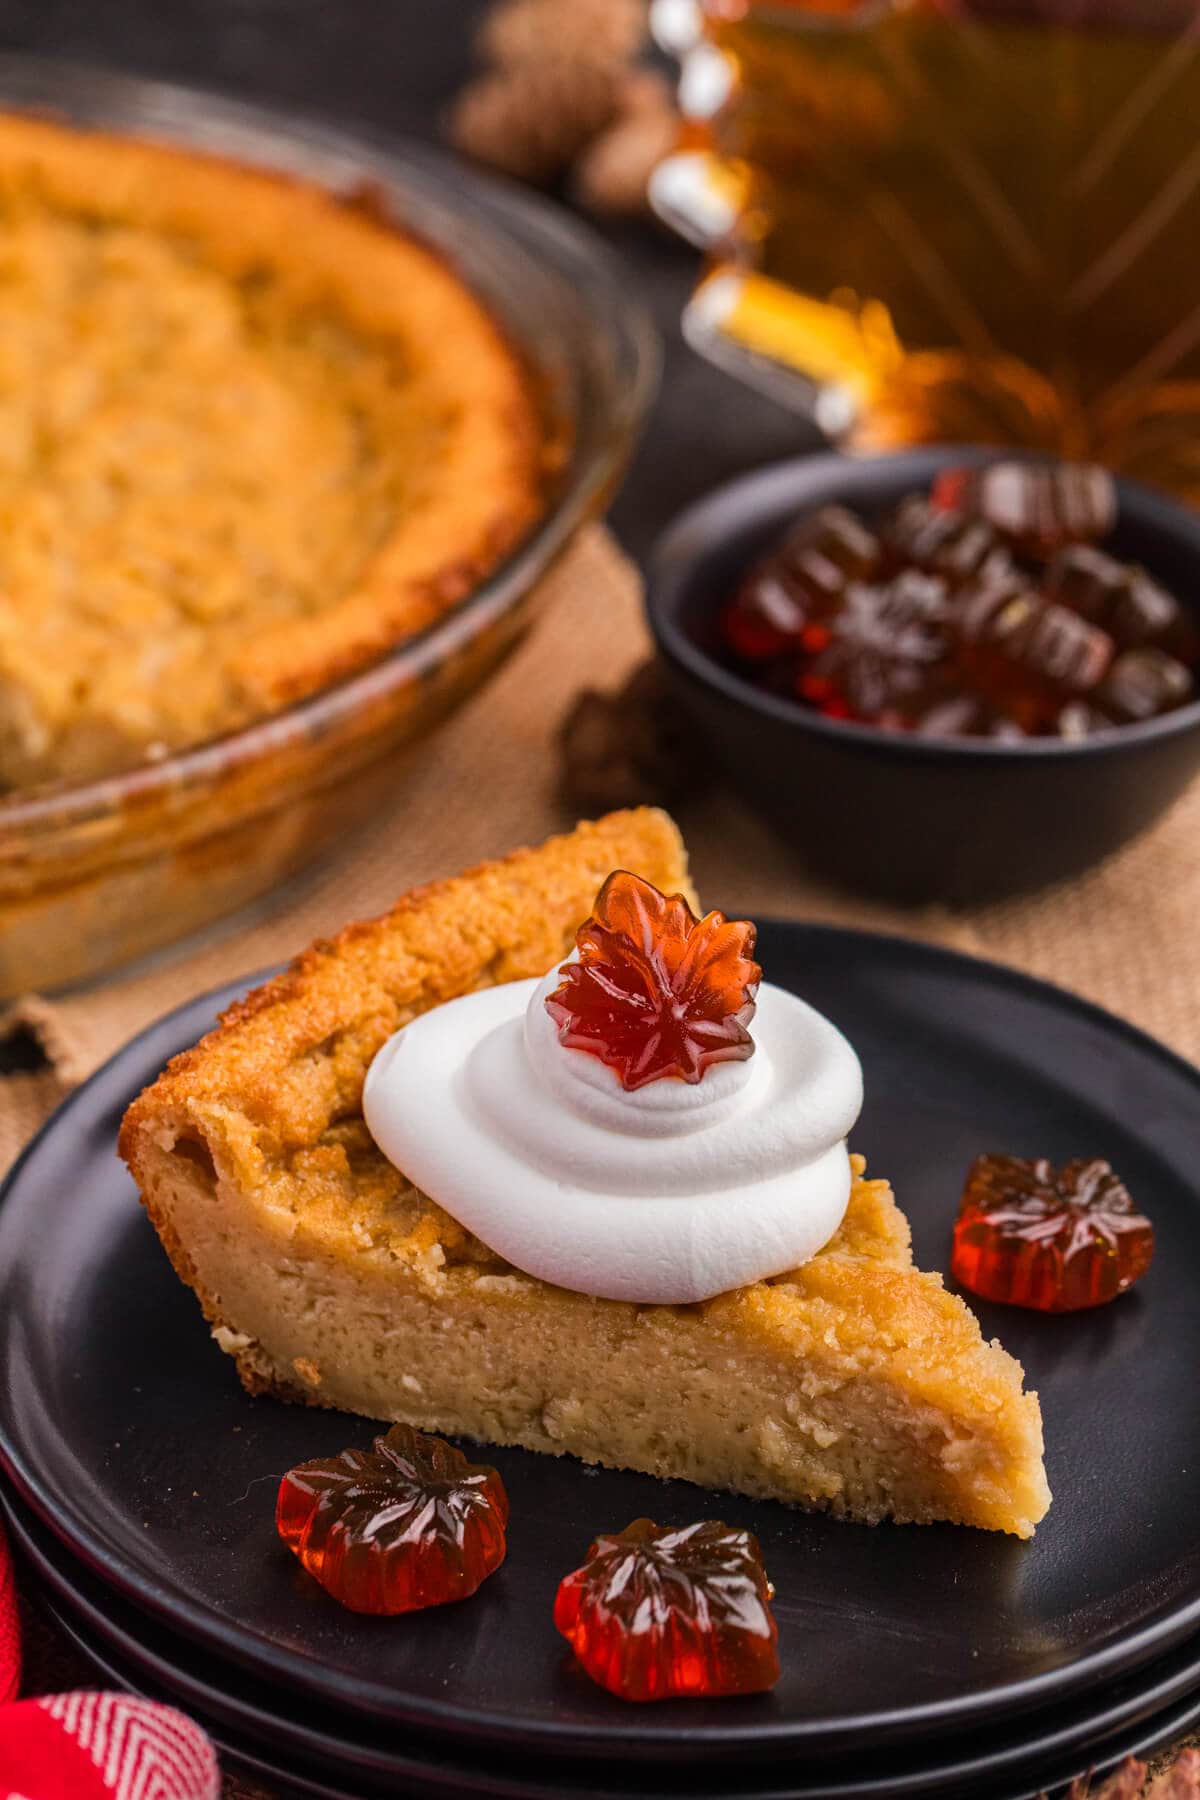
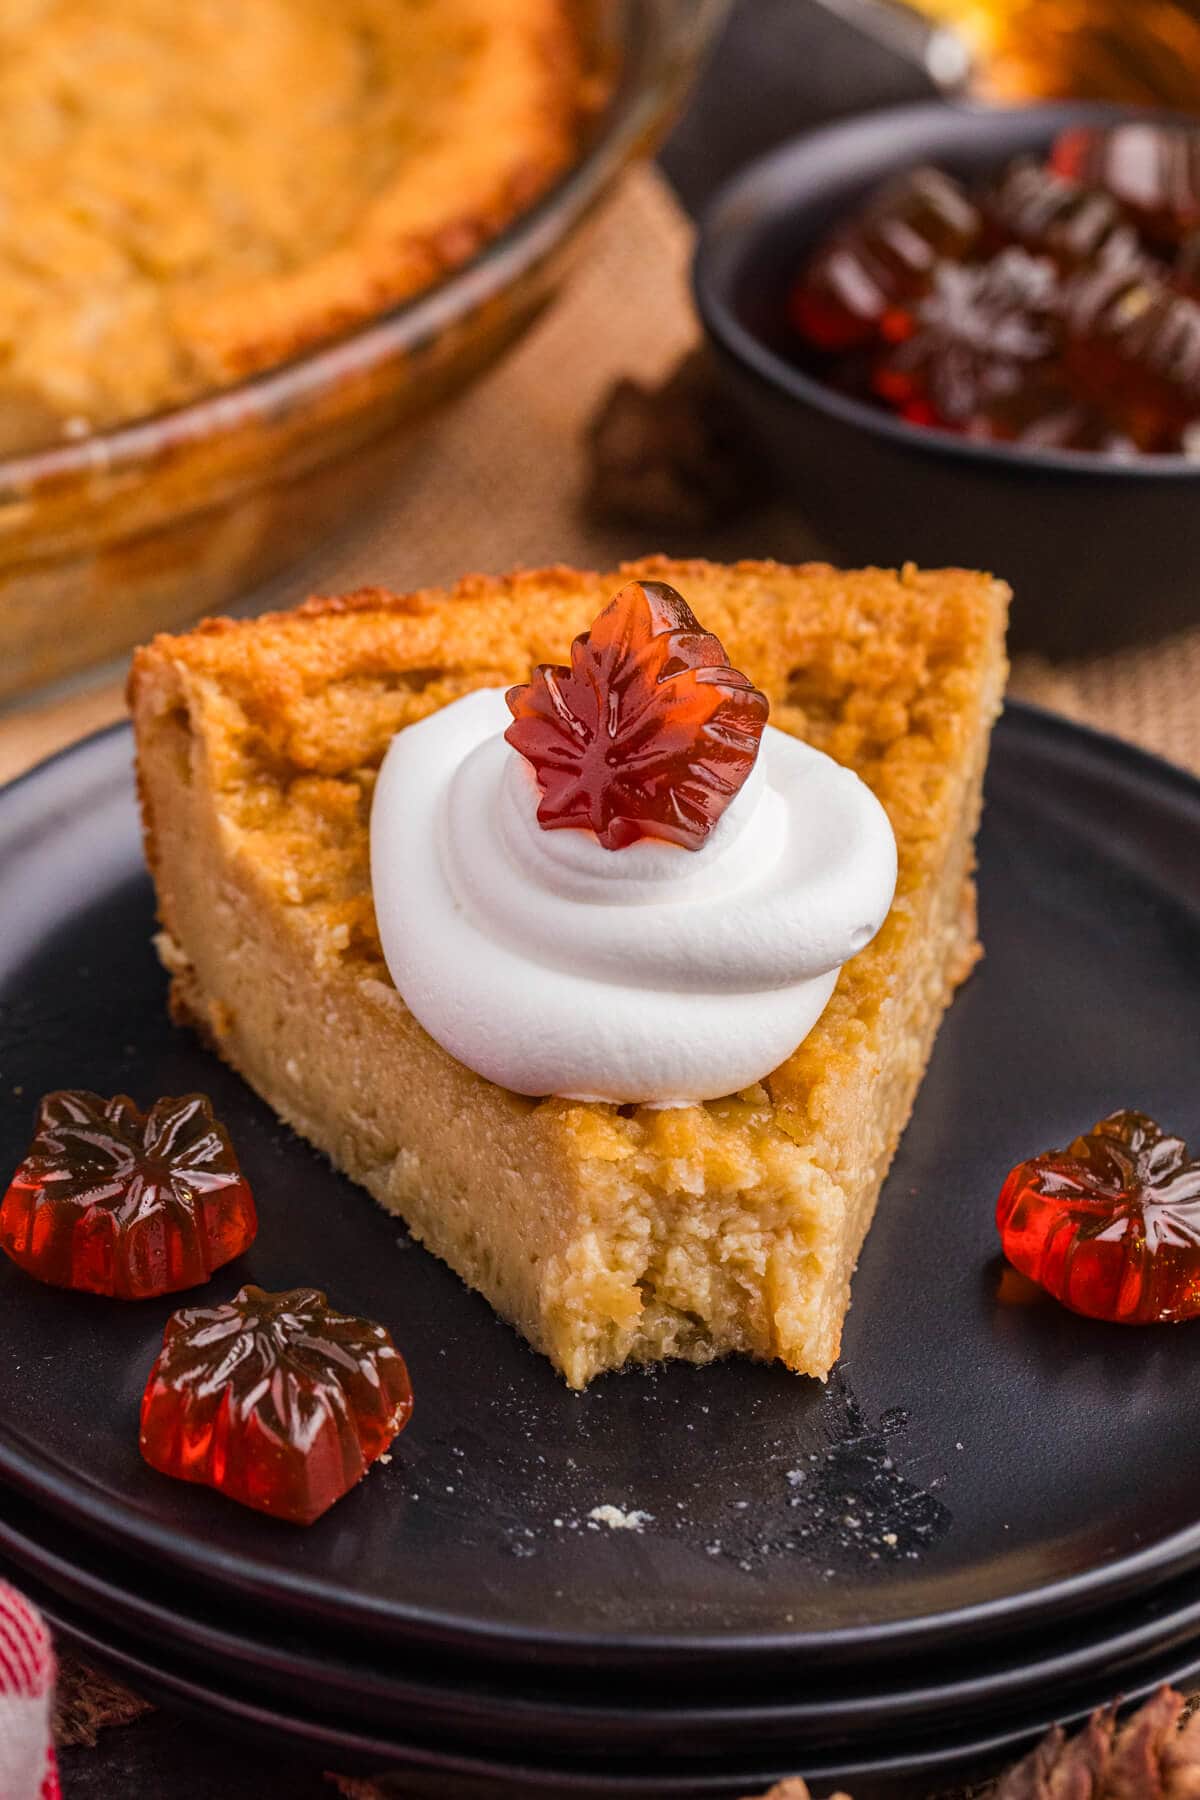
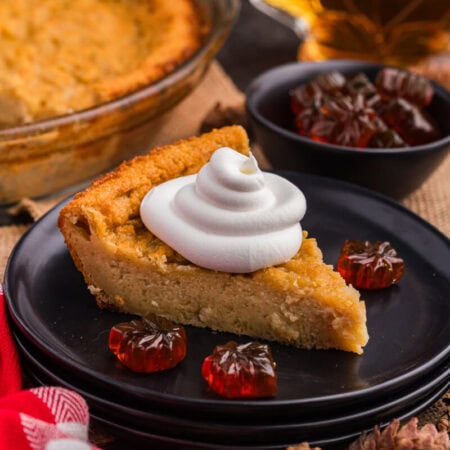
What makes it “impossible” is the magic that happens in the oven. You pour one simple batter into the pie plate, and as it bakes, it separates into layers: soft, custardy filling on top and a delicate crust on the bottom. It’s wonderfully simple, rich with maple flavor, and perfect for those days when you want an easy dessert that still feels a little bit special.
stacie’s note
I’ve always loved making Impossible Pies. They’re simple, a little nostalgic, and full of kitchen magic. No crust to fuss with or special tools needed: just mix, pour, and bake. The first time I made one, I didn’t believe that thin batter could turn into a pie with layers, but sure enough, it came out golden with a soft crust on the bottom.
Over the years, I’ve tried lots of versions, including coconut, chocolate, lemon, and this maple one might be my favorite. The smell of maple syrup baking fills the kitchen with cozy sweetness, and it always reminds me why I keep coming back to this old-fashioned dessert.
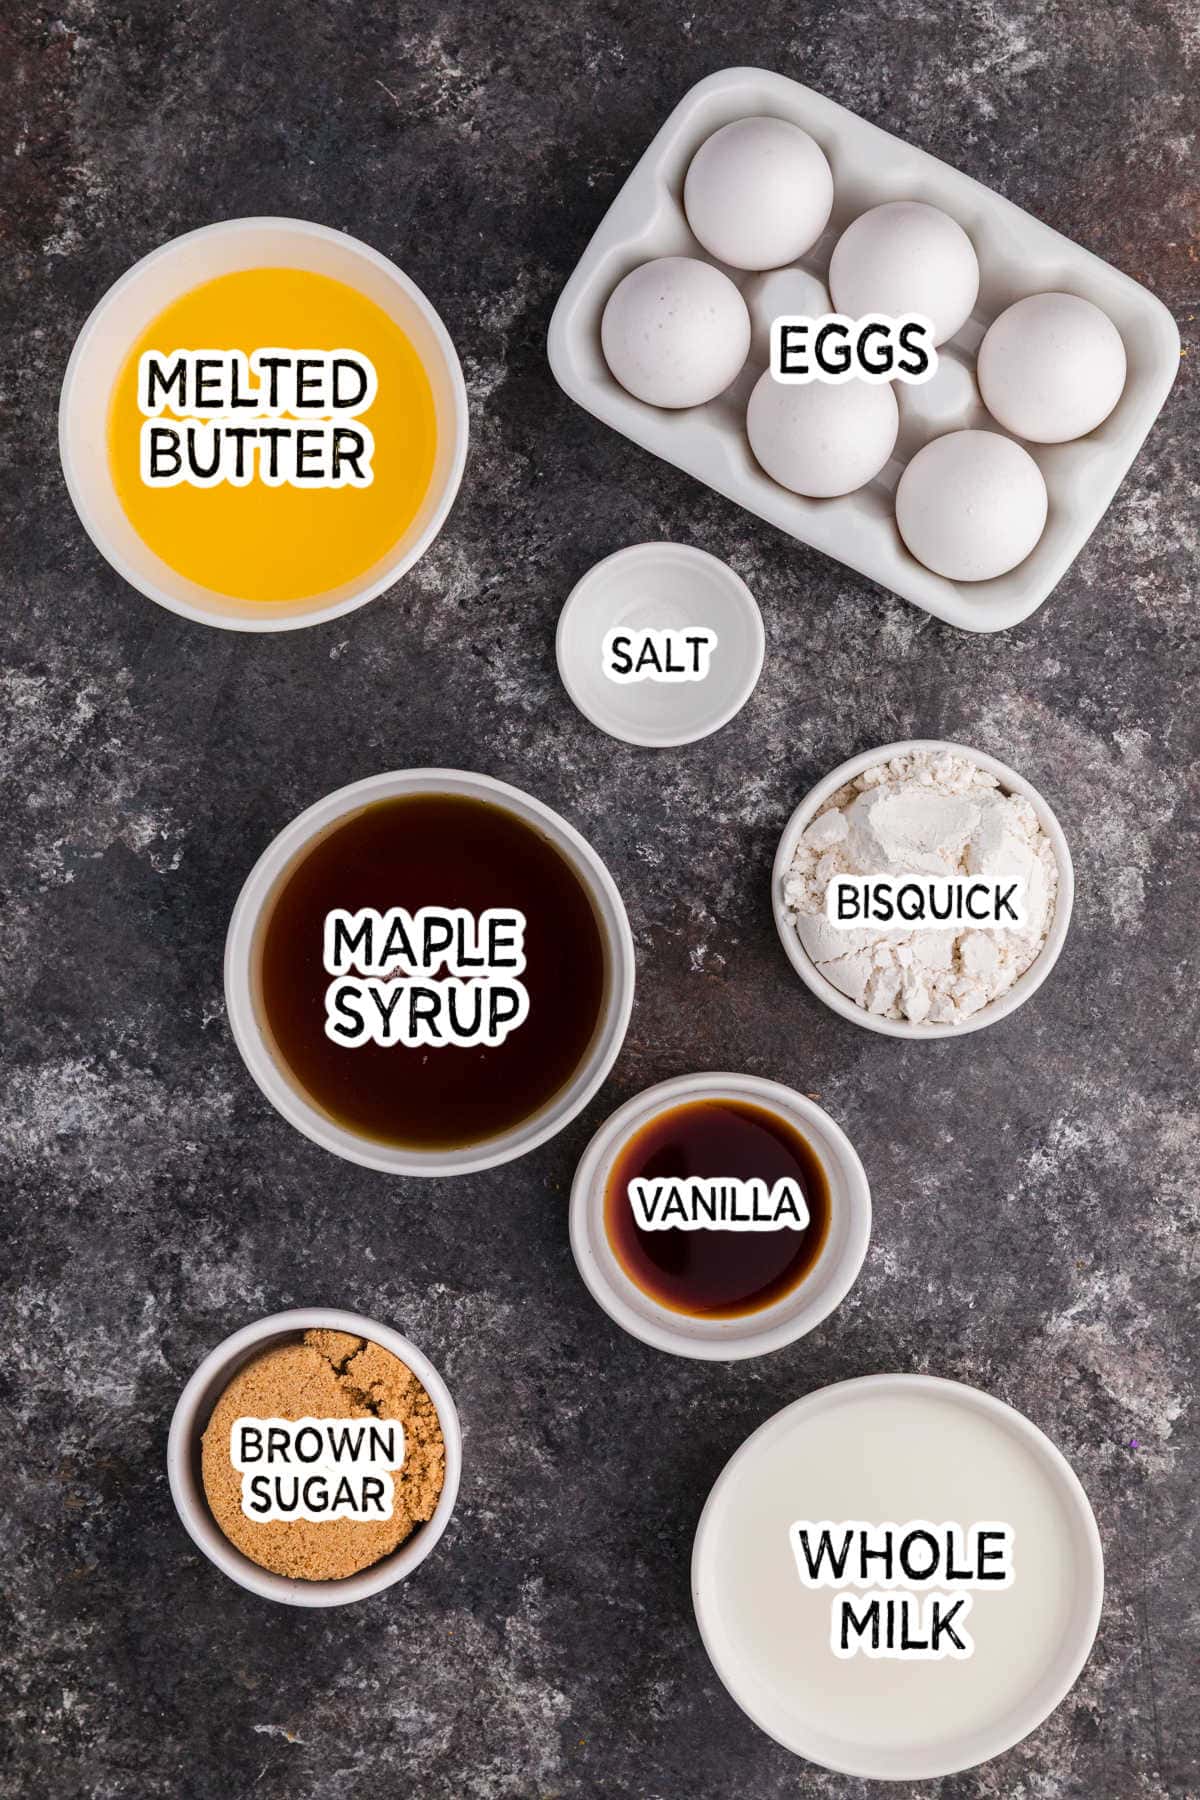
Ingredients
The full printable recipe card with measurements and instructions is found at the bottom of the post.
- Pure maple syrup: Use real maple syrup for the best flavor. It gives the pie that deep, rich sweetness that can’t be matched by pancake syrup.
- Brown sugar: Pack it firmly in the measuring cup to get the right sweetness and texture.
- Bisquick baking mix: This is what creates the “impossible” crust. If you don’t have Bisquick, you can make your own by mixing flour, baking powder, salt, and a bit of butter.
- Salt: Just a pinch balances the sweetness and enhances all the flavors.
- Eggs: Let them come to room temperature for a smoother custard texture.
- Whole milk: Use milk that’s not straight from the fridge. It mixes more easily and helps the pie bake evenly.
- Unsalted butter: Cool it slightly after melting so it doesn’t curdle the eggs when you whisk it in.
- Vanilla extract: Add it last to preserve its flavor, as it can fade if overmixed.
How to Make Maple Impossible Pie
- Step One: Preheat oven to 350°F. Grease a 9-inch pie plate.
- Step Two: In a large mixing bowl, whisk together maple syrup, brown sugar, Bisquick, and salt.
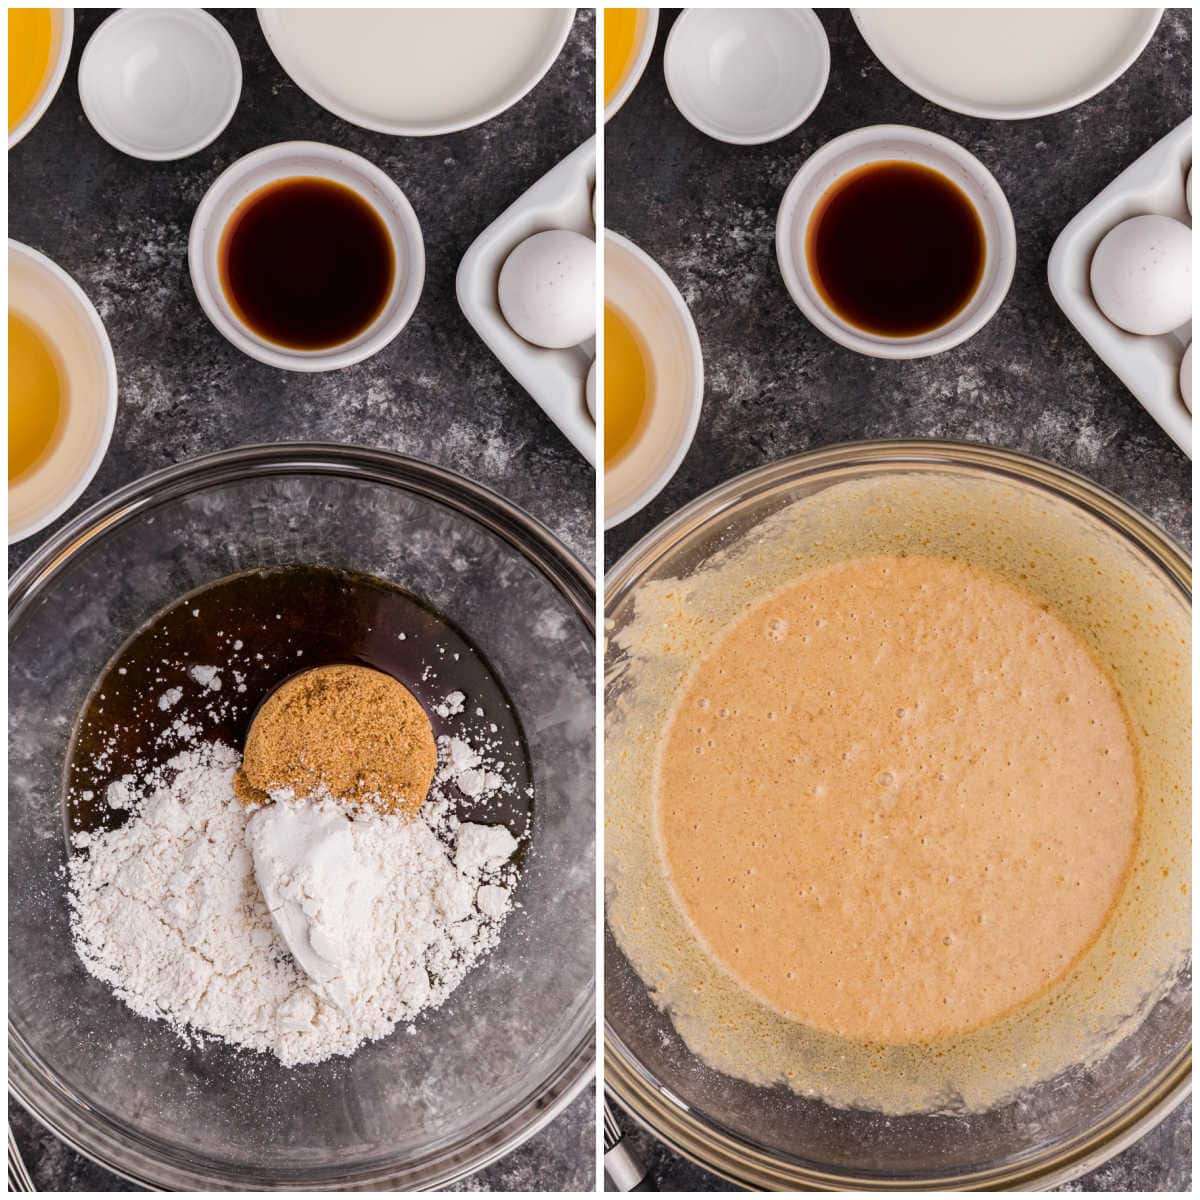
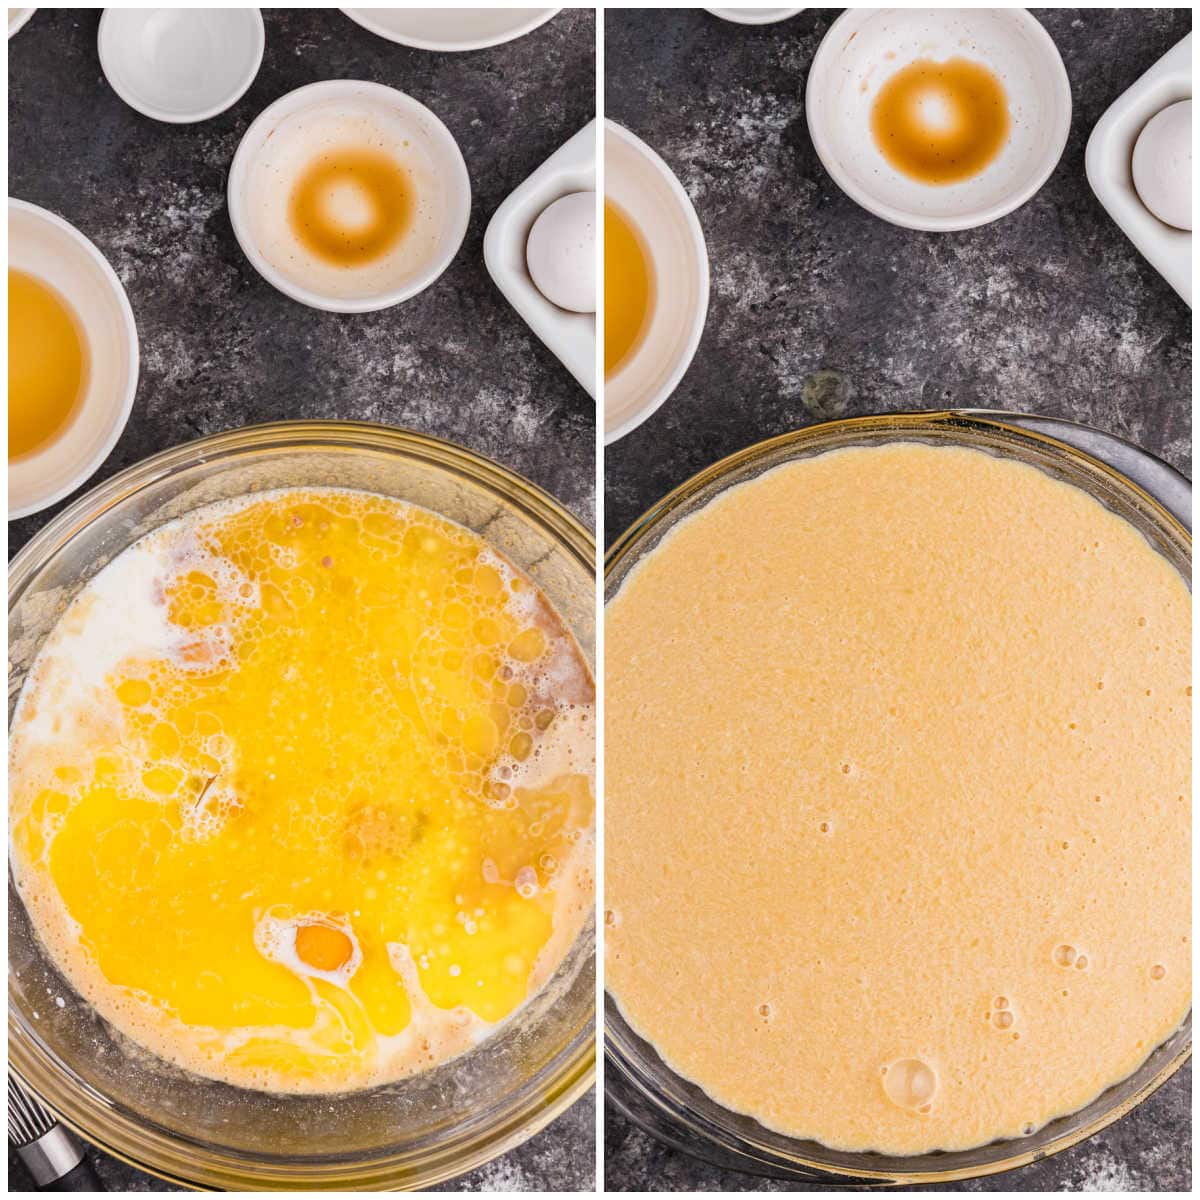
- Step Three: Add eggs, milk, and vanilla. Whisk until smooth (the batter will be thin). Slowly add the melted butter while whisking constantly.
- Step Four: Pour into the prepared pie plate.
- Step Five: Bake for 55 minutes, or until the center is just set but still has a slight jiggle.
- Step Six: Cool completely before slicing. Serve at room temperature or chilled. A dollop of whipped cream or a drizzle of maple syrup makes it extra special.

Variations and Substitutions
- Make it nutty: Stir in a handful of chopped pecans or walnuts for a little crunch and a hint of earthy flavor that pairs beautifully with maple.
- Add a fall twist: Sprinkle in a bit of cinnamon or nutmeg to bring out the cozy, warm notes of the maple syrup.
- Try a different milk: Whole milk gives the richest texture, but 2% or even a dairy-free option like oat or almond milk will work in a pinch.
- Use a flavored extract: Swap vanilla for maple or butter extract to boost the flavor even more.
- Mini pies: Pour the batter into greased ramekins or a muffin tin for individual servings. Reduce the baking time to about 30 minutes, then check for doneness.
- No Bisquick? Make your own by combining 1 cup all-purpose flour, 1½ teaspoons baking powder, 1 tablespoon cold butter (cut in), and a pinch of salt.
Storage Instructions
- Refrigerator: Store leftover pie covered or in an airtight container in the fridge for up to 4 days. The texture firms up as it chills, and the maple flavor becomes even richer the next day.
- Freezer: Maple Impossible Pie freezes well for up to 2 months. Let it cool completely, then wrap tightly in plastic wrap and foil, or place slices in freezer-safe containers. Thaw overnight in the fridge before serving.
- Make-Ahead: This pie is perfect to make a day ahead. Once cooled, cover and refrigerate until ready to serve. It slices beautifully once chilled and tastes even better the next day.
Recipe Tips and Tricks
- Mix gently: Whisk the batter just until smooth. Overmixing can make the texture dense instead of custardy.
- Don’t skip the cooling time: Let the pie cool completely before slicing. Cutting too soon can make the layers collapse.
- Check for doneness: The center should still have a slight jiggle when you take it out of the oven—it will finish setting as it cools.
- Use a glass pie plate: It helps the bottom crust brown evenly and makes it easier to see when it’s done.
- Keep an eye on the edges: If they start to brown too quickly, loosely cover the pie with foil for the last 10 minutes of baking.
- Add a simple topping: A dollop of whipped cream or a scoop of vanilla ice cream turns this humble pie into a company-worthy dessert.
- If the batter looks curdled: Don’t worry, it’s just the maple syrup reacting with the butter and milk. Give it a quick whisk, and it will smooth out once baked.
Impossible Pie Recipes
Follow me on Instagram @simplystacieblog, Facebook at Simply Stacie, TikTok @simplystacierecipes or Pinterest at @simplystacie and let me know how you liked this recipe and my other recipes.
Maple Impossible Pie
SAVE THIS RECIPE!
Ingredients
- 1 cup maple syrup
- ½ cup packed brown sugar
- ½ cup Bisquick baking mix
- ¼ tsp salt
- 4 large eggs
- 2 cups whole milk
- ½ cup melted butter cooled slightly
- 2 tsp vanilla extract
Instructions
- Preheat oven to 350°F. Grease a 9-inch pie plate.
- In a large mixing bowl, whisk together maple syrup, brown sugar, Bisquick, and salt.
- Add eggs, milk, and vanilla. Whisk until smooth (the batter will be thin). Slowly add the melted butter while whisking constantly.
- Pour into the prepared pie plate.
- Bake for 55 minutes, or until the center is just set but still has a slight jiggle.
- Cool completely before slicing. Serve at room temperature or chilled. A dollop of whipped cream or a drizzle of maple syrup makes it extra special.
Notes
- The batter will be thin — that’s normal for Impossible Pies. It thickens and separates into layers as it bakes.
- If the mixture looks slightly curdled before baking, it’s just the maple syrup reacting with the butter and milk. Give it a quick whisk and it’ll bake up smooth.
- For best results, add the melted butter slowly while whisking to help everything blend evenly.
- Let the pie cool completely before slicing so the layers can fully set.
- Store leftovers covered in the fridge for up to 4 days or freeze for up to 2 months.
- Serve chilled or at room temperature with whipped cream or a drizzle of warm maple syrup.
Nutrition
The information shown is an estimate provided by an online nutrition calculator. It should not be considered a substitute for a professional nutritionist’s advice.
Did you make this recipe?
I’d love to see it! Make sure to share it on your favorite social platform.
Want Even More Recipes?
Join Moms Best Recipes to find more delicious family recipes.
free ebook!
The Best of Simply Stacie
When you subscribe to the newsletter for the latest updates!