
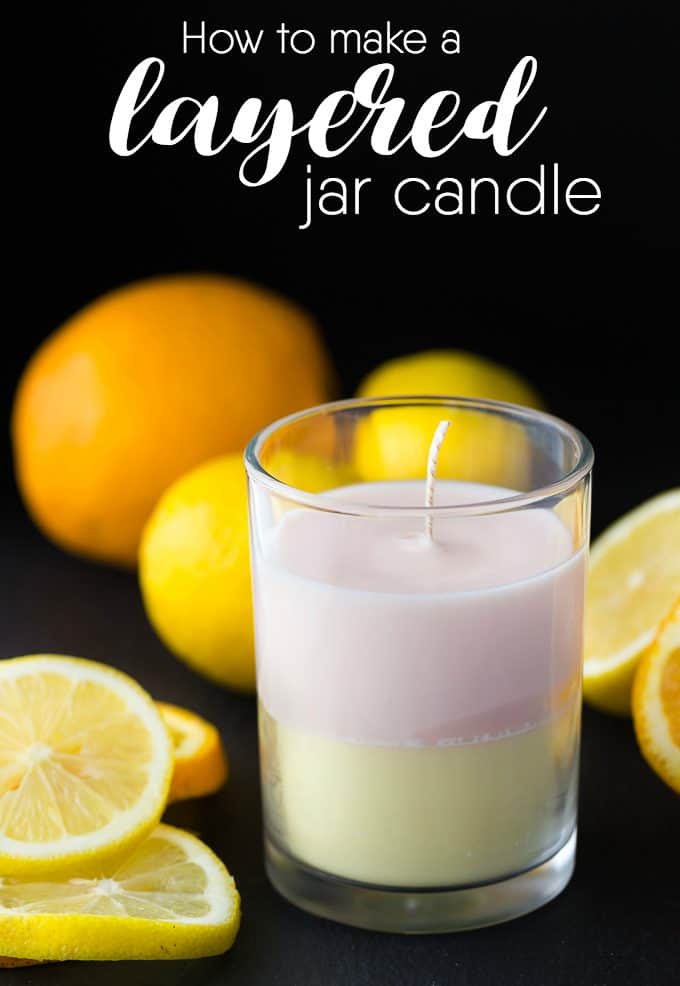
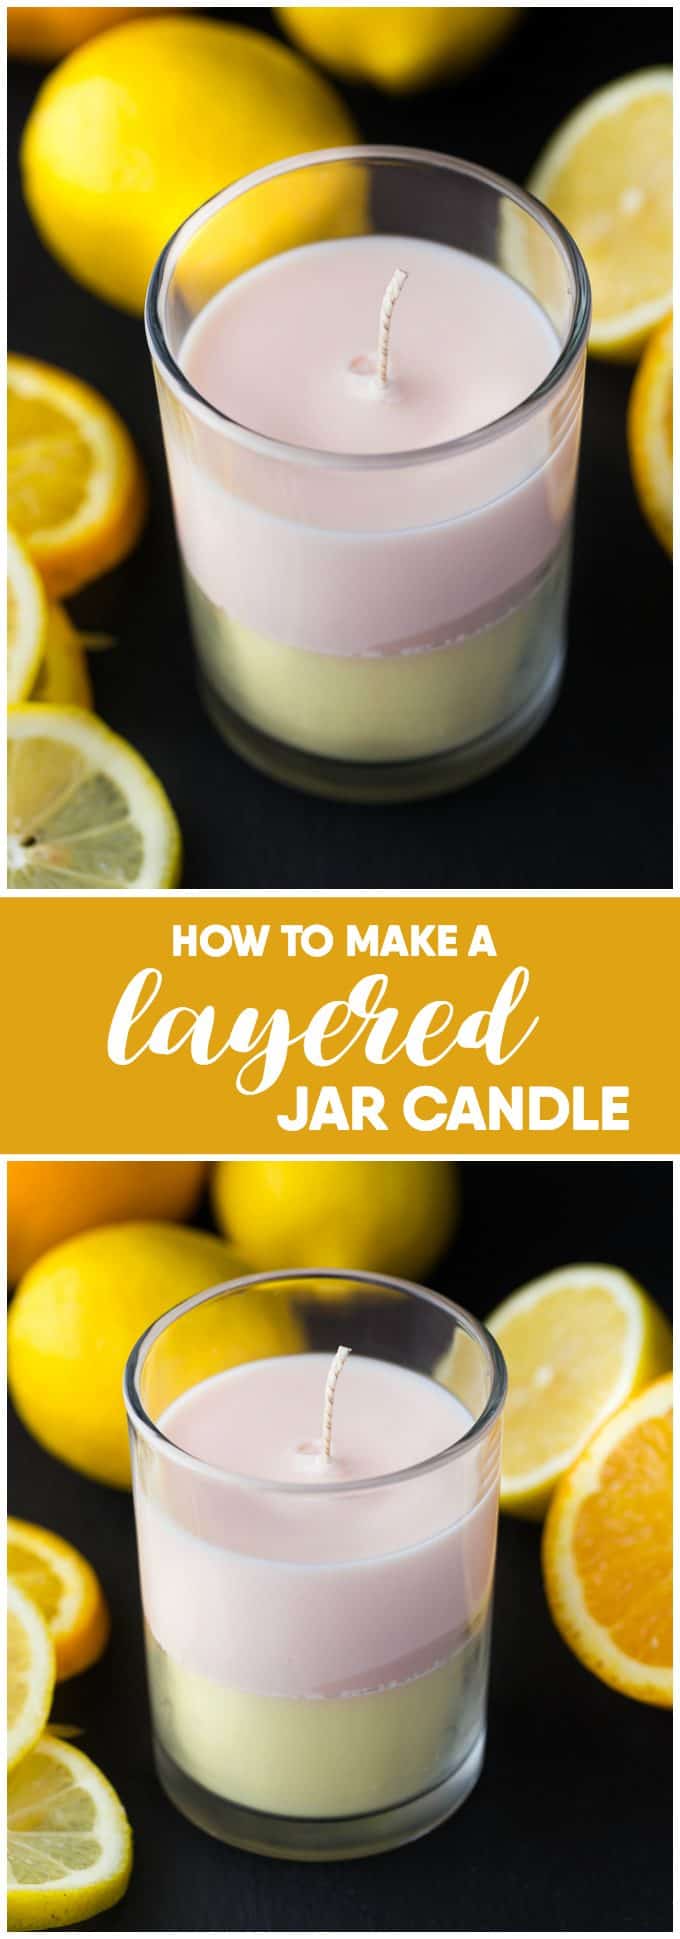
How to Make a Layered Jar Candle
When I was picking up soap supplies at Michael’s, I noticed right next to it was the candle making supplies. If I can make my own soap, I could probably do candles too, right? That was my thought process so I picked up some candle making supplies and figured I’d give it a shot. Turns out it’s pretty darn easy too!
What You’ll Need
This post contains affiliate links.
- Pre-wicked Candle Crafting Jar (3.3in x 4.5in) – I purchased mine at Michael’s
- Art Minds Liquid Dye in Yellow and Coral
- Soy Wax Flakes
- Thermometer
- 2 Wooden skewers or cake pop sticks
- 2 elastics
- 10 to 15 drops each lemon and orange essential oil
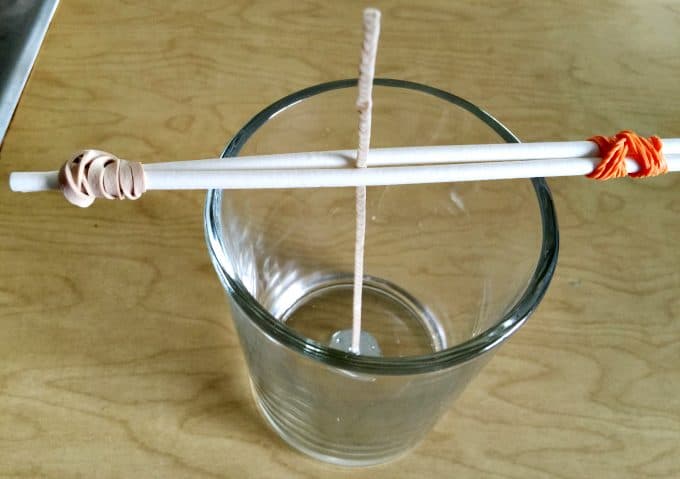
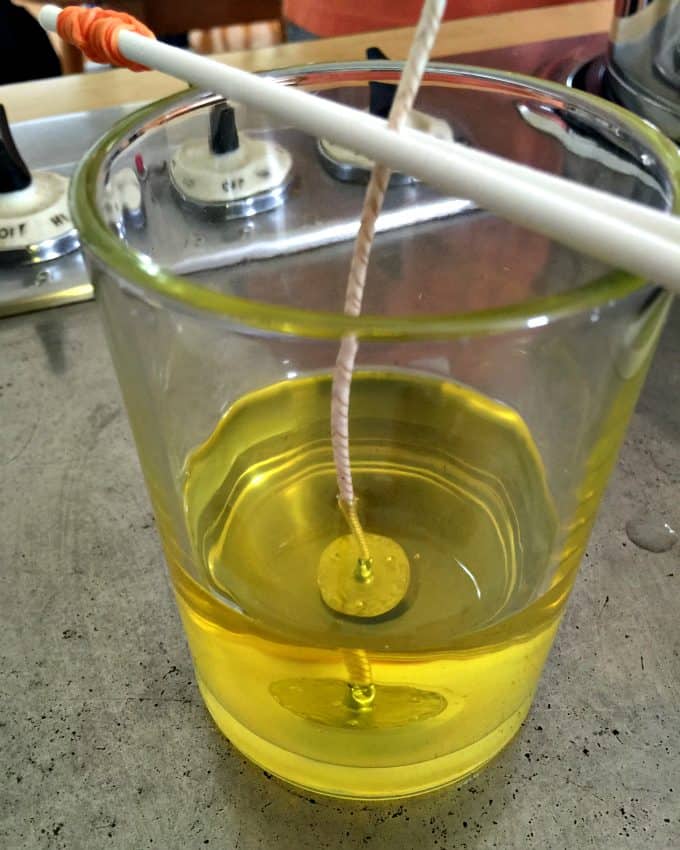
I bought a pre-wicked candle crafting jar that already had the wick inside and ready to go. The first step is making sure the wick stays put while you make your candle. To do this, you need place the wick between two skewers or cake pop sticks like I used and tie an elastic around each end. This step will ensure your wick does not get stuck inside with your wax.
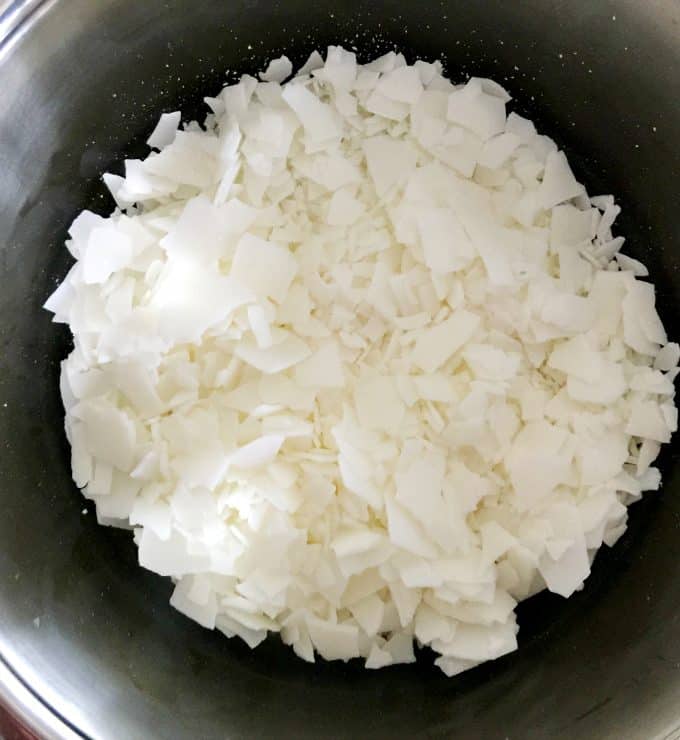
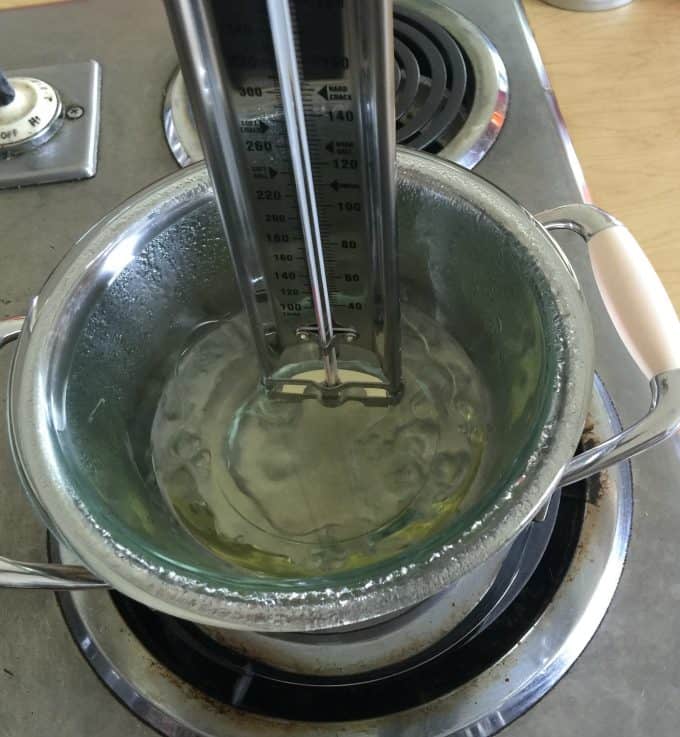
I wanted to make a layered candle so I had to melt the wax in a two steps. To create the first layer, I melted about 9 oz of my soy wax flakes in a double boiler on my stove over high heat. You want to get the pot of water underneath your bowl of wax to boil so it can reach the proper temperature.
Stir it occasionally to help it along.
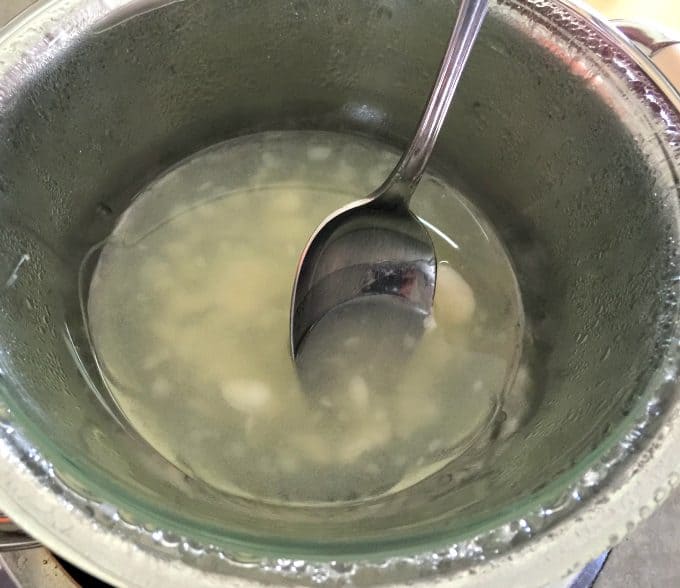
Once it reaches a boil, place a thermometer inside the wax bowl. Your goal is to get it to 160F. Once it reaches that temperature, turn off the stove and carefully remove the bowl.
Mix in 5 to 6 drops of yellow liquid dye and stir. Then add about 15 drops of lemon essential oil and stir. Pour the mixture into your prepared candle jar and let sit at room temperature until it hardens. It takes a few hours to harden completely.
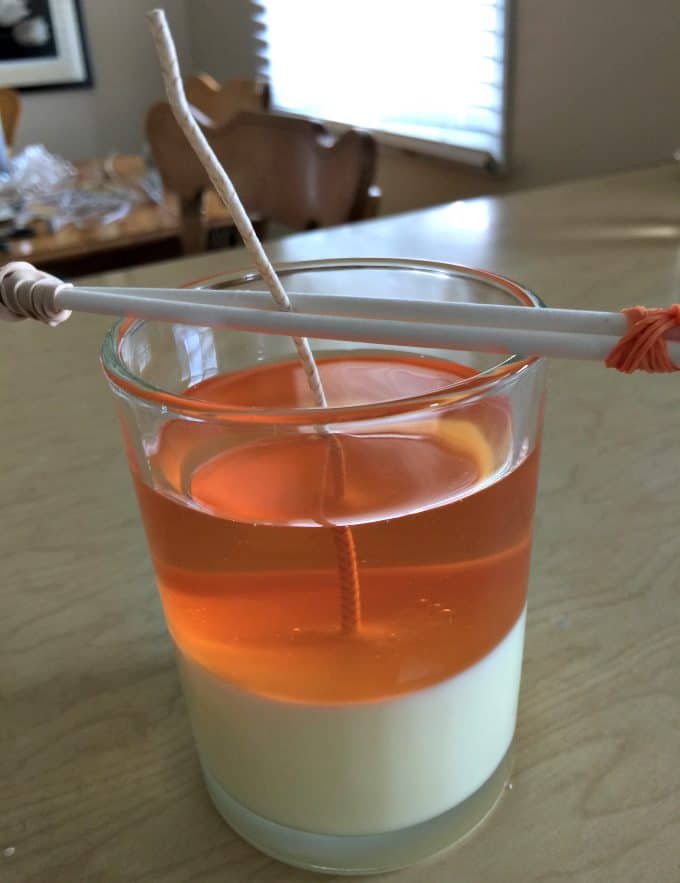
Once your yellow layer has hardened, it’s time to make the next layer. You’re going to repeat the same process above only this time after you remove the bowl from the heat, you’re going to add in about 5 to 6 drops of the coral liquid dye and 15 drops of orange essential oil. Pour the wax into your jar. Don’t worry, it won’t melt the bottom layer as long as you’ve let it harden completely.
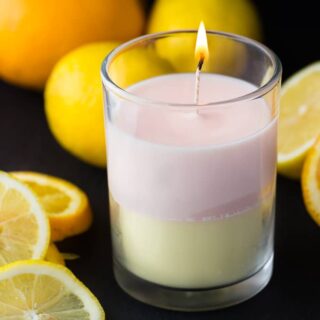
It will take several hours to firm up. Once it’s ready, remove your sticks holding up the wick and trim the wick with a pair of scissors. Your candle is ready for you to enjoy!
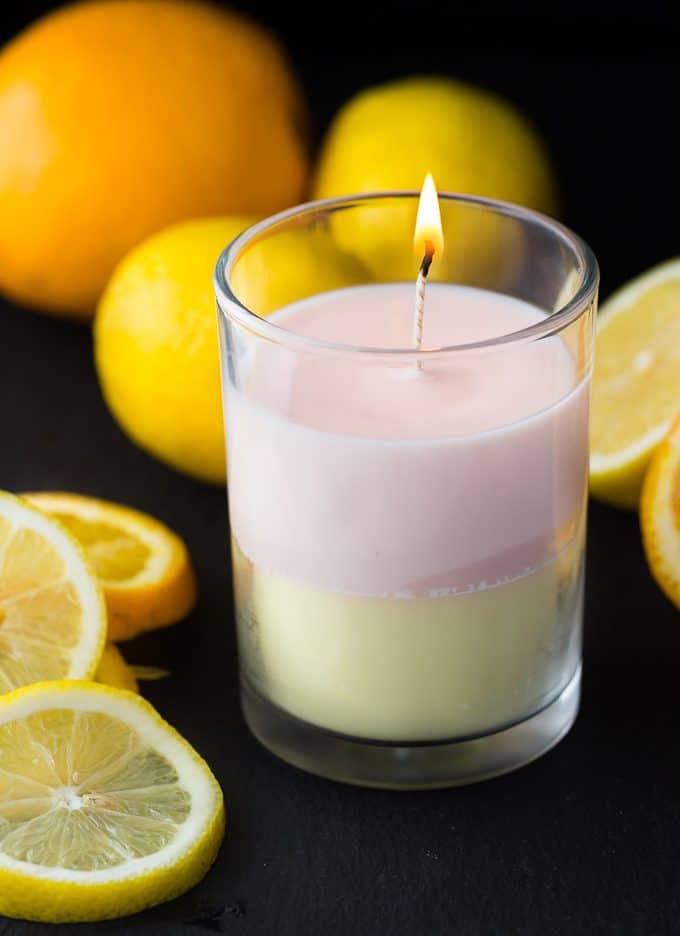
Keep it for yourself or give it away as a beautiful DIY gift. Your friend or family member will be shocked that you made something so pretty yourself. You can keep the little secret of just how easy it was to make.
Don’t like these colours or scents? Feel free to use different colours of liquid dye and other essential oils. Michael’s also sells candle scents so you could pick some up there if you don’t want to use essential oil.
Do you make your own candles? If not, will you now that you see how easy it is?
Layered Jar Candle
SAVE THIS RECIPE!
Ingredients
- Pre-wicked Candle Crafting Jar 3.3in x 4.5in – I purchased mine at Michael’s
- Art Minds Liquid Dye in Yellow and Coral
- Soy Wax Flakes
- 10 to 15 drops each lemon and orange essential oil
Instructions
- The first step is making sure the wick stays put while you make your candle. To do this, you need place the wick between two skewers or cake pop sticks like I used and tie an elastic around each end. This step will ensure your wick does not get stuck inside with your wax.
- To create the first layer, I melted about 9 oz of my soy wax flakes in a double boiler on my stove over high heat. You want to get the pot of water underneath your bowl of wax to boil so it can reach the proper temperature.
- Stir it occasionally to help it along.
- Once it reaches a boil, place a thermometer inside the wax bowl. Your goal is to get it to 160°F. Once it reaches that temperature, turn off the stove and carefully remove the bowl.
- Mix in 5 to 6 drops of yellow liquid dye and stir. Then add about 15 drops of lemon essential oil and stir. Pour the mixture into your prepared candle jar and let sit at room temperature until it hardens. It takes a few hours to harden completely.
- Once your yellow layer has hardened, it’s time to make the next layer. You’re going to repeat the same process above only this time after you remove the bowl from the heat, you’re going to add in about 5 to 6 drops of the coral liquid dye and 15 drops of orange essential oil. Pour the wax into your jar. Don’t worry, it won’t melt the bottom layer as long as you’ve let it harden completely.
- It will take several hours to firm up. Once it’s ready, remove your sticks holding up the wick and trim the wick with a pair of scissors. Your candle is ready for you to enjoy!
Equipment
- Thermometer
- 2 Wooden skewers or cake pop sticks
- 2 elastics
The information shown is an estimate provided by an online nutrition calculator. It should not be considered a substitute for a professional nutritionist’s advice.
Did you make this recipe?
I’d love to see it! Make sure to share it on your favorite social platform.
Want Even More Recipes?
Join Moms Best Recipes to find more delicious family recipes.
free ebook!
The Best of Simply Stacie
When you subscribe to the newsletter for the latest updates!


That does look relatively easy. And it looks so pretty too!
Inspired to try candle making now. It is beautiful.
I’ve always wanted to try making candles. Awesome guide 🙂 Thank you so much for sharing with us at Dishing It & Digging It!
I’m the same way while shopping at Michael’s or any craft store. I’m easily distracted by the next thing. Your candle is very pretty and it does seem so easy. I may go ahead and give this a try with some fall fragrances. So glad you party with us at Merry Monday.
This is SUCH a neat idea!
I would love for you to share this with my Facebook Group for recipes, crafts, tips, and tricks: https://www.facebook.com/groups/pluckyrecipescraftstips/
Thanks for joining Cooking and Crafting with J & J!
Thanks for sharing this. I have always wanted to make my own candles.
Great tutorial! I have never tried to make my own candles but it does seem fairly easy. Thanks for sharing.
Beautifully done, would be nice to personalize scents and colors this way when giving a candle like these away as a gift.
This look like a pretty fun project! I have never made my own candles before but I just might start! They can get pretty expensive to buy. Thank you for sharing
I have probably picked up and put back those candle kits a dozen times. I love the look of this and now I may be motivated to try my own
These are really cute, I like how easy they are to make as well, a fun craft to make for the holidays!!
This sounds so fun! I would love to try making some candles with my daughter!
Very pretty and looks easy enough to do. Would be fun to make some for Christmas!
This candle is so pretty and it turned out really nice. I have not made a homemade candle in ages, and this layered one looks amazing. I want to try making it. Thanks for the info on it.