Peanut Butter Bread
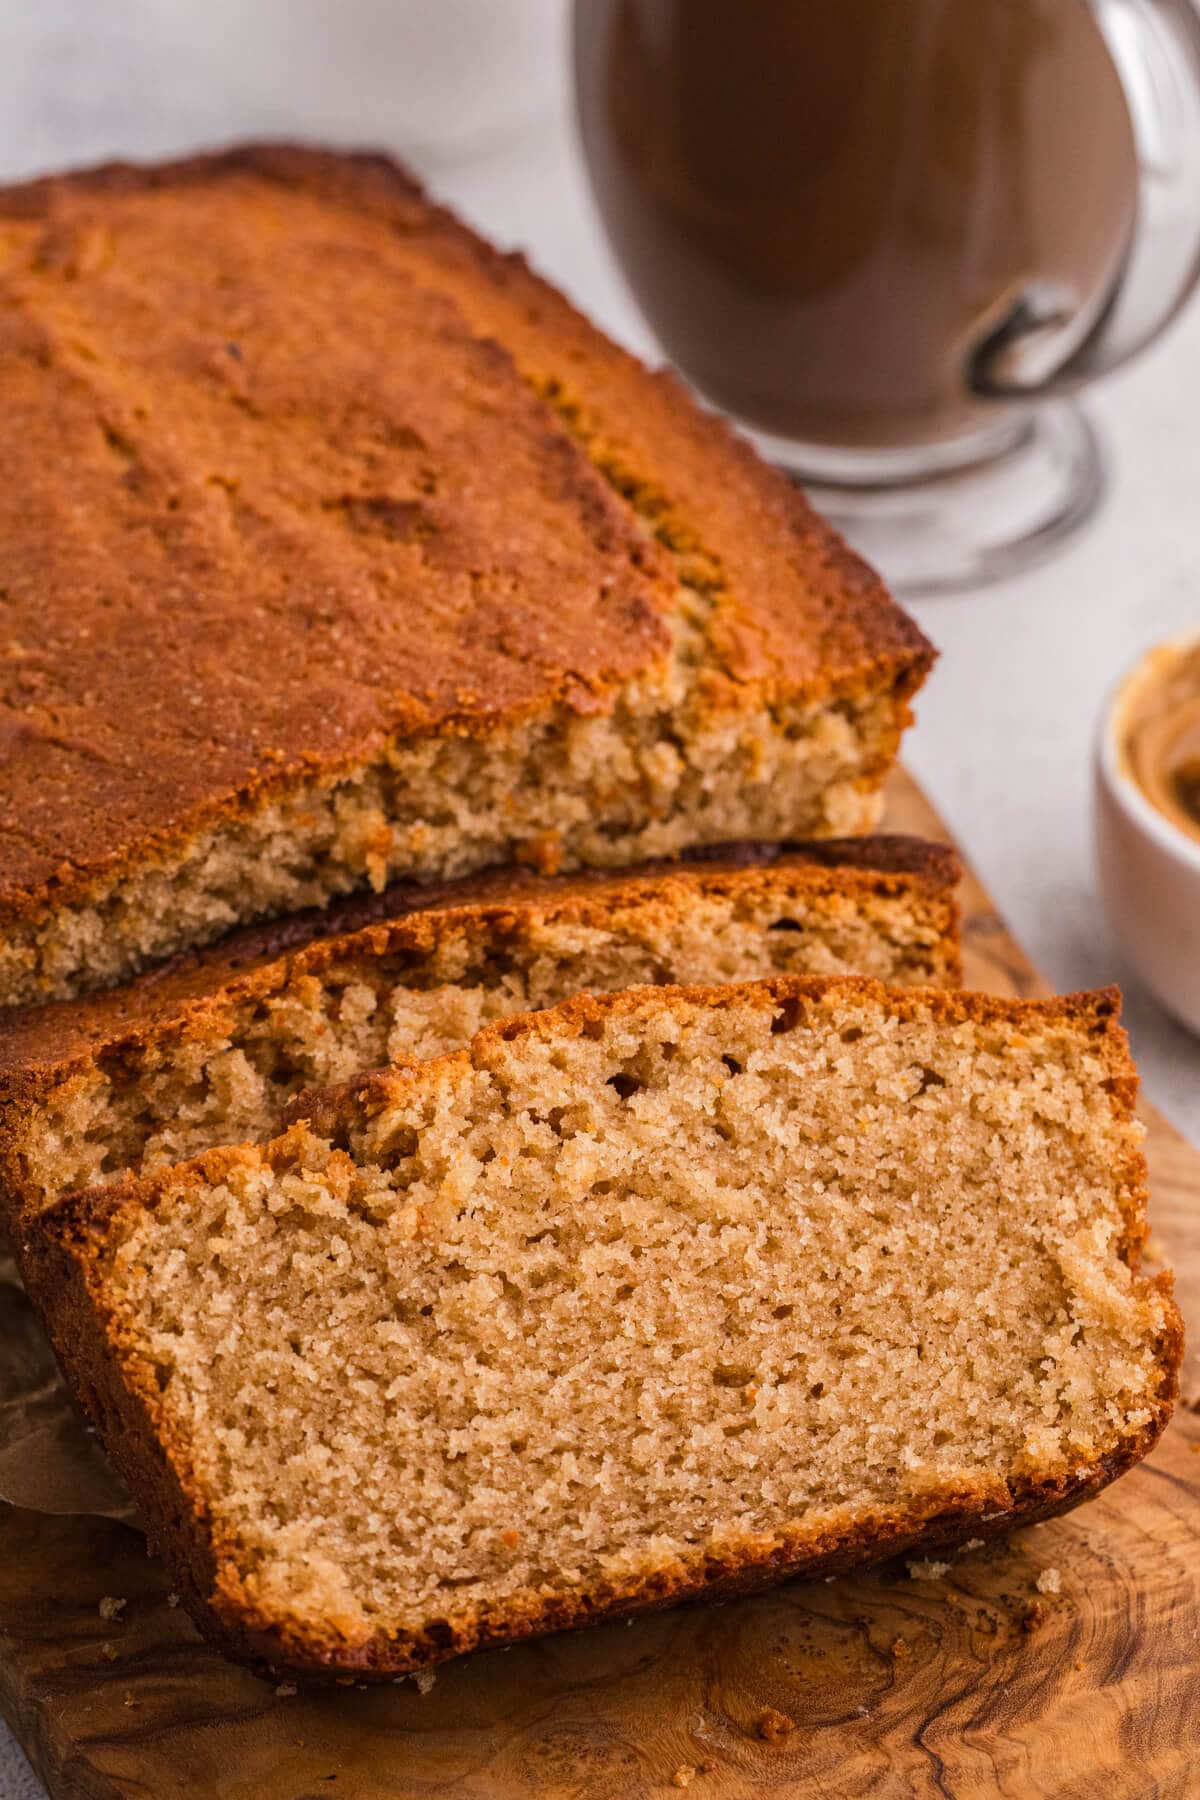
Peanut Butter Bread is an old-fashioned quick bread with a tender crumb and rich peanut butter flavor that isn’t overly sweet. It comes together quickly with simple pantry ingredients and no rising time, making it perfect when you want something homemade.
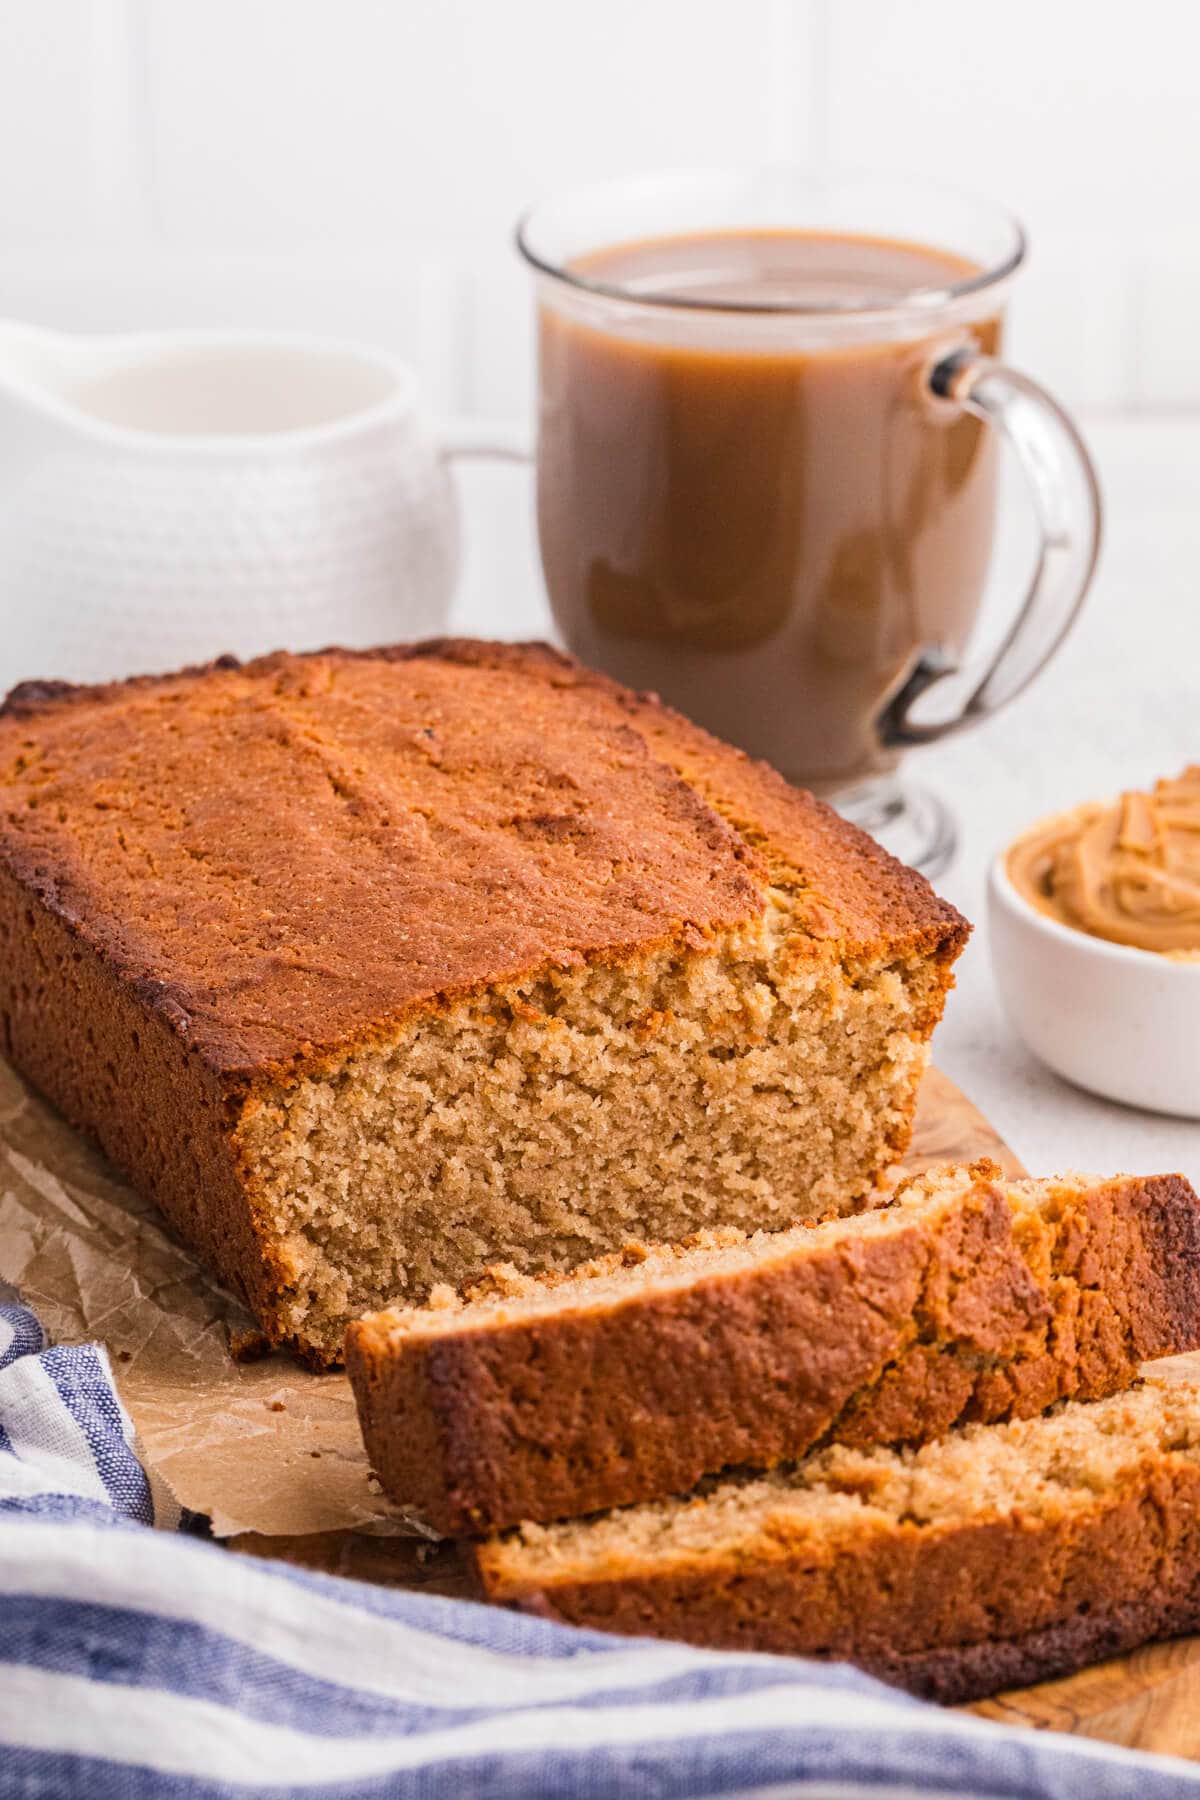
I’ve always had a soft spot for recipes like this that remind me of my late grandmother. Peanut Butter Bread became popular during the Great Depression in the 1930s when people had to make do with simple, affordable ingredients. It’s easy to see why it stuck around.
The ingredients are budget-friendly and likely already in your pantry, and it comes together so quickly without any fuss. I love making it on days when I don’t feel like tackling anything complicated but still want a homemade and comforting snack.
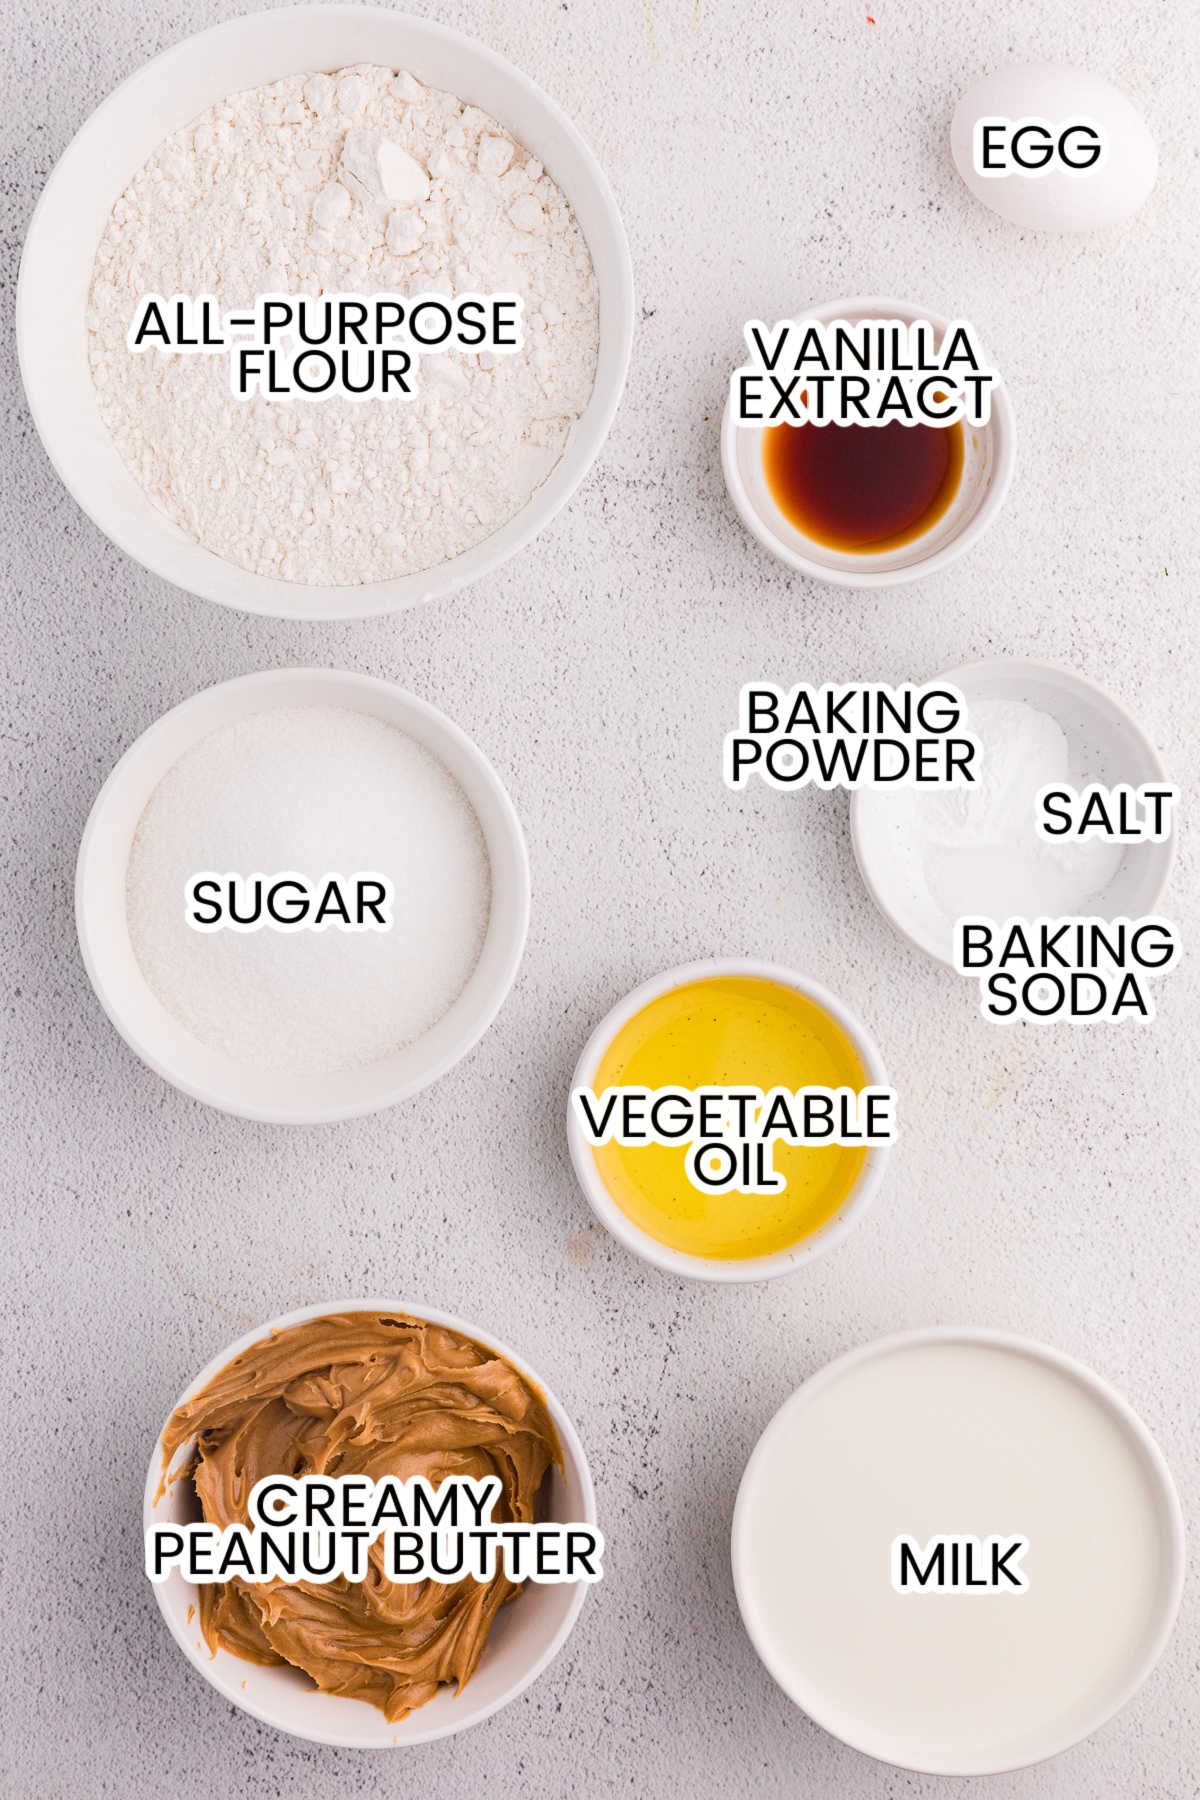
Ingredients
The full printable recipe card with measurements and instructions is found at the bottom of the post.
- All-purpose flour: Spoon and level it instead of scooping straight from the bag so the bread doesn’t turn out dense.
- Granulated sugar: You can adjust slightly to taste if you prefer it less sweet.
- Baking powder: Make sure it’s fresh for the best rise and texture.
- Baking soda: Works with the other leaveners to keep the bread light and tender.
- Salt: Don’t skip it. It balances the sweetness and enhances the peanut butter flavor.
- Creamy peanut butter: Use a regular, shelf-stable peanut butter for the best texture. Natural peanut butter can make the loaf a bit dense.
- Milk: Any type works, but whole milk will give you a richer, softer crumb.
- Egg: Bring it to room temperature so it mixes more evenly into the batter.
- Vegetable oil: Keeps the bread moist. You can swap with canola oil or melted butter if needed.
- Vanilla extract: Adds a little extra warmth and depth to the flavor.
How to Make Peanut Butter Bread
- Step One: Preheat oven to 350°F. Grease a 9×5-inch loaf pan or line it with parchment paper for easy removal.
- Step Two: In a large bowl, whisk together flour, sugar, baking powder, baking soda, and salt.
- Step Three: In a medium bowl, mix peanut butter, milk, egg, oil, and vanilla with an electric mixer until smooth.
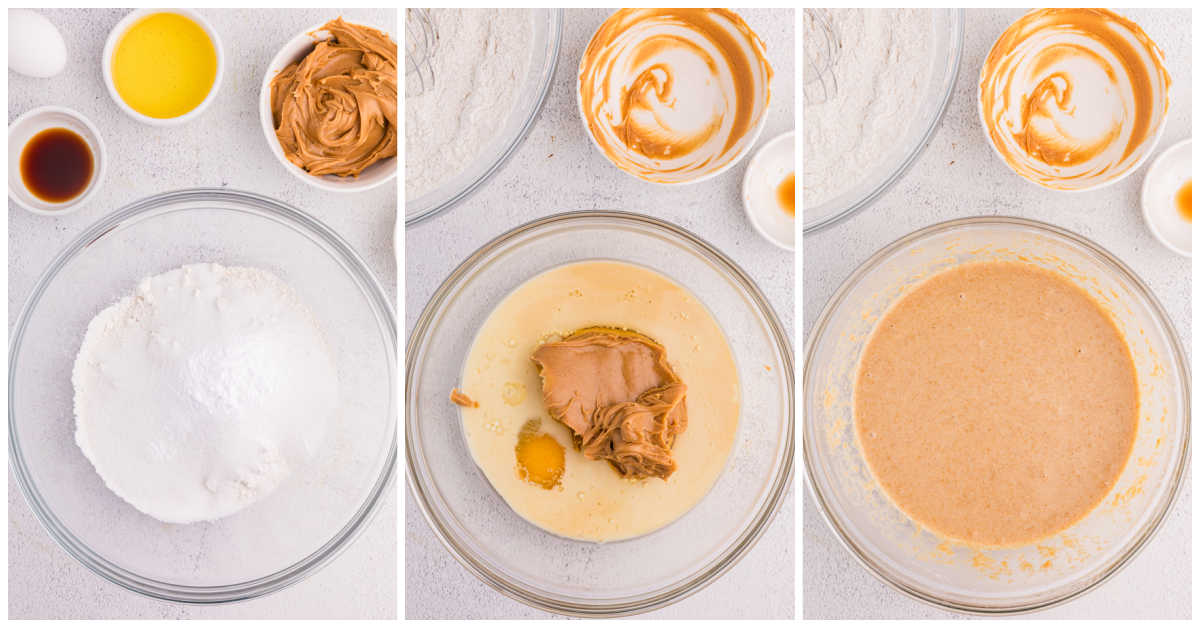
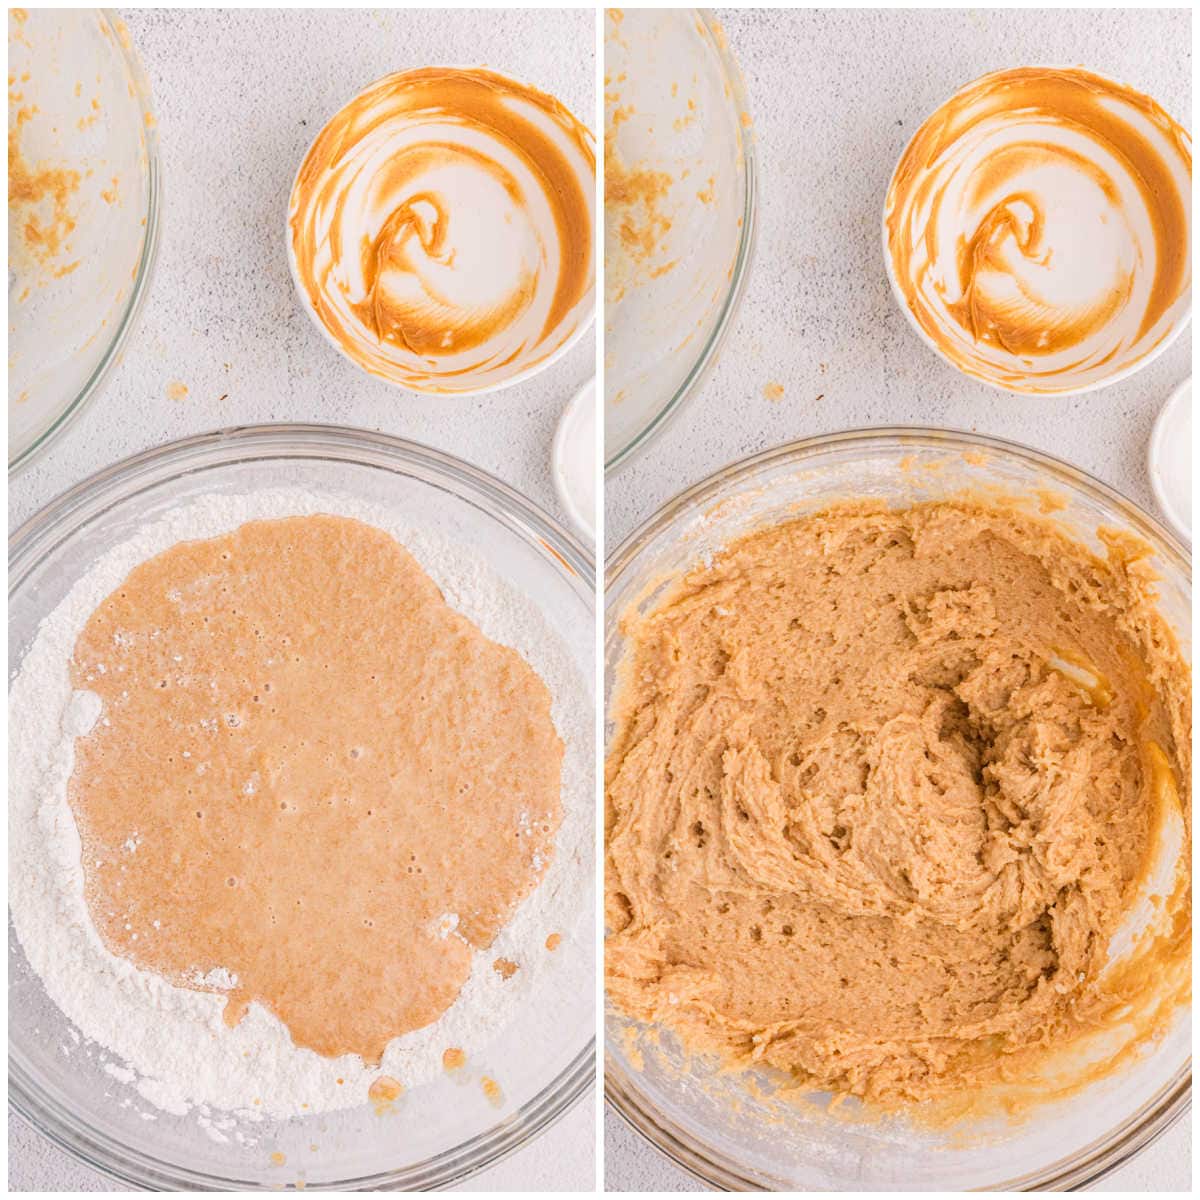
- Step Four: Stir wet ingredients into dry ingredients just until combined.
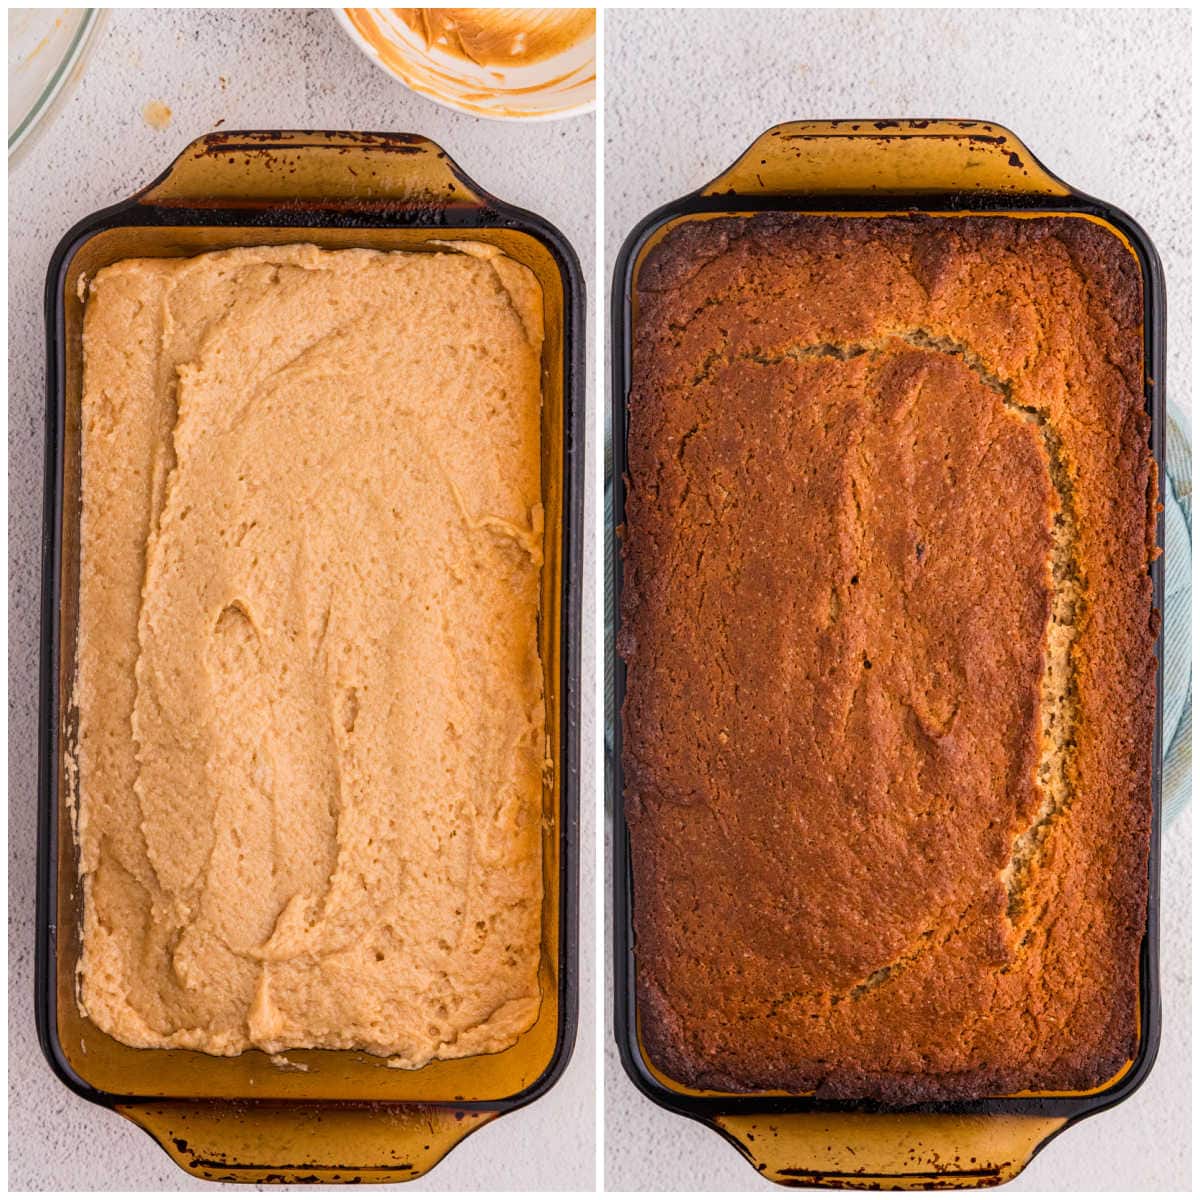
- Step Five: Pour batter into prepared loaf pan and smooth the top.
- Step Six: Bake for 50 to 55 minutes, until a toothpick inserted in the center comes out clean.
- Step Seven: Cool in the pan for 10 minutes, then transfer to a wire rack.

Variations and Substitutions
- Use crunchy peanut butter: Swap in crunchy peanut butter for a little texture in every bite.
- Make it chocolate chip: Stir in ½ to 1 cup of chocolate chips for a peanut butter-and-chocolate combo.
- Try a different nut butter: Almond butter or cashew butter can work, but the flavor and texture will be slightly different.
- Lower the sugar: You can reduce the sugar slightly if you prefer a less sweet loaf, especially if adding mix-ins like chocolate chips.
- Swap the oil: Melted butter or even melted coconut oil can be used instead of vegetable oil.
- Add-ins for extra flavor: Try chopped peanuts, raisins, a swirl of jam or Nutella, or even a handful of mini chocolate chips.
- Make it into muffins: Divide the batter into a lined muffin tin and bake at 350°F for about 18 to 22 minutes.
Storage Instructions
- Room temperature: Store the bread in an airtight container or wrapped tightly in plastic wrap at room temperature for up to 3 days.
- Refrigerator: You can refrigerate it for up to 1 week, but keep it well wrapped so it doesn’t dry out. Let it come to room temperature before serving for the best texture.
- Freezer: Slice the bread and wrap individual pieces or the whole loaf tightly in plastic wrap, then place in a freezer-safe bag. Freeze for up to 3 months. Thaw at room temperature or warm slices in the microwave.
- Make-ahead: This bread is great to make ahead since it stays moist. Bake it a day in advance and store covered until ready to serve.
Recipe Tips and Tricks
- Don’t overmix the batter: Stir just until everything is combined. Overmixing can make the bread dense instead of soft.
- Warm the peanut butter slightly: If it’s thick, a quick 10–15 seconds in the microwave makes it easier to mix smoothly into the batter.
- Use the right pan size: A 9×5-inch loaf pan gives the best shape and ensures even baking. Smaller pans can cause the center to stay underbaked.
- Check for doneness early: Ovens vary, so start checking around the 50-minute mark to avoid overbaking.
- Tent with foil if needed: If the top is browning too quickly, loosely cover it with foil for the last part of baking.
- Let it cool before slicing: It will slice much cleaner and hold together better once it’s had time to set.
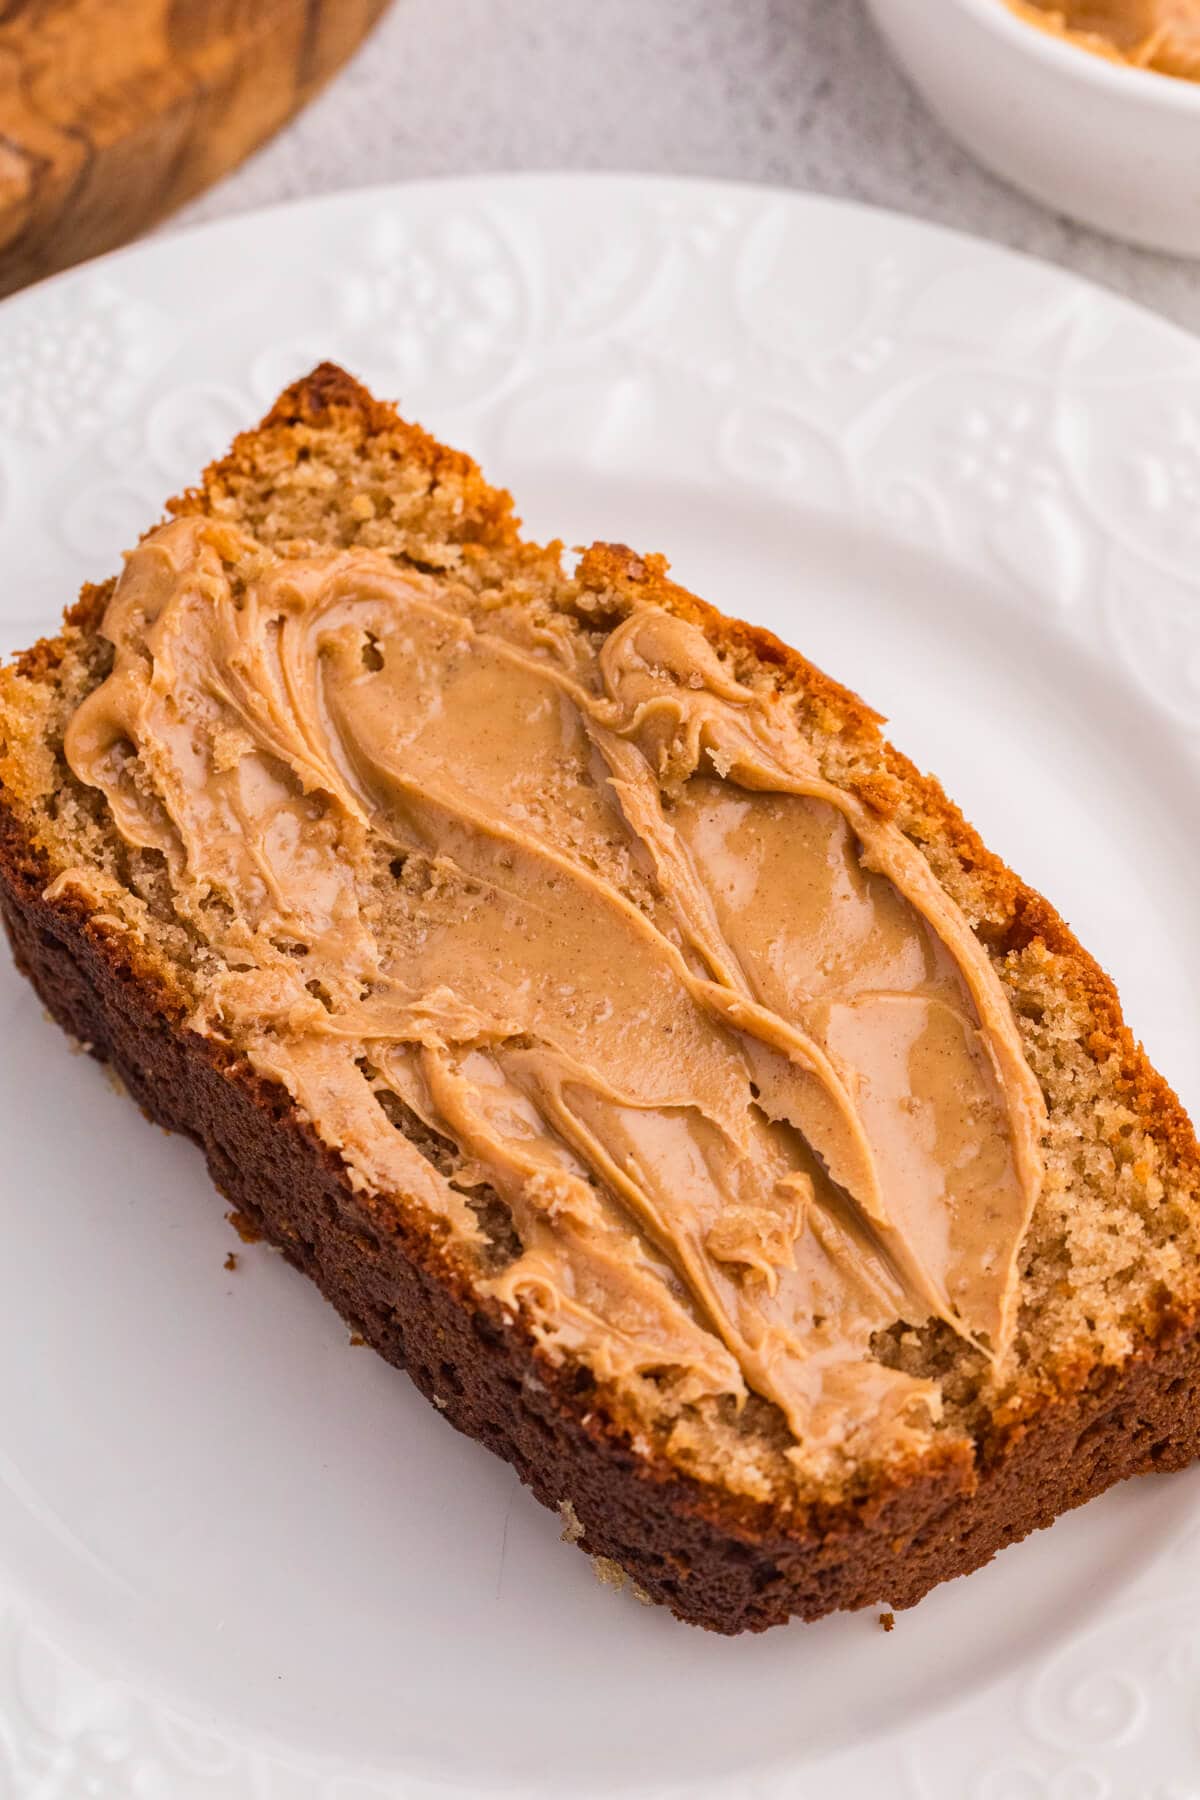
- Enhance the flavor when serving: Try toasting a slice and spreading it with butter, honey, or a little jam for something extra special.
Quick Bread Recipes
Follow me on Instagram @simplystacieblog, Facebook at Simply Stacie, TikTok @simplystacierecipes or Pinterest at @simplystacie and let me know how you liked this recipe and my other recipes.
Peanut Butter Bread
SAVE THIS RECIPE!
Ingredients
- 1 ¾ cups all-purpose flour
- ¾ cup sugar
- 1 tsp baking powder
- ½ tsp baking soda
- ½ tsp salt
- 1 cup creamy peanut butter
- 1 cup milk
- 1 large egg
- ⅓ cup vegetable oil
- 1 tsp vanilla extract
Instructions
- Preheat oven to 350°F. Grease a 9×5-inch loaf pan.
- In a large bowl, whisk together flour, sugar, baking powder, baking soda, and salt.
- In another bowl, mix peanut butter, milk, egg, oil, and vanilla with an electric mixer until smooth.
- Stir wet ingredients into dry ingredients just until combined.
- Pour batter into prepared pan and smooth the top.
- Bake for 50 to 55 minutes, until a toothpick inserted in the center comes out clean.
- Cool in the pan for 10 minutes, then transfer to a wire rack.
Notes
- Use regular creamy peanut butter for the best texture. Natural peanut butter can make the bread denser.
- Do not overmix the batter. Stir just until combined to keep the loaf soft and tender.
- Baking time can vary depending on your oven. Start checking around 50 minutes and bake until a toothpick comes out clean.
- If the top browns too quickly, loosely cover with foil for the remaining bake time.
- Let the bread cool before slicing so it holds together properly.
- Freezes well. Wrap tightly and store for up to 3 months.
Nutrition
The information shown is an estimate provided by an online nutrition calculator. It should not be considered a substitute for a professional nutritionist’s advice.
Did you make this recipe?
I’d love to see it! Make sure to share it on your favorite social platform.
Want Even More Recipes?
Join Moms Best Recipes to find more delicious family recipes.
free ebook!
The Best of Simply Stacie
When you subscribe to the newsletter for the latest updates!