
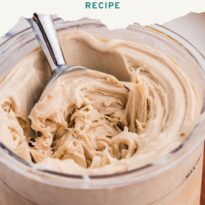
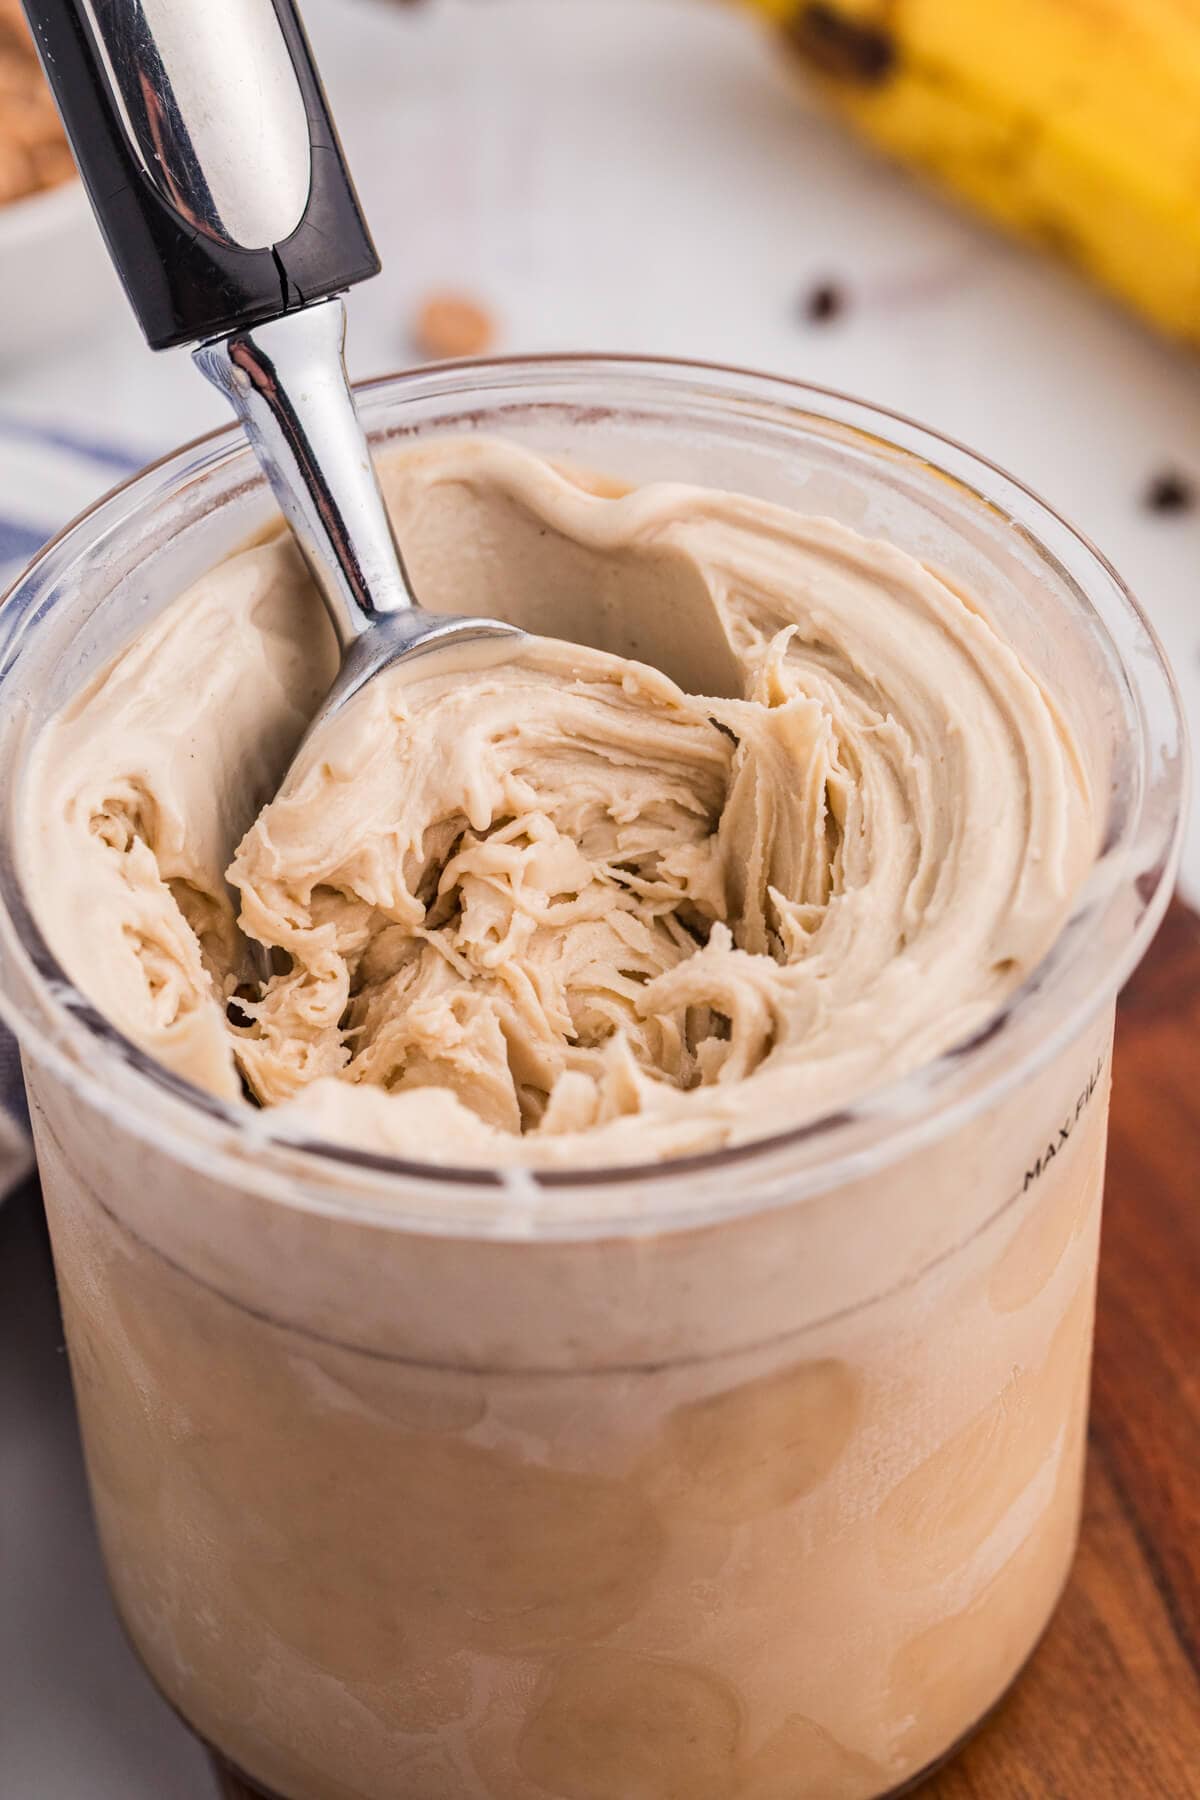
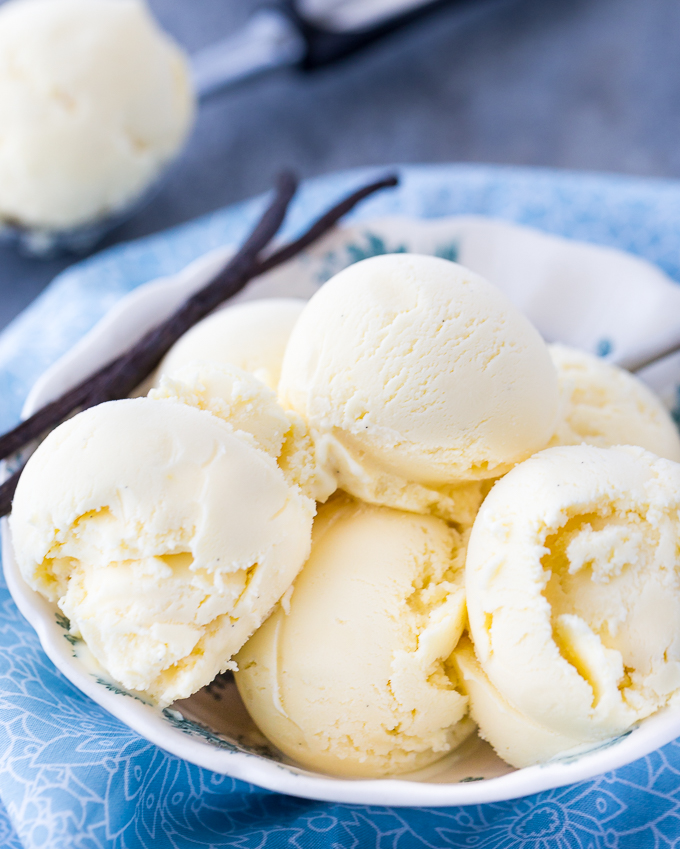
Peanut Butter Banana Ice Cream
Peanut Butter Banana Ice Cream in the Ninja CREAMi is one of those desserts that proves simple ingredients can create something truly amazing. With just bananas, peanut butter, and a few pantry staples, you’ll have a creamy, dreamy frozen treat that tastes like pure comfort. Best of all, there’s no added refined sugar—just the natural sweetness of ripe bananas and a touch of honey.
This post contains affiliate links.
What I love most about this recipe is how effortless it is—you blend everything together, let it freeze, and then let the Ninja CREAMi work its magic. The result is rich, smooth soft serve ice cream that feels indulgent but is wholesome enough to enjoy anytime. It’s the perfect way to satisfy a sweet tooth without a trip to the store.
Why You’ll Love This Recipe
- Wholesome and Naturally Sweet: No refined sugar here—just bananas and honey for sweetness, making it a treat you can feel good about.
- Minimal Ingredients: You only need a handful of everyday pantry staples, so there’s no long grocery list to tackle.
- Creamy & Indulgent: The Ninja CREAMi works its magic to turn simple ingredients into a smooth, rich ice cream that rivals the store-bought kind.
- Quick Prep, Easy Process: Blend, freeze, and spin—that’s it. Most of the work is hands-off.
- Customizable Toppings: Enjoy it as-is or dress it up with chocolate chips, chopped nuts, or a drizzle of extra peanut butter.
- Family-Friendly Favorite: It’s a dessert that both kids and adults will be excited to dig into.
Ingredients
The full printable recipe card with measurements and instructions is found at the bottom of the post.
- Bananas: The riper the bananas, the sweeter your ice cream will taste.
- Whole Milk: For an even creamier result, swap in half-and-half or a splash of heavy cream.
- Peanut Butter: Use natural peanut butter without added sugar for the best balance of flavors.
- Honey: If you like things less sweet, you can reduce the amount or skip it entirely.
- Vanilla Extract: Real vanilla extract makes a big difference compared to imitation.
- Salt: Don’t skip this step—it helps elevate the flavor rather than making it salty.

How to Make Peanut Butter Banana Ice Cream in the Ninja CREAMi
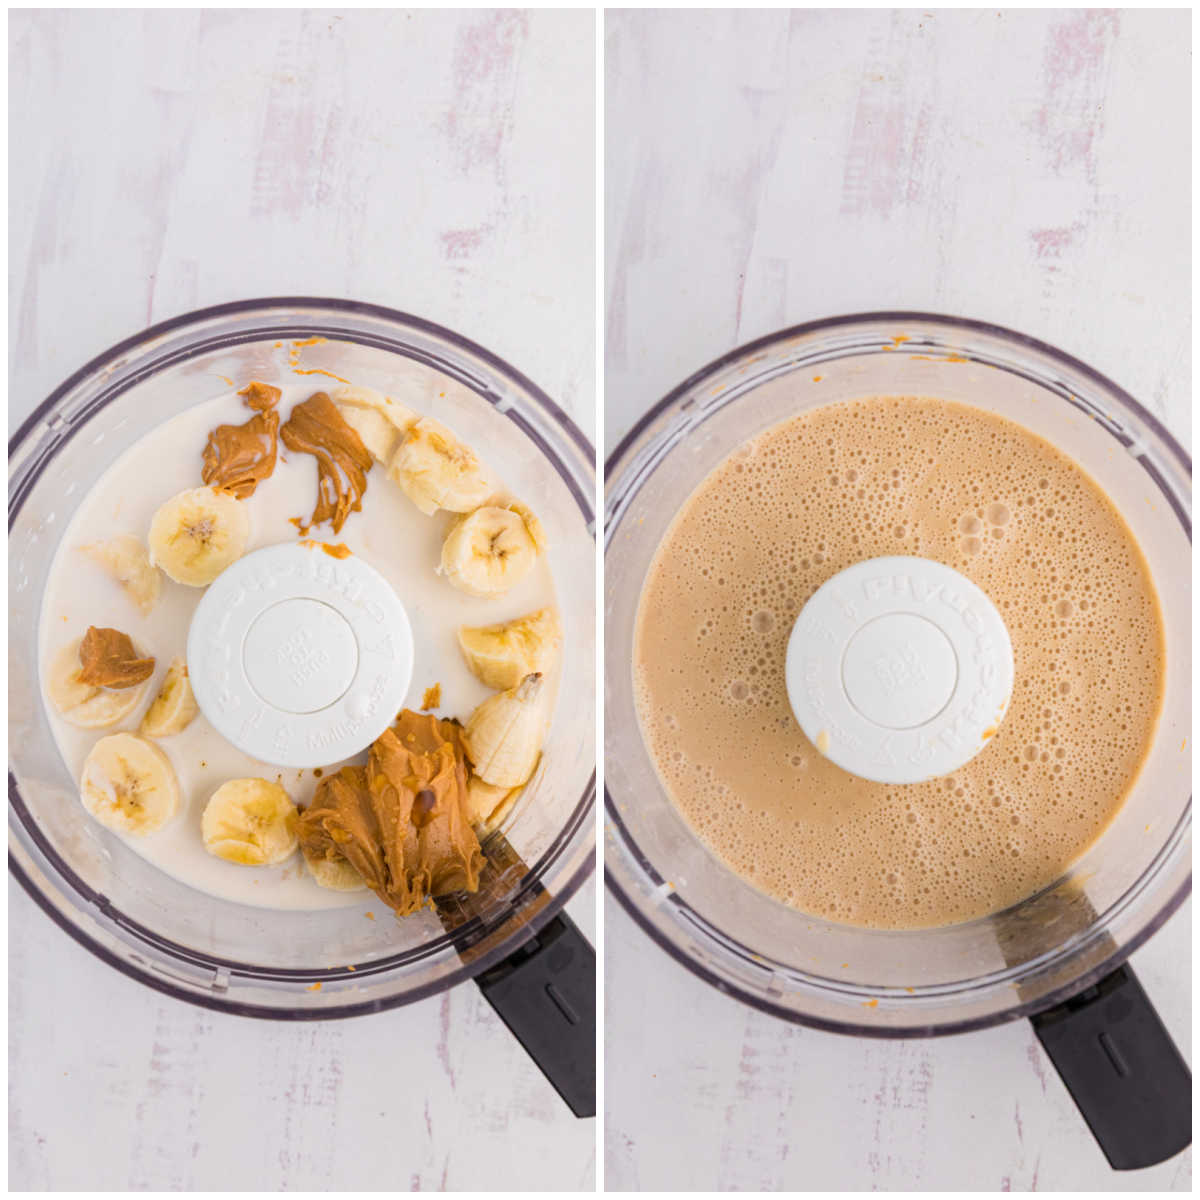
- Step One: Add the sliced bananas, milk, peanut butter, honey, vanilla, and salt to a blender or the bowl of a food processor. Blend until smooth and creamy.
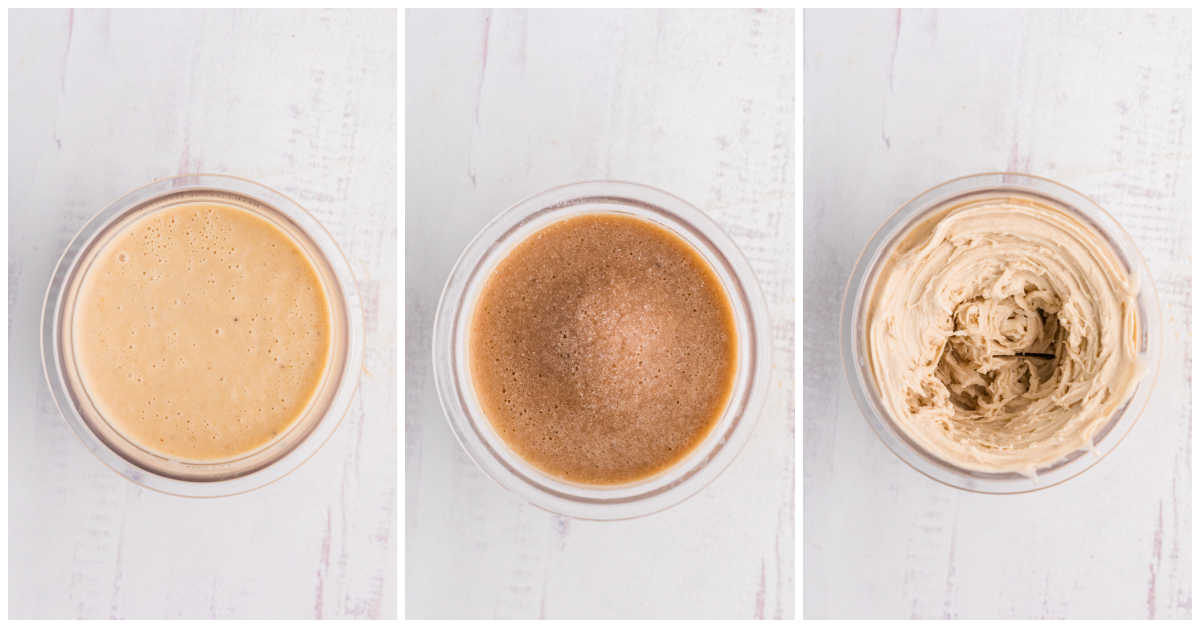
- Step Two: Pour the mixture into a Ninja Creami pint container. Secure the lid and freeze for at least 24 hours, until solid.
- Step Three: Once fully frozen, remove the lid and place the pint into the Ninja Creami machine. Spin using the “Lite Ice Cream” function.
- Step Four: If the texture is crumbly after the first spin, add a splash of milk and respin until it’s soft and creamy.
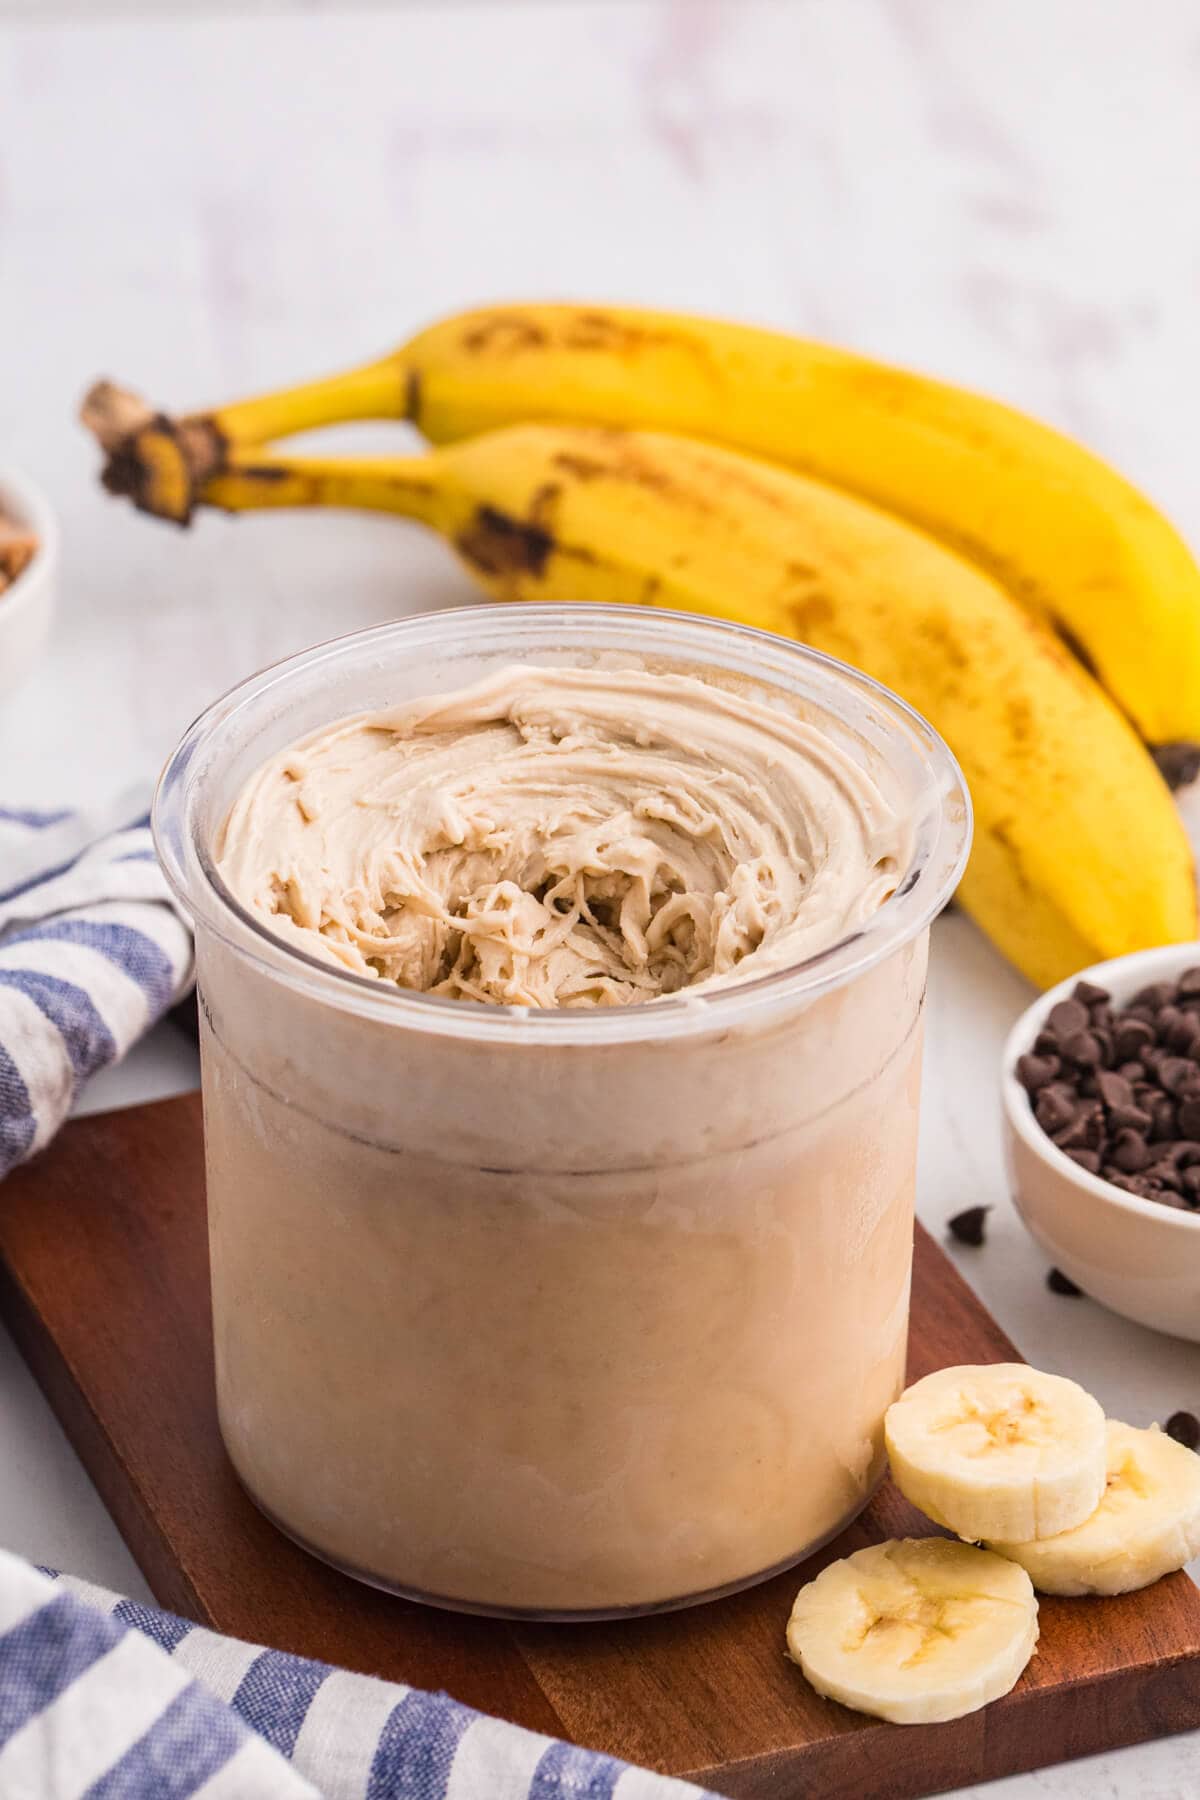
- Step Five: Scoop into bowls and enjoy as-is, or top with chopped peanuts, mini chocolate chips, or a drizzle of melted peanut butter.

What to Serve With It
- Classic Cookies: Pair a scoop with warm chocolate chip cookies or peanut butter cookies for the ultimate comfort combo.
- Fresh Fruit: Add sliced bananas, strawberries, or raspberries on top for a fresh, fruity twist.
- Chocolate Lovers’ Touch: A drizzle of chocolate syrup or a sprinkle of mini chocolate chips makes it taste like a sundae.
- Crunch Factor: Top with chopped peanuts, granola, or pretzels for a little salty-sweet crunch.
- Extra Peanut Butter Drizzle: Warm a spoonful of peanut butter until it’s pourable and drizzle over your scoop for a rich, melty topping.
- Breakfast-Inspired: Serve with a sprinkle of cinnamon and a drizzle of honey for a cozy morning vibe.
Variations and Substitutions
- Dairy-Free: Swap the whole milk for almond, oat, or coconut milk. Coconut milk will give the richest, creamiest texture.
- Vegan: Use your favorite plant-based milk and replace the honey with maple syrup or agave nectar.
- Nut-Free: Try sunflower seed butter or soy nut butter instead of peanut butter. It still adds creaminess and a nutty flavor without the peanuts.
- Chocolate Twist: Blend in 2 tablespoons of cocoa powder for a peanut butter cup vibe.
- Maple Twist: Swap the honey for pure maple syrup for a warm, caramel-like sweetness.
- Almond Butter Version: Use almond butter instead of peanut butter for a slightly milder, nutty flavor that pairs beautifully with banana.
- Chunky Style: Stir in mini chocolate chips, chopped peanuts, or crushed cookies after spinning for extra texture.
- Protein Boost: Add a scoop of vanilla protein powder to the mix before freezing for a more filling, post-workout treat.

Storage Instructions
If you have leftovers (which might be rare because this ice cream disappears fast!), you can store them right in the Ninja CREAMi pint container. Smooth the top with a spoon before refreezing so it stays level for the next spin.
When you’re ready for another scoop, let the pint sit at room temperature for 5 to 10 minutes, then pop it back into the machine and use the “Re-Spin” function to bring it back to that creamy, soft-serve texture. The ice cream will keep well for up to 2 weeks in the freezer, though the flavor and texture are always best within the first few days.
Recipe Tips and Tricks
- Freeze Time Matters: Make sure your base freezes for a full 24 hours. Anything less and the texture won’t turn out as smooth.
- Level the Base: Before freezing, tap the container on the counter so the mixture settles evenly. A level surface helps the blade spin more consistently.
- Don’t Panic If It’s Crumbly: It’s normal for the ice cream to look crumbly after the first spin. Just add a splash of milk and respin—it will come out perfectly creamy.
- Customize After Spinning: Wait until after the first spin to mix in extras like chocolate chips, nuts, or cookie pieces. Use the “Mix-In” function for the best distribution.
- Portion Smart: If you don’t plan to eat it all at once, smooth the leftovers flat before refreezing. This makes it easier for the CREAMi to respin later.
- Experiment With Functions: The “Lite Ice Cream” setting works great for this recipe, but don’t be afraid to try the “Smoothie Bowl” or “Gelato” functions for slightly different textures.

How to Make It Without a Ninja CREAMi
Don’t have a Ninja CREAMi? No problem—you can still enjoy this creamy treat with just a blender and a little patience.
- Blend the Base: Follow the same steps by blending bananas, milk, peanut butter, honey, vanilla, and salt until smooth.
- Freeze in a Pan: Pour the mixture into a freezer-safe dish (a loaf pan works great) and cover tightly with plastic wrap or a lid.
- Stir While Freezing: For the creamiest texture, stir the mixture every 30–45 minutes for the first 3–4 hours to break up ice crystals.
- Scoop and Serve: Once fully frozen, let it sit at room temperature for about 5 minutes before scooping.
Tip: For an extra smooth and scoopable texture, re-blend the frozen mixture in a high-powered blender or food processor just before serving.
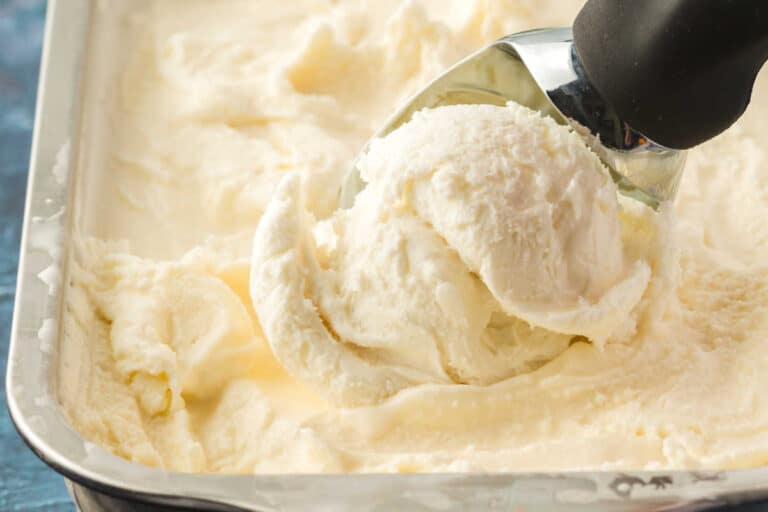
Ice Cream Recipes
- Homemade Vanilla Ice Cream
- Strawberry Ice Cream
- Toasted Marshmallow Ice Cream
- Pumpkin Pie Ice Cream
- Maple Walnut Ice Cream
Follow me on Instagram @simplystacieblog, Facebook at Simply Stacie, TikTok @simplystacierecipes or Pinterest at @simplystacie and let me know how you liked this recipe and my other recipes.

Peanut Butter Banana Ice Cream
SAVE THIS RECIPE!
Ingredients
- 2 ripe bananas peeled and sliced
- ¾ cup whole milk
- ¼ cup smooth peanut butter
- 2 tbsp honey
- ½ tsp vanilla extract
- pinch salt
Instructions
- Add the sliced bananas, milk, peanut butter, honey, vanilla, and salt to a blender or food processor. Blend until smooth and creamy.
- Pour the mixture into a Ninja Creami pint container. Secure the lid and freeze for at least 24 hours, until solid.
- Once fully frozen, remove the lid and place the pint into the Ninja Creami machine. Spin using the “Lite Ice Cream” function.
- If the texture is crumbly after the first spin, add a splash of milk and respin until it’s soft and creamy.
- Scoop into bowls and enjoy as-is, or top with chopped peanuts, mini chocolate chips, or a drizzle of melted peanut butter.
Notes
- The riper the bananas, the sweeter and creamier your ice cream will be.
- This recipe has no refined sugar; honey (or maple syrup) adds natural sweetness, and you can adjust the amount to taste.
- If the ice cream looks crumbly after the first spin, add a splash of milk and use the Re-Spin function until creamy.
- No Ninja CREAMi? Freeze the mixture in a loaf pan, stirring every 30–45 minutes, or re-blend before serving.
- Store leftovers in the pint container for up to 2 weeks, and always respin before serving for the smoothest texture.
- Toppings like chopped peanuts, mini chocolate chips, melted peanut butter, or fresh fruit make it extra special.
- Makes 1 pint.
Equipment
Nutrition
The information shown is an estimate provided by an online nutrition calculator. It should not be considered a substitute for a professional nutritionist’s advice.
Did you make this recipe?
I’d love to see it! Make sure to share it on your favorite social platform.
Want Even More Recipes?
Join Moms Best Recipes to find more delicious family recipes.
free ebook!
The Best of Simply Stacie
When you subscribe to the newsletter for the latest updates!


Absolutely delicious! I used soy milk instead of the whole milk and didn’t add any honey. It was plenty sweet enough and thoroughly enjoyable.