Mint Chocolate Chip Ice Cream
There’s something nostalgic about Mint Chocolate Chip Ice Cream. Maybe it’s the cool minty flavor that instantly refreshes, or those bits of chocolate that make every bite a little extra fun. Either way, it’s a classic that never goes out of style—and it’s even better when you make it yourself.
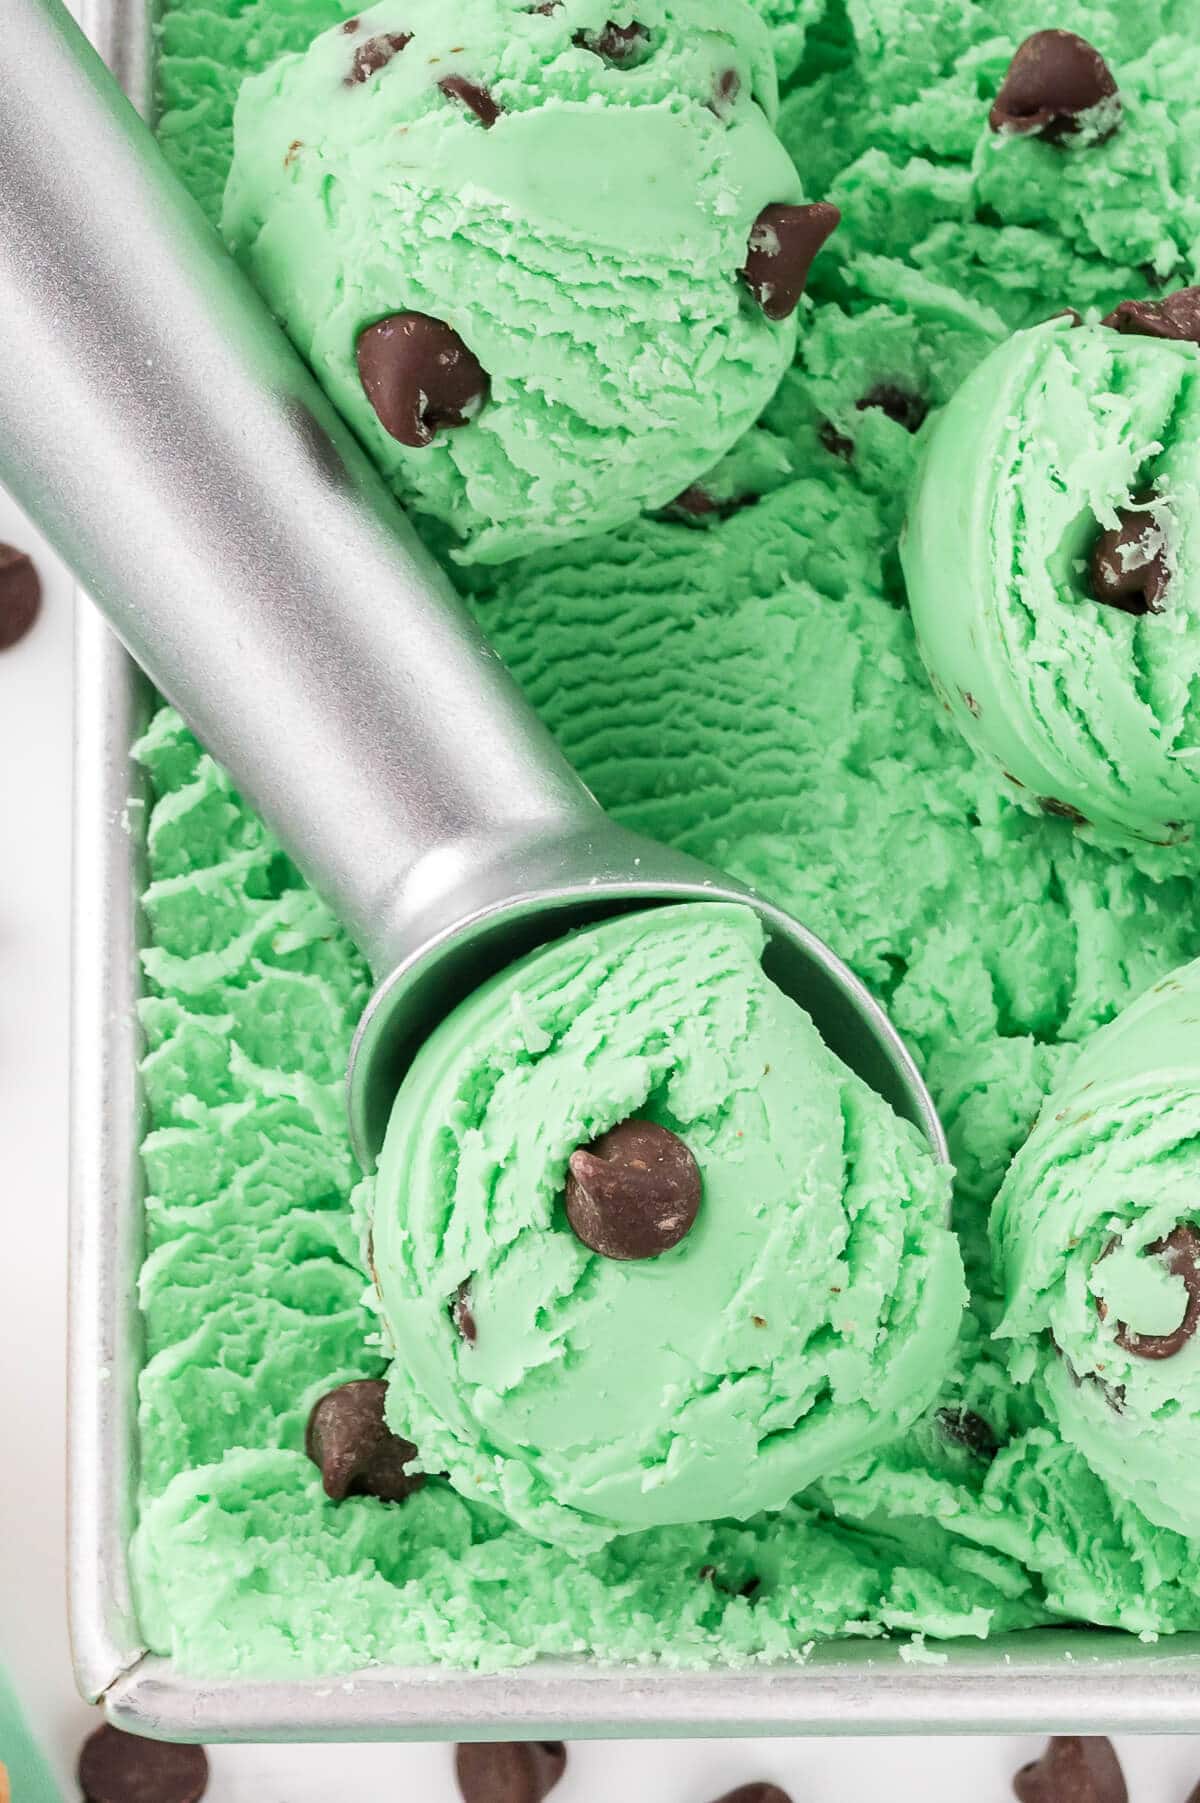
This no-churn version is ridiculously easy. No fancy equipment, no long list of ingredients—just a few simple steps and some patience while it freezes. The texture is super creamy, and the mint flavor is perfectly balanced (not toothpaste-y, I promise!).
I have fond memories of biking to our local dairy (Pembroke residents will know the iconic Brum’s Dairy). My friend and I used to get big scoops of Mint Chocolate Chip Ice Cream in a waffle cone. It was our favourite. The flavors bring me back to my childhood summers.
I had some friends over the day after I made this recipe. My friend, Tina, said that it was “the best ice cream she has ever tasted”. Wow! That made me feel happy because I want people to enjoy the recipes I share.
If you’re craving a scoop of something sweet and refreshing, this homemade ice cream might just be your new go-to.
Why You’ll Love This Recipe
- No Ice Cream Maker Needed: This is a no-churn recipe, so you can skip the bulky appliance and still get smooth, creamy results.
- Simple Ingredients: Just a handful of easy-to-find ingredients come together to create something special.
- Customizable Color: Add as much (or as little) green food coloring as you like to get that perfect minty hue.
- Perfectly Refreshing: The cool mint flavor makes it an ideal treat for hot days or whenever you’re craving something light and sweet.
- Chocolate in Every Bite: With milk chocolate chips mixed throughout, you get a little chocolatey crunch with every spoonful.
- Make-Ahead Friendly: Whip it up, freeze overnight, and it’s ready whenever your sweet tooth strikes!
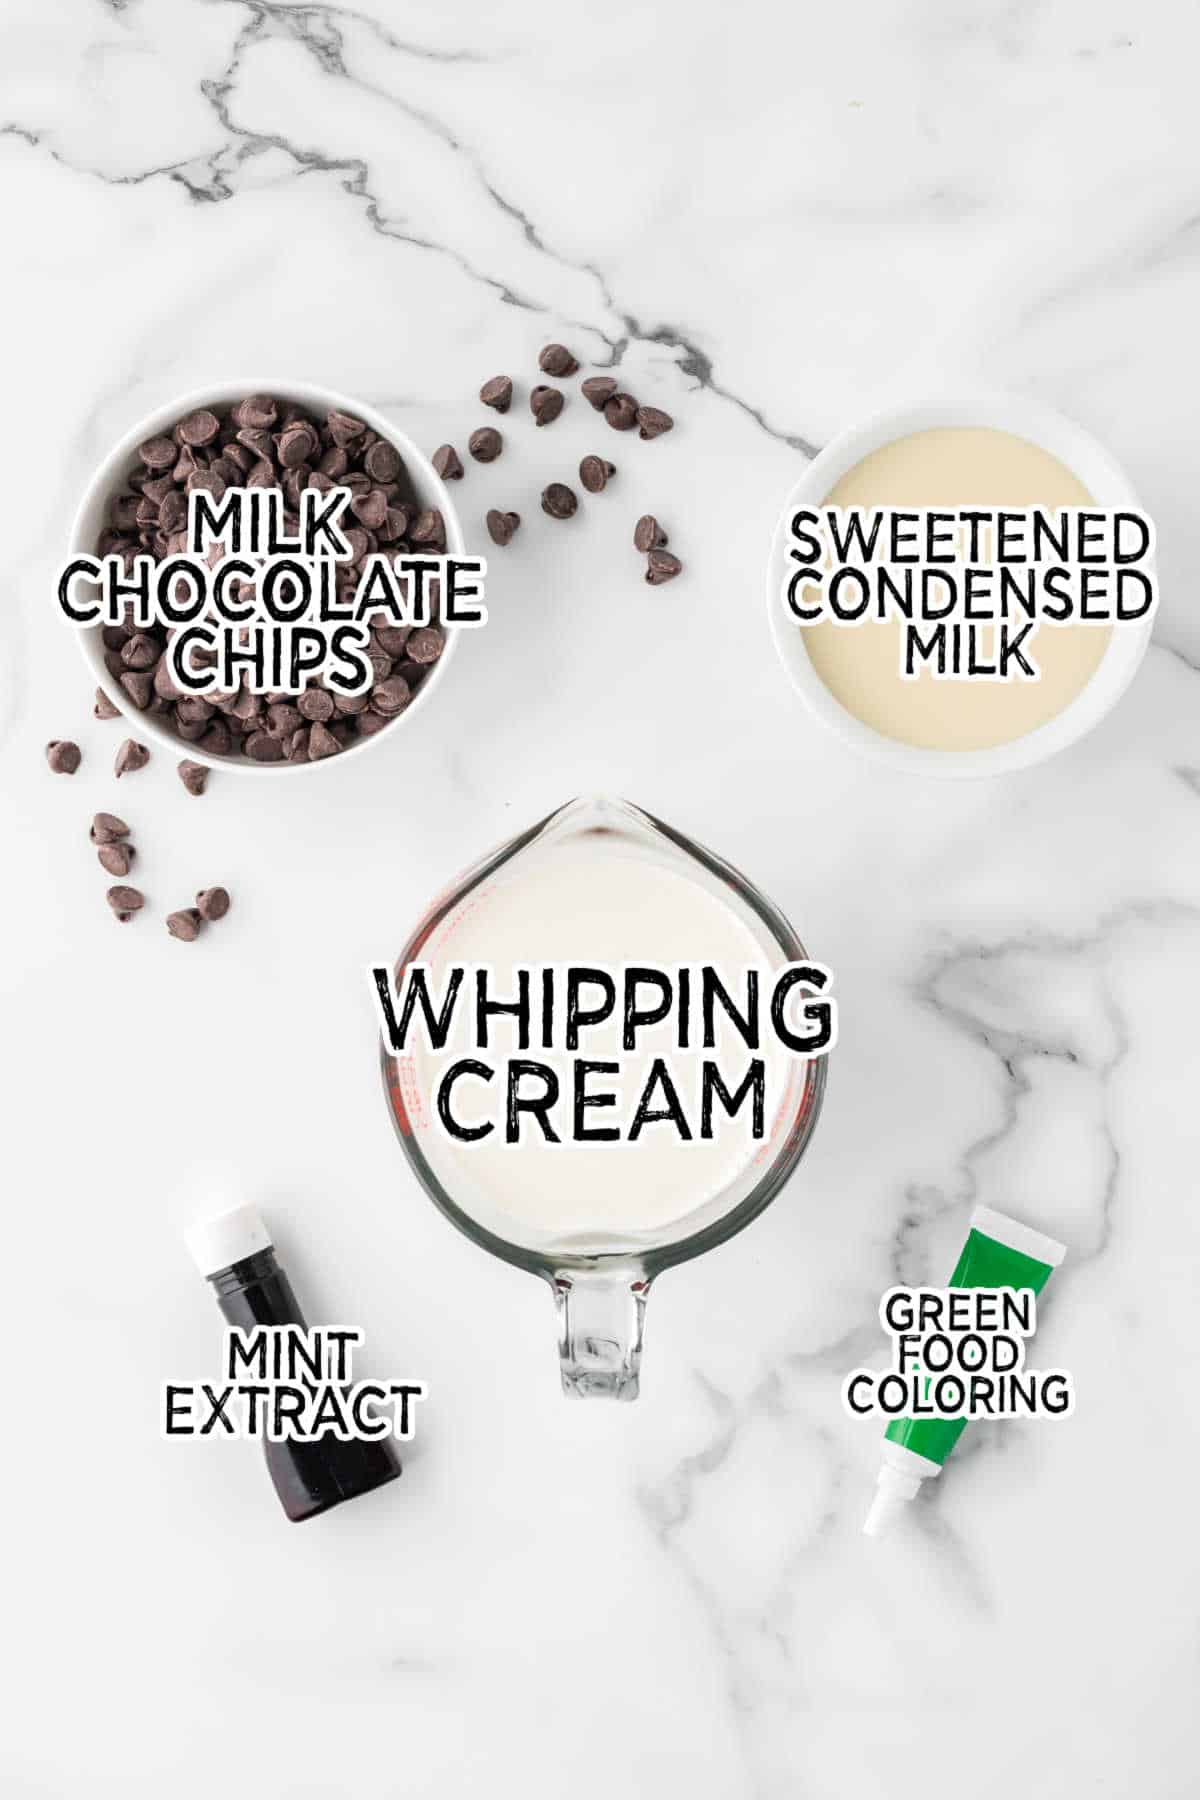
Ingredients
The full printable recipe card with measurements and instructions is found at the bottom of the post.
- Whipping Cream: Use cold cream straight from the fridge for the best volume when whipping. I use 35% whipping cream in Canada. Heavy cream can also be used.
- Sweetened Condensed Milk: This ingredient adds sweetness and maintains a smooth, scoopable texture without requiring churning.
- Mint Extract: A little goes a long way—be careful not to overdo it, or it can taste overpowering. You can use your own homemade mint extract if you like.
- Milk Chocolate Chips: Chop them slightly if you want smaller bits throughout, or leave them whole for a chunkier texture.
- Green Food Coloring: Optional, but it gives that classic mint chip look. Gel colouring works best for vibrant color without thinning the mix.
How to Make Mint Chocolate Chip Ice Cream
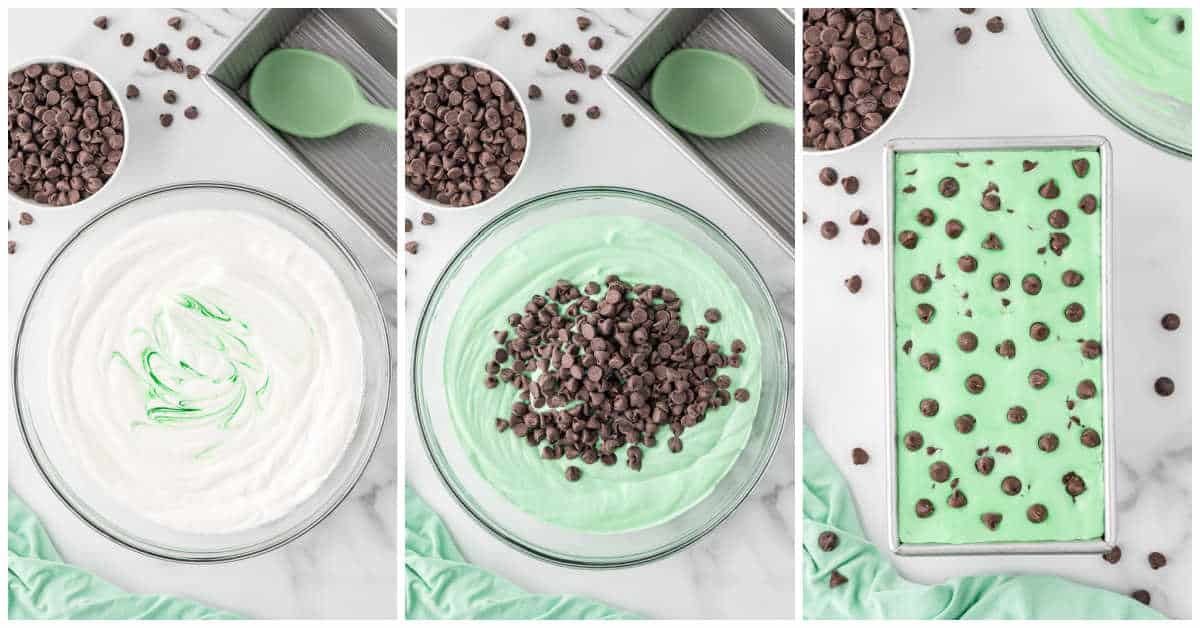
- Step One: Beat whipping cream on medium speed for 4 minutes or until it starts to form soft peaks. Reduce the speed to low and add in sweetened condensed milk. Beat until combined.
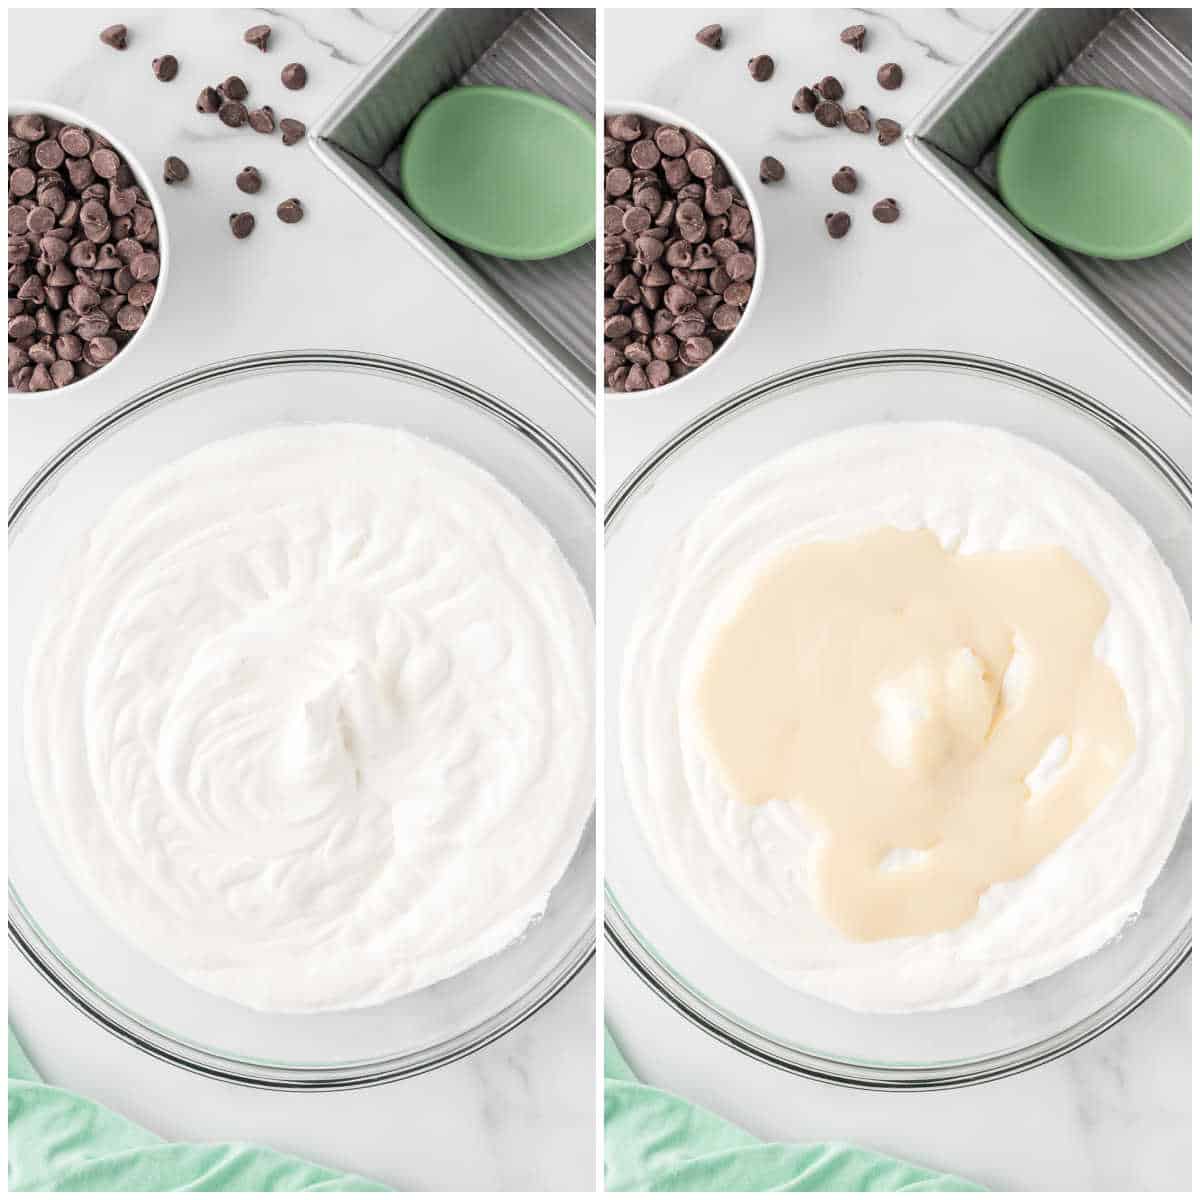
- Step Two: Stir in mint extract, green food colouring, and chocolate chips.
- Step Three: Pour the mixture into a freezer-safe airtight container. Freeze for at least 8 hours before serving.

What to Serve With It
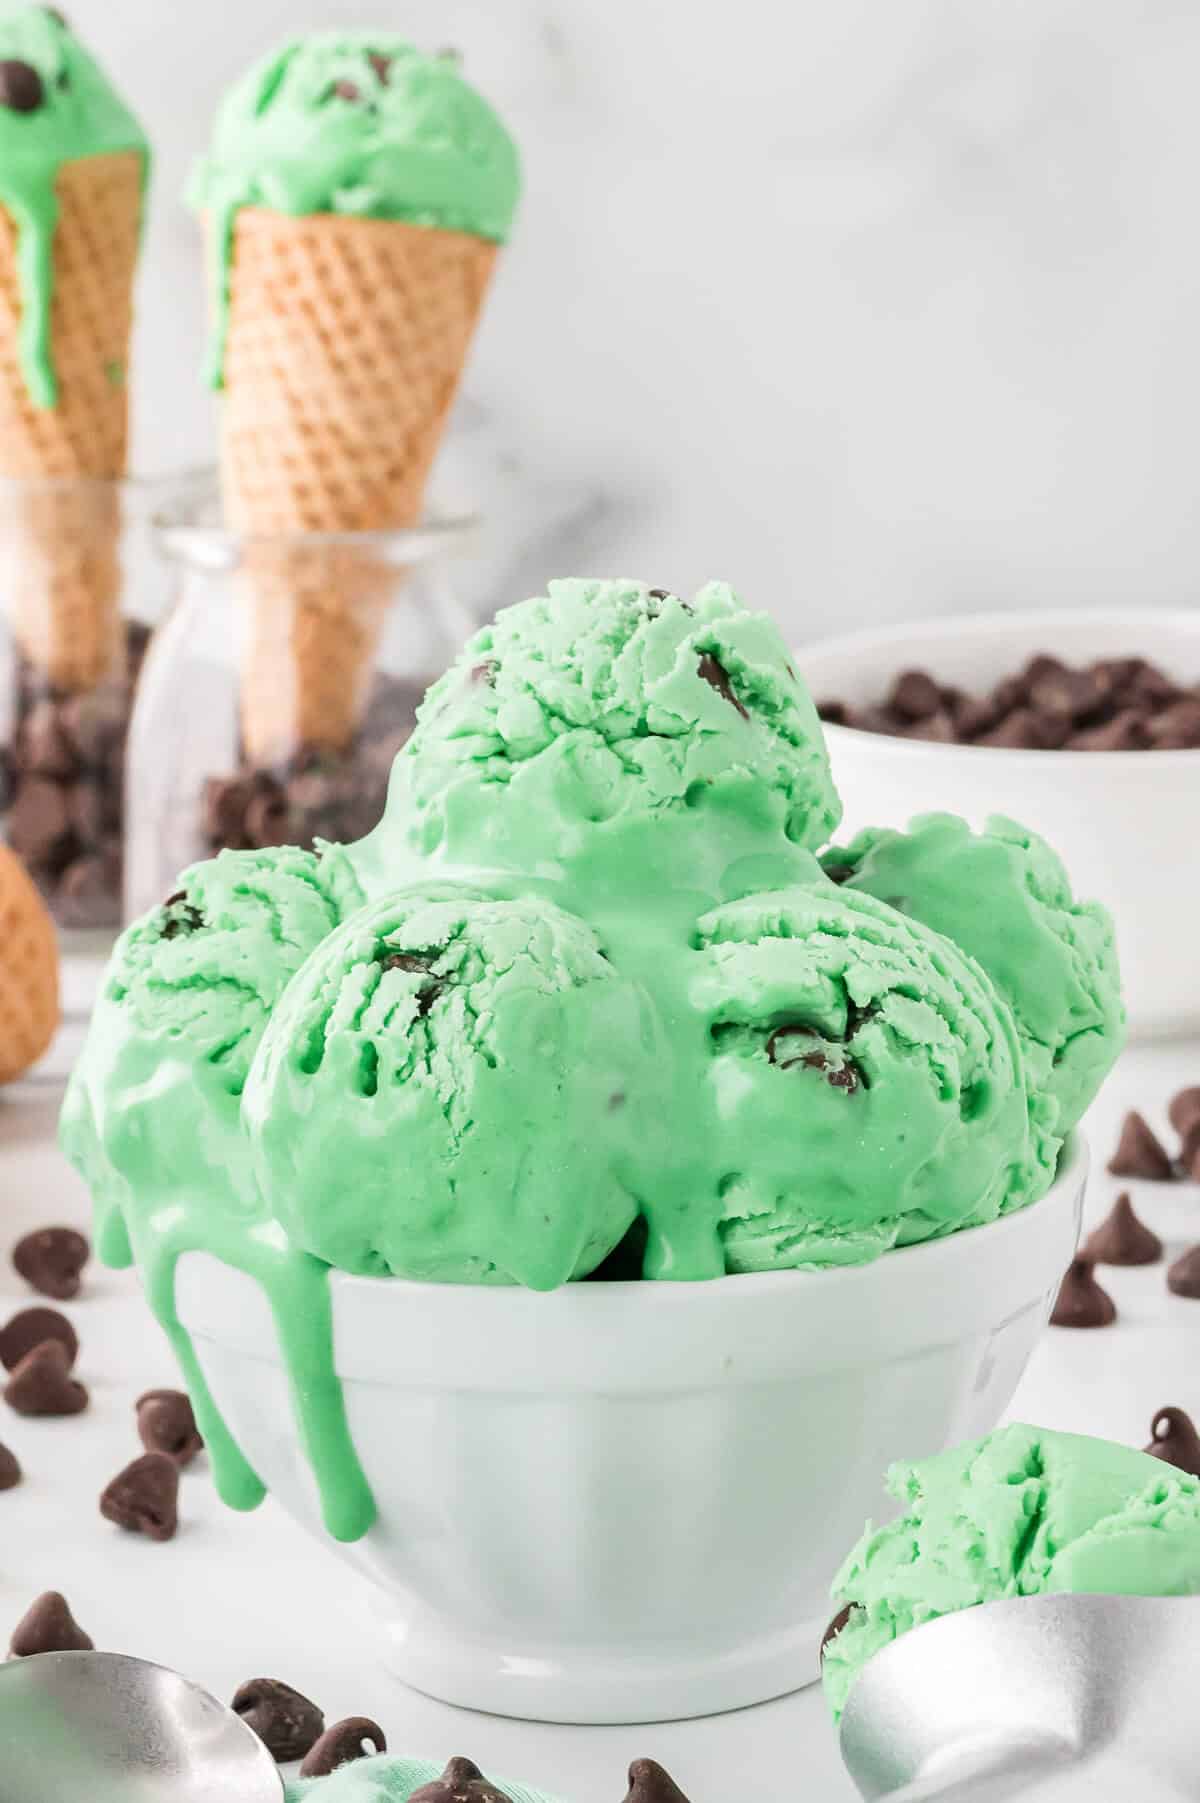
Mint Chocolate Chip Ice Cream is pretty perfect on its own, but it also pairs well with lots of fun treats:
- Chocolate Brownies: Serve a scoop on a warm brownie for a delicious hot-and-cold combo.
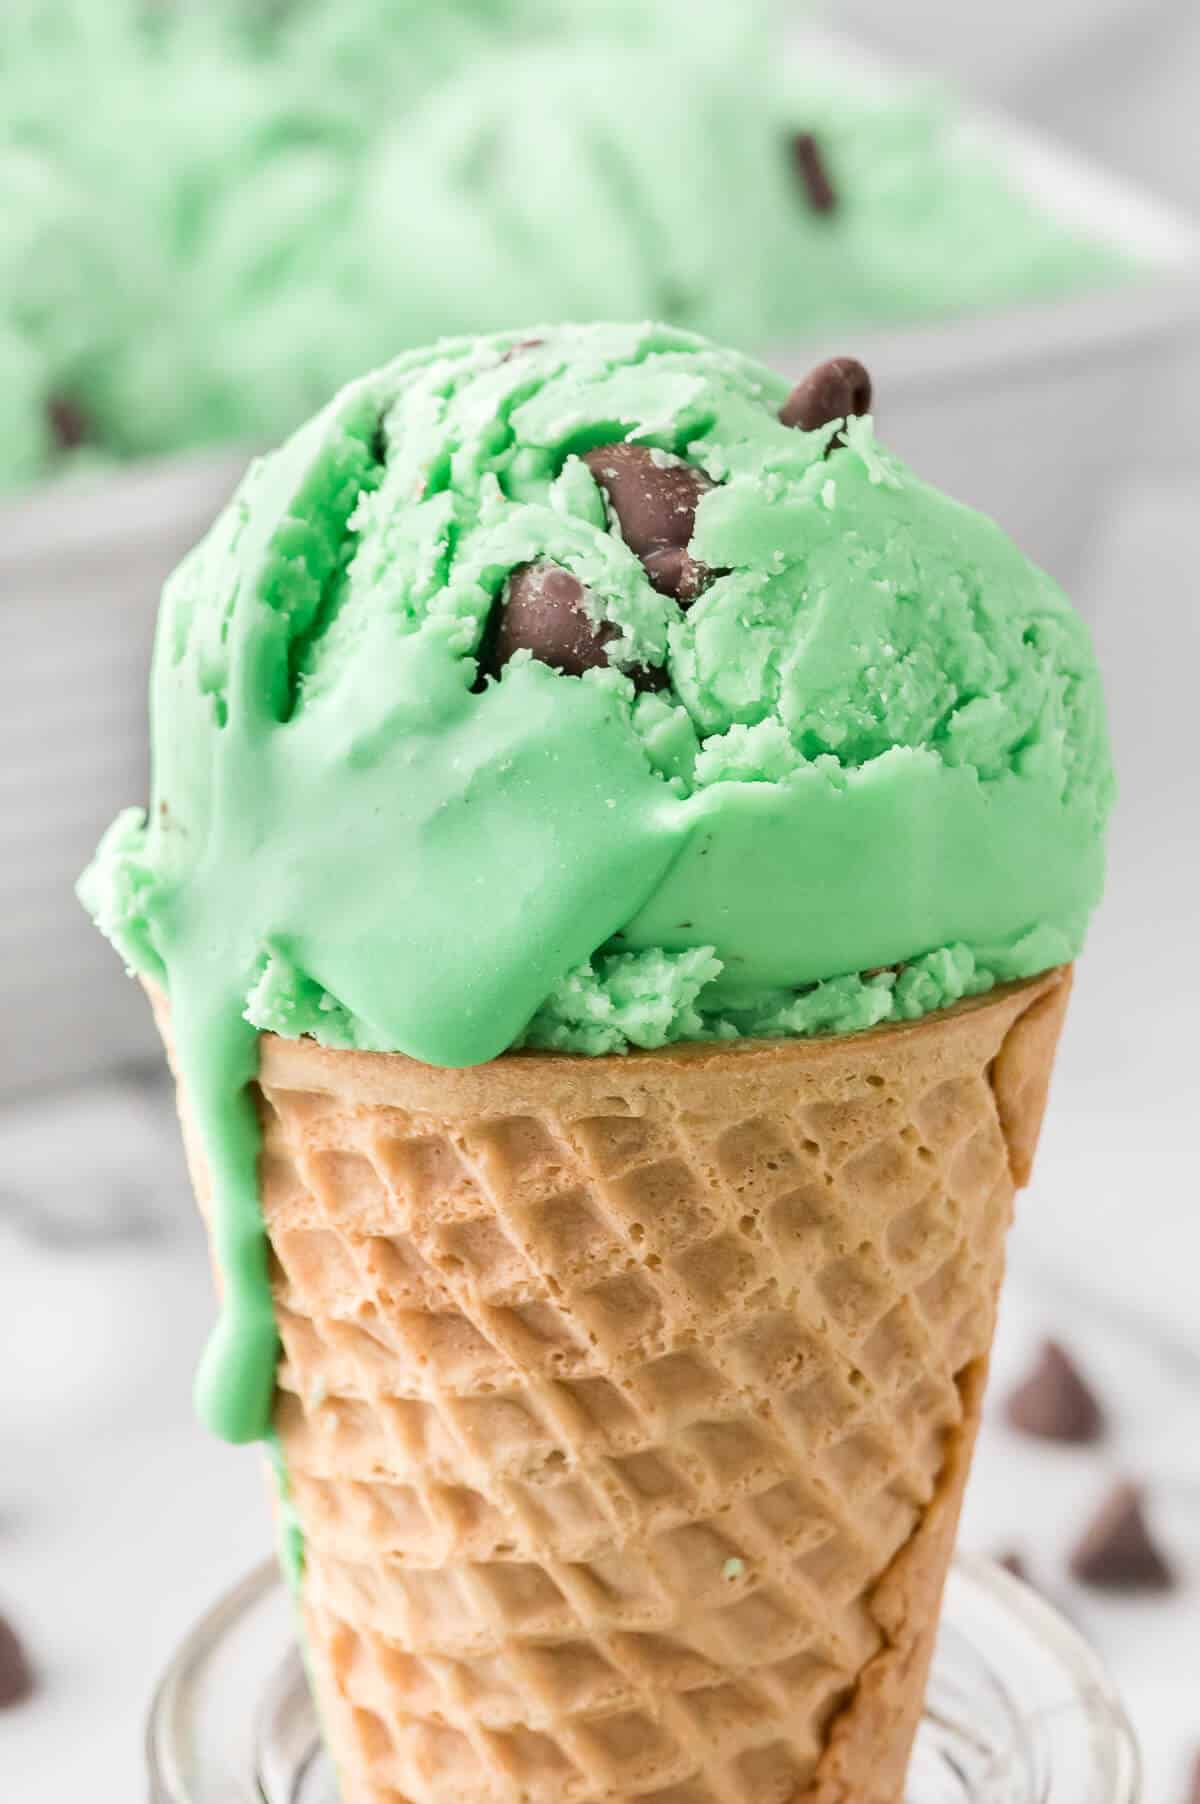
- Waffle Cones or Bowls: Add a little crunch and make it feel like a real ice cream shop experience.
- Chocolate Sauce: Drizzle on top for extra indulgence (mint and chocolate are best friends, after all).
- Crushed Cookies: Sprinkle some crushed Oreos or chocolate wafer cookies over the top for a bit of texture.
- Thin Mints or Peppermint Patties: Add them as a garnish for a mint overload in the best way possible.
It’s also great sandwiched between two chocolate cookies to make a quick and easy ice cream sandwich!
Variations and Substitutions
- Swap the Chocolate Chips: Try dark chocolate, white chocolate, or even mini chips or chopped chocolate for smaller bursts of chocolate in every bite. You can also leave out the chocolate and just make mint ice cream.
- Use Peppermint Extract: If you prefer a cooler, more intense mint flavor, consider using peppermint extract instead of regular mint extract. Just use it sparingly—it’s strong!
- Add Crushed Candy: Whisk in crushed peppermint candies or candy canes for a little crunch and extra minty flavor.
- Make It Dairy-Free: Use full-fat coconut cream and a dairy-free sweetened condensed milk alternative for a plant-based version.
- Natural Coloring: Skip the food dye or try a natural green option, such as a small amount of matcha powder or spinach juice (just enough for color—don’t worry, you won’t taste it).
- Amp Up the Chocolate: Swirl in a ribbon of fudge sauce or add a layer of chocolate ganache before freezing for an extra special treat.
Storage Instructions
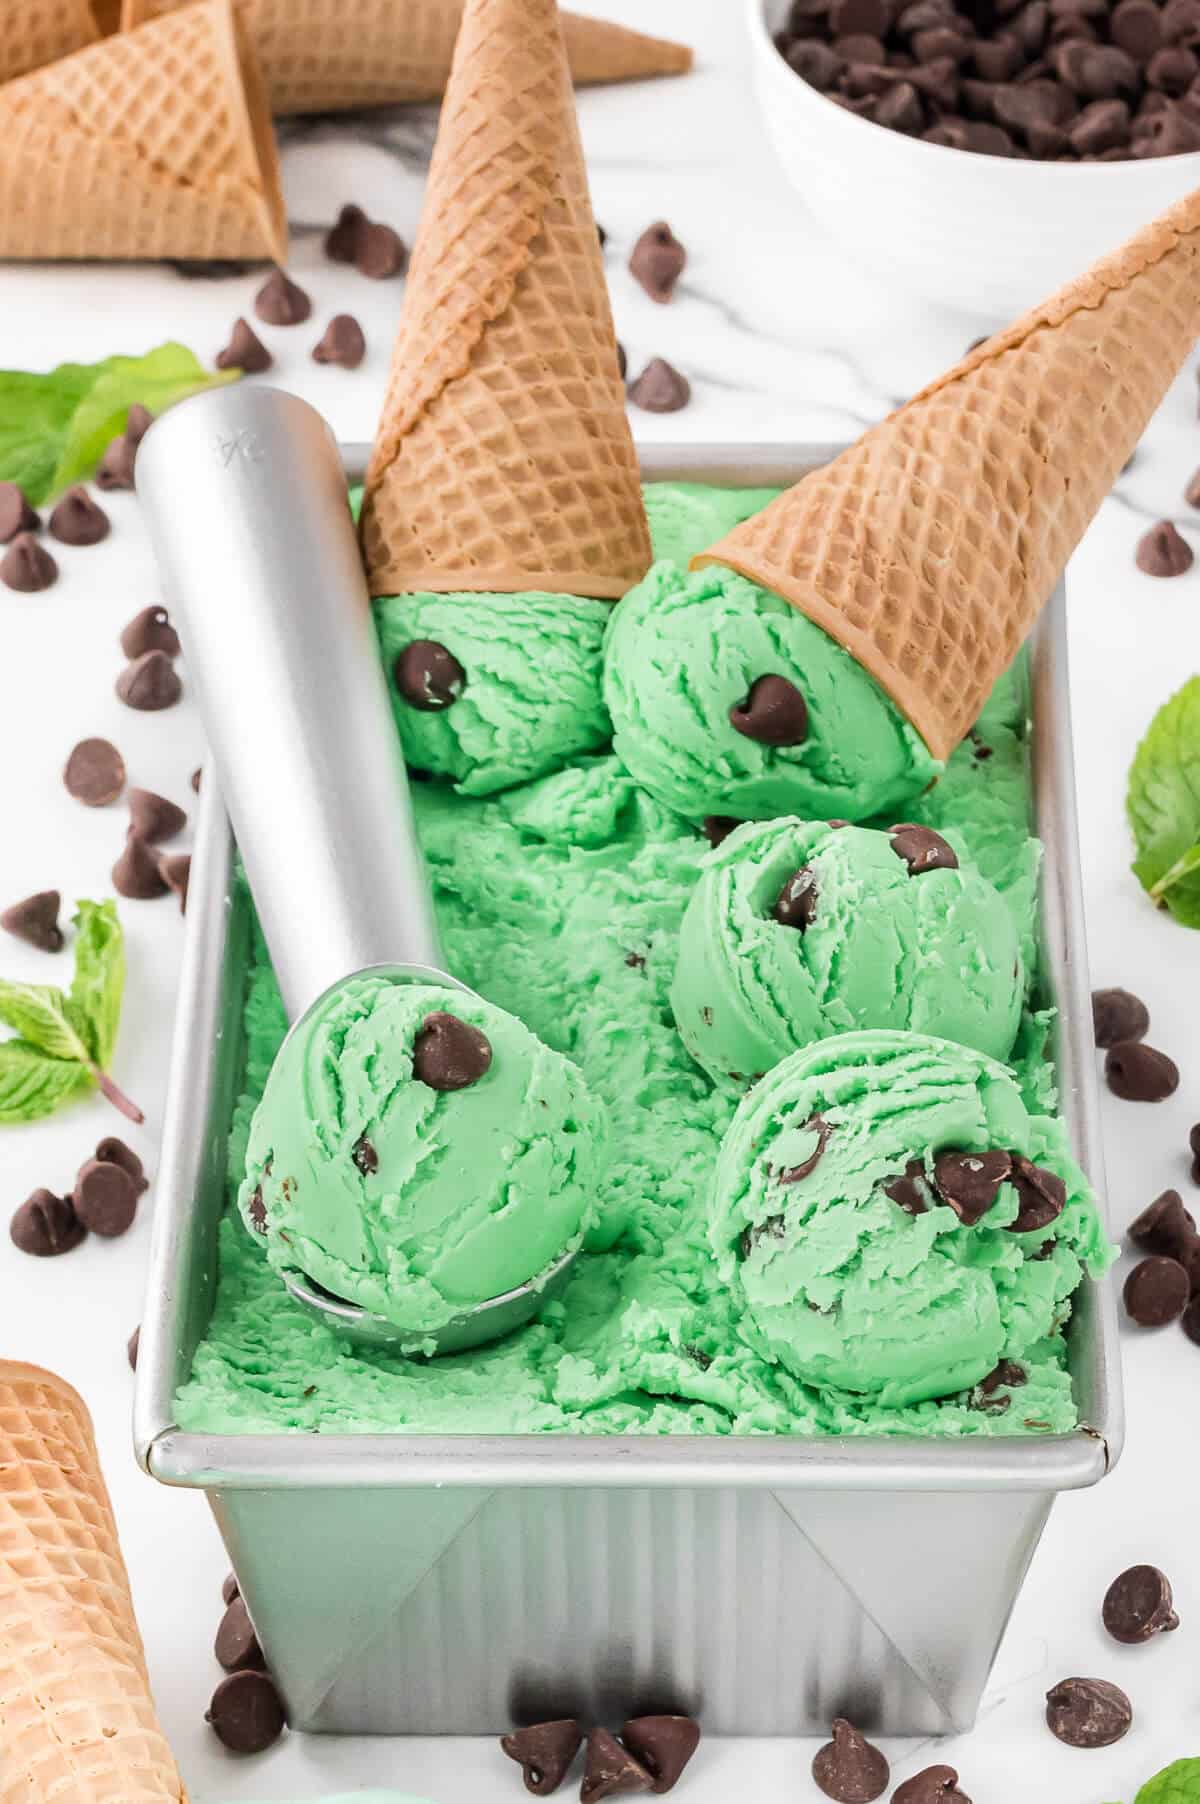
Store your Mint Chip Ice Cream in an airtight, freezer-safe container. A loaf pan covered tightly with plastic wrap and foil works well, too. Keep it in the coldest part of your freezer to maintain that creamy texture.
It’s best enjoyed within 2 weeks for peak flavor and freshness. After that, it can start to develop ice crystals—but let’s be honest, it probably won’t last that long! Let it sit at room temperature for a few minutes before scooping if it’s too firm straight from the freezer.
Recipe Tips and Tricks
- Chill Your Mixing Bowl: For extra fluffy whipped cream, pop your bowl and beaters in the fridge or freezer for 10–15 minutes before whipping.
- Don’t Overwhip the Cream: You want soft peaks, not stiff ones. Overwhipping can lead to a grainy texture in the finished ice cream.
- Avoid Using Whole Milk: Whole milk (2% or skim milk) doesn’t have enough fat to whip up like cream does, which is essential for creating that light, fluffy texture in no-churn ice cream. Using milk instead will result in an icy, hard texture rather than a smooth and creamy one. Stick with whipping cream or heavy cream for the best results!
- Add Extract and Color Gradually: Start with a little mint extract and food coloring, then adjust to taste and color preference. A little goes a long way!
- Use a Metal or Glass Container: These retain cold better and help your ice cream freeze more evenly.
- Cover Tightly: Press a layer of plastic wrap directly onto the surface of the ice cream before sealing the container to help prevent ice crystals.
- Let It Soften Before Scooping: Give it 5–10 minutes at room temperature for smoother, easier scooping.
No-Churn Ice Cream Recipes
- Pineapple Ice Cream
- Maple Walnut Ice Cream
- Blueberry Pie Ice Cream
- Maple Pecan Ice Cream
- Toasted Marshmallow Ice Cream
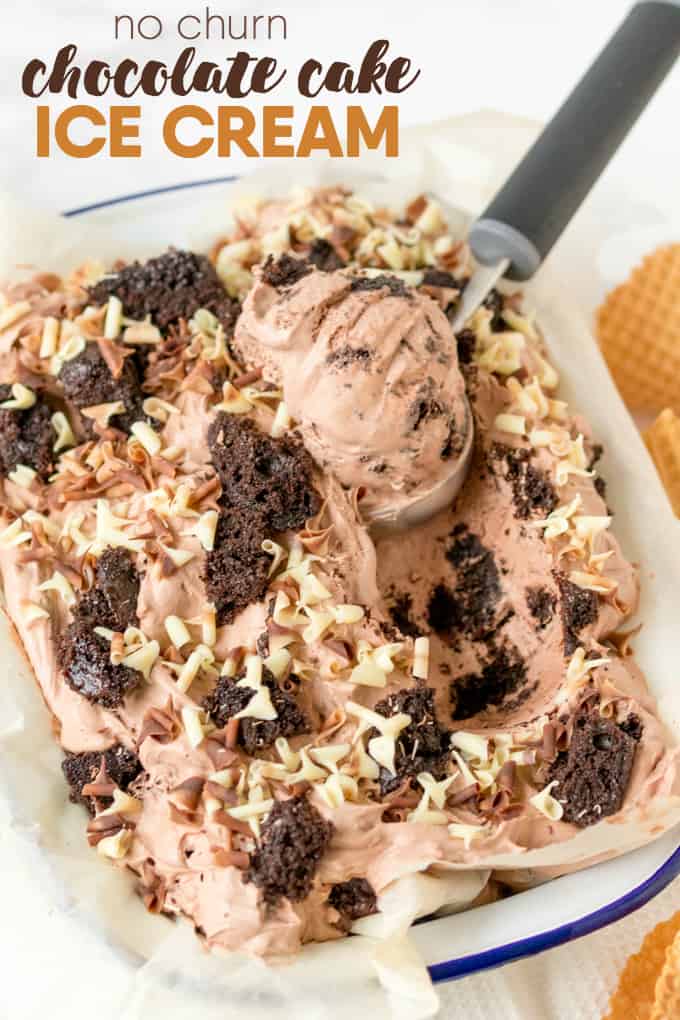
- Chocolate Cake Ice Cream
Follow me on Instagram @simplystacieblog, Facebook at Simply Stacie, TikTok @simplystacierecipes or Pinterest at @simplystacie and let me know how you liked this recipe and my other recipes.
Mint Chocolate Chip Ice Cream
SAVE THIS RECIPE!
Ingredients
- 2 cups whipping cream
- 1 can sweetened condensed milk 300ml can
- ½ tsp mint extract
- 1 cup milk chocolate chips
- Green food colouring until desired colour is reached
Instructions
- Beat whipping cream on medium speed for 4 minutes or until it starts to form soft peaks. Reduce speed to low and add in sweetened condensed milk. Beat until combined.
- Stir in mint extract, green food colouring and chocolate chips.
- Pour into a freezer safe container. Freeze for at least 8 hours before serving.
Nutrition
The information shown is an estimate provided by an online nutrition calculator. It should not be considered a substitute for a professional nutritionist’s advice.
Did you make this recipe?
I’d love to see it! Make sure to share it on your favorite social platform.
Want Even More Recipes?
Join Moms Best Recipes to find more delicious family recipes.
free ebook!
The Best of Simply Stacie
When you subscribe to the newsletter for the latest updates!