
Wall Washing Hacks That Work
Washing the floor? Sure. Washing the windows? Absolutely. But how do you wash your walls?
When one of my littles was very young, I walked into her room at the end of nap time to find out that she had redecorated a portion of a lower wall in crayon. And with that discovery, all of that relaxing energy from the peace and quiet of the hour was gone! BUT it was not a disaster. We had painted the walls with a low maintenance, washable latex and a quick wipe down with a moist sponge did the trick.
Not every clean up job is quite that simple, however, so here are some tips that will help you clean this particular part of your home. Clean walls really freshen up a home, both in look and smell, so here are the tips to get you there:
Pick your timing
It’s best to do this kind of cleaning when you can open the windows and / or door to get some fresh air through to help with the drying process. Late spring is particularly nice, to get rid of the fug of winter that has settled on your walls as it has everywhere else; spring cleaning time is the opportune moment.
That said, walls in kitchens and bathrooms should get a light wipe down more frequently than the rest of the house as they tend to be places to get spattered with soap, grease, and so on.
Prep your space as if you were going to paint
You need to prep each room that you plan to wash as if you were painting.
- Remove all paintings and wall art.
- Move all furnishings away from the walls.
- Put drop cloths in place. (TIP: use cloth rather than plastic: they will absorb drips, rather than becoming slippery surfaces!)
- Dust the walls and any permanent design features like cornices, trim, baseboards. You might want to use the vacuum for corners and other areas that are prone to collecting dust. Be gentle though!
- Prepare two buckets: one with your cleaning mixture and a sponge and the other with clean water and a new sponge, for rinsing.
- Have clean cloths at the ready for blotting.
Wash your painted walls!
With your cleaning water, you moisten a clean sponge and wash away, from bottom to top and side to side. You want to avoid creating ‘wash lines’ so, before each wall dries, rinse it with clean water and a fresh sponge. If your washing water is getting dirty, switch it out. You don’t want to be applying dirt BACK onto your walls!
If you need to spend some time in some areas working at fingerprints or other grime, make sure you take the time to rinse before the soapy water dries. It’s okay to take a break BETWEEN walls for a cup of tea, but don’t stop mid-wall or you could end up with those dreaded wash lines.
Once you’re done washing and rinsing a wall, blot excess moisture with the clean cloths and pop those windows open to air dry nicely!
TIP: use natural coloured sponges and soaps. Anything with colour could stain lighter coloured walls!
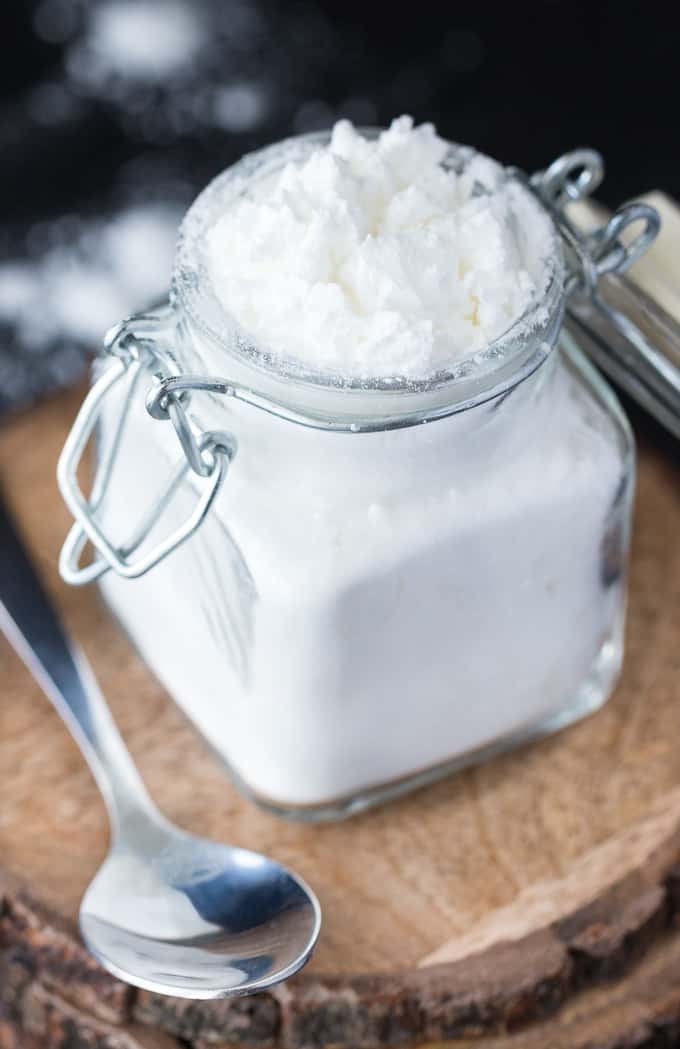
Cleaning recipe
- 4 litres of warm water
- 1 generous squirt of dishwashing detergent
If you have some spectacularly dirty spots, where people put their hands to go down the stairs for example, or walls that have retained a lot of odours over time, you might need to up the strength of your cleaning recipe by having a separate bucket of a stronger combination:
Cleaning PLUS recipe
- Same as above PLUS
- A cup of white vinegar
- A cup of clear ammonia
NOTE: you need to test this recipe before using it, on a hidden corner, to make sure that your paint can take it!
Cleaning a wallpapered wall
If you had put up the paper yourself, you should be able to check with the manufacturer to see what they recommend. Assuming you don’t have that option, here are some other suggestions:
- Dust the wallpaper walls, as you would painted walls. Vacuuming is even more effective here, particularly for textured wallpaper. Use the soft brush attachment to get the most out of the effort.
- For older wallpaper / if you don’t know if it’s washable or not: get a dry sponge from your local hardware store to remove dirt. You don’t use water so you can preserve but still extend the life of your wallpaper. Another option is a product called ‘wallpaper dough’: you simply take some in a ball and run it along the paper to pick up any dirt and debris. Also, any wallpaper made from a natural fibre such as hemp, cork or fabric cannot be washed with water, so these techniques will work best for you!
- For washable wallpaper: use the same technique as for painted walls though with even LESS cleaning solution in the sponge—it should be barely damp—and don’t forget to test a hidden corner first! Go at it gently: you don’t want to scrub away the paper!
- For specific areas of fingerprints or other dirt, you can get commercially produced wallpaper cleaner (which, again, would need to be tested on a corner first!) but another option is artist’s gum erasers. They crumble when used, so they don’t tear at your wallpaper.
Fun Fact: Did you know that Play-Doh was originally invented to be a wallpaper cleaner? Really! The wallpaper dough I mentioned above is just the more modern version of it, but in its original form in 1933, it was made up of flour, water and salt. Sound like a familiar recipe?
Do you have any wall cleaning tips that we didn’t share here? Let me know!

free ebook!
The Best of Simply Stacie
When you subscribe to the newsletter for the latest updates!


Having some summer cleaning will use these hacks for easy clean